To set the Joint Tool settings
- In the
Rigging menu set, select
Skeleton > Joint Tool >
 .
.
The Joint Tool settings appear.
- In the
Joint Settings section, set the axis of symmetry by selecting
X-axis,
Y-axis, or
Z-axis from the
Symmetry drop-down list.
Symmetry is Off by default.
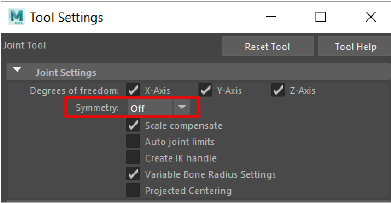
The Joint Symmetry drop-down list
To create symmetric joint(s)
- Click the location in the model where you want to place your joint.
Tip: Turn on Snap to Projected Center
 before creating a joint to automatically center it in your model.
The first joint, the source joint, is created. A second joint, the driven joint, is also created and is constrained to the source joint by a symmetry connection.
before creating a joint to automatically center it in your model.
The first joint, the source joint, is created. A second joint, the driven joint, is also created and is constrained to the source joint by a symmetry connection.
Click to place a joint
Note: In the current implementation, the Translate, Rotate, Scale, Rotation Order, and Joint Orient attributes are connected. All other joint attributes are not connected and stay independent.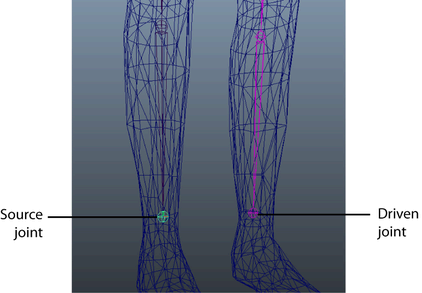
All driven joints and joint chains appear pink so they can be easily identified.
- Click again in your model where you want to create the next joint in your joint chain.
A bone appears between the first and second joints.
Tip: Use Insert to move the active joint during creation. - Continue clicking until you create all the joints for your joint chain.
- Press
 or
or
 to complete your joint chain.
Now when you modify the source joint, the driven joint updates symmetrically.