Work with the symmetry plane

Watch this video to learn about working with plane symmetry in Create VR.
Video contents
- 0:04 - About the symmetry plane
- 0:16 - Add a symmetry plane
- 0:24 - Change symmetry plane orientation
- 0:35 - Work with the symmetry plane
- 0:50 - Turn the symmetry plane off
- 0:55 - Create on the symmetry plane
- 1:22 - Create self-symmetrical objects
- 2:04 - Snap an axis to the symmetry plane
- 2:46 - Work with the Mirror Object Edit tool
Working with the symmetry plane
You can add a symmetry plane to the environment to help you do the following:
- Generate a mirrored copy of a curve or surface
- Create self-symmetrical geometry
- Use a flat surface to draw on and create with.
Add a symmetry plane
Select the Symmetry Plane
 from the Guides menu.
A white translucent plane with guides displays at the center of the creation environment.
Select a creation tool and create an object.
A mirror copy of the object appears on the opposite side of the symmetry plane.
When you are done working with the symmetry plane, turn it off by selecting it from the Guides menu.
Switch the symmetry plane

Select the Symmetry Plane
 from the menu, then select the white arrow next to the tool icon.
Choose either the XZ
 or YZ
or YZ  symmetry plane.
The symmetry plane displays in the scene at the selected orientation.
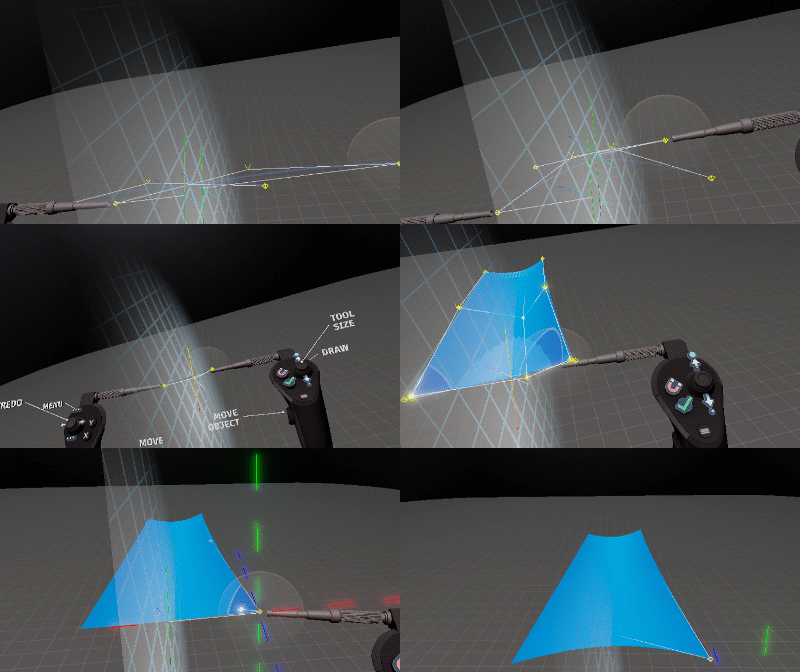
Sketch on the symmetry plane
You can snap a creation tool to the symmetry plane to generate self-symmetrical objects.
After the object is created, it maintains the self-symmetrical properties even after Symmetry is turned off in the environment. For example, edits, such as moving CVs on one side of the object automatically get applied to its symmetrical half.
Select a creation tool.
Position the stylus close to the symmetry plane.
The stylus cross-hair changes color from blue and green to pink and orange. This indicates the tool is snapped to the symmetry plane and will create a self-symmetrical object.

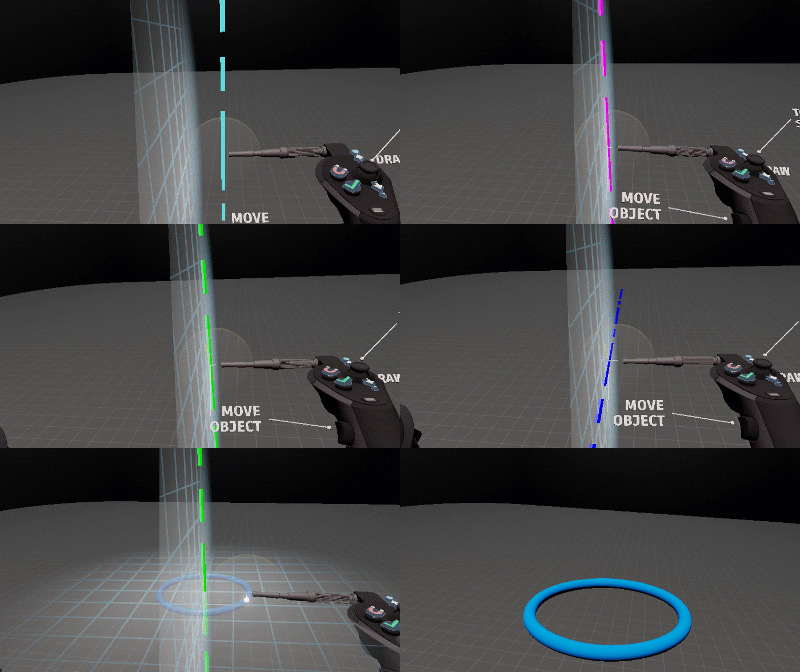
If you are using a tool that requires an axis, such as the Circle or Revolve tool, you can snap the axis to the symmetry plane.
To snap the tool axis to the symmetry plane, place it close to the plane until its color changes from teal-blue to magenta.
This indicates that the axis is snapped to the plane.

To lock the axis to a direction vector, position it until its changes color from magenta to red (X axis) blue (Y axis), or green (Z axis). Tap left or right on the tool hand analog stick (Oculus) or D-pad (VIVE) to cycle through X, Y, or Z placement of the axis.
Edit geometry with symmetry options

You can edit objects with symmetry options using the Mirror Object Edit tool ![]() after you have created them.
after you have created them.
Select the Mirror Object Edit tool in the global tools menu.
The tool displays one of three edit modes.
Symmetrize: Create a symmetrical copy of an object.
- Hover over the geometry. A guide and crosshair from the stylus indicates the plane of symmetry the object will be reflected on. By default, it is the XZ plane.
- Pull the trigger to create a symmetric copy.
Pick Plane Symmetrize: Choose the symmetry plane used to create symmetric copies.
Hover over the symmetrized geometry on the symmetry plane you want to select.
Pull the trigger to set the symmetry plane. The tool then switches to Symmetrize.
You can now create symmetric geometry on the selected plane.
Remove Symmetric Copy: Delete a symmetrical object.
- Pull the trigger on symmetrical geometry to remove the symmetric copy.
Turn the symmetry plane off
- Select the Symmetry Plane
 from the tool Menu bar to turn it off.