When sculpting details onto a mesh, you can use Blend Shape targets as sculpting layers. This allows you to build sculpt effects on top of one another, separate different kinds of sculpts (e.g. wrinkles and pores), or experiment on your model with new sculpts in a non-destructive manner.
To set up layers for sculpting
- Open the Shape Editor by going to or switching to the Sculpting Workspace.
- Select the mesh for sculpting and click Create Blend Shape in the Shape Editor.
- Click the
Add Target button to add the first layer.
This layer becomes the active Edit layer by default. Any sculpting operations will be added to it.
- Click Add Target to add additional layers.
Note: The current
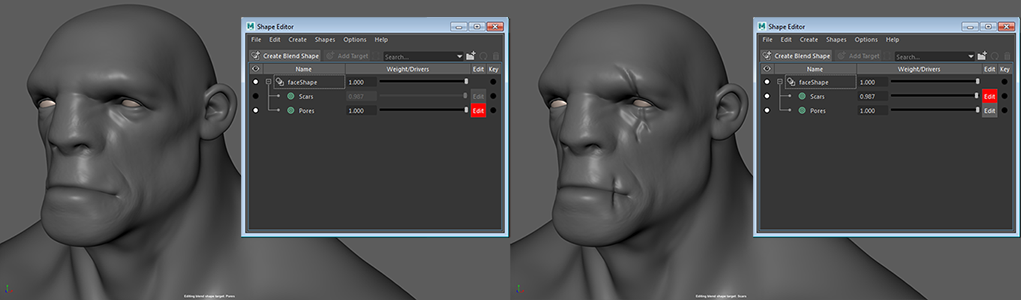
Edit layer is always marked in red. Any sculpt operations or transformations of the mesh will occur on this layer. To change the active
Edit layer, click the
Edit button next to the layer you'd like activate instead.
Once you have sculpted on a layer, you can fade/hide the effects of that layer a couple of different ways.
To fade/hide the effects of a layer
- Drag the slider next to the target shape in the Shape Editor to change its weighting.
- Click the visibility icon to the left of the target shape to mute the effects of that layer completely.
- Right-click a layer and select Solo to mute all other layers.
Note: You can middle-drag layers in the
Shape Editor to reorder them.