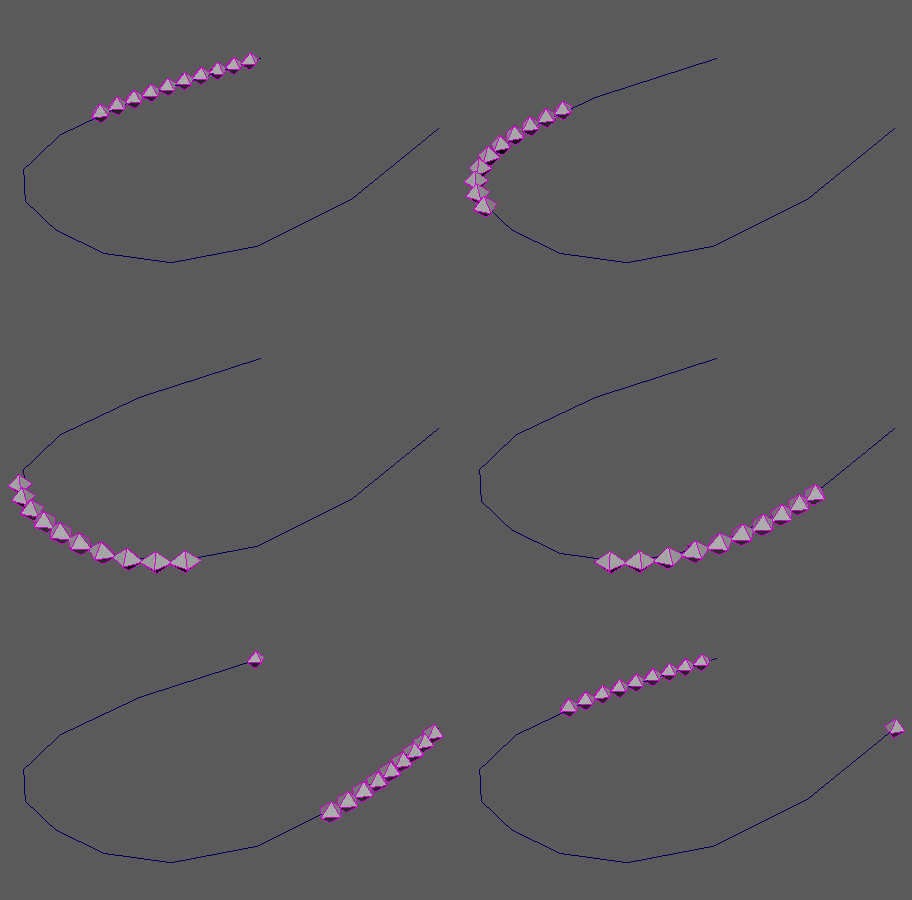
Distributes and animates MASH points along input curves.
Curve Node
Input Curves
- Input Curves
- Displays the current curve(s) that objects are distributed along.
- Aim Curve
- Displays the current aim curve, which influences the rotation of your objects. Useful to prevent objects from flipping along the curve normals.
- Transformation Space
- Local to respect incoming point positions as their initial state.
- Step
- Controls how far apart the points are distributed along the curve.
- Animation (slide)
- Controls the speed at which the points travel along the curve. Represented as a fraction of the curve length.
- Time Step Variation
- Controls the amount of randomization added to the time step of each point, effectively randomizing the space between them.
- Velocity Random
- Randomizes the velocity of each point so they speed up and slow down over time.
- Velocity Noise
- Changes the base randomization of the Velocity Random attribute.
- Noise Scale
- Scale the noise pattern used to affect the Velocity Random attribute.
- Offset Along Curve
- Time value used to animated points along the curve.
- Clip Start, Clip End
- Determines the scale of Time used to animate points along the curve (in percentage).
- Up Vector
- Amend the orientation of instanced objects on each point.
- Roll Amount
- Determines the amount of roll (spin) added to the animation of your objects by using the curve normals to orient them. Useful for banking objects on turns (i.e. roller coaster carts).
- Proportional Counts
- Determines whether the number of points is influenced by the length of your curve(s) when multiple curves are connected. When enabled, longer curves will have more points.
- Equal Spacing
- Spaces points equally irrespective of curve length.
- Curve Length Affects Speed
- Determines how fast a point travels along various length curves. When enabled, MASH will sync point speeds along both short and long curves.
- Ignore Step
- Spreads the points evenly along the entire curve regardless of the Step value.
- Calculate Rotation
- When turned on, instanced objects will face down the curve according to their X axis.
- Stop At Curve End
- When turned on, points will stop when they reach the end of the curve rather than return to the beginning.
Strength
- Strength
- Fades the node's effect for all the objects at the same time.
- Random Strength
- Smoothly fades the node's effect on all the objects in a random order.
- Step Strength
- Turns the node's effect off one object at a time.
- Strength Map
- Determines the input file (2D texture, animated texture, etc) that controls the shape of this node's effect.
- Map Projection Axis
- Determines the axis along which the Strength Map is projected.
- Map Helper
- Displays the object being used to interactively place the
Strength Map in the scene. You can right-click the field to create a new helper object (a plane) if none exists. You can also middle-drag a mesh into this field or right-click to connect a selected mesh. If a mesh is already connected, you can also right-click to break its connection or show it in the Outliner.
Note: For the best results, assign the same texture to both the Strength Map and the Map Helper (this automatically happens when creating a new helper object).