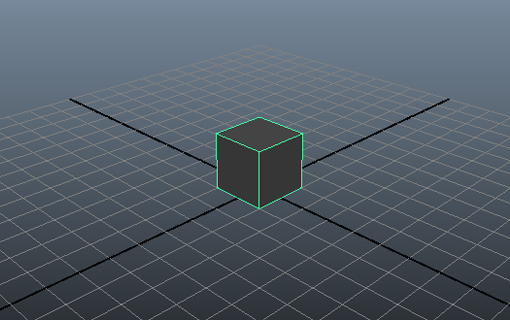
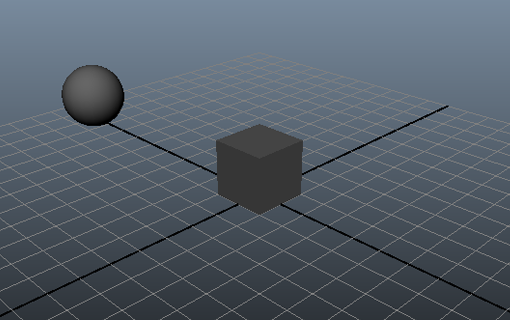
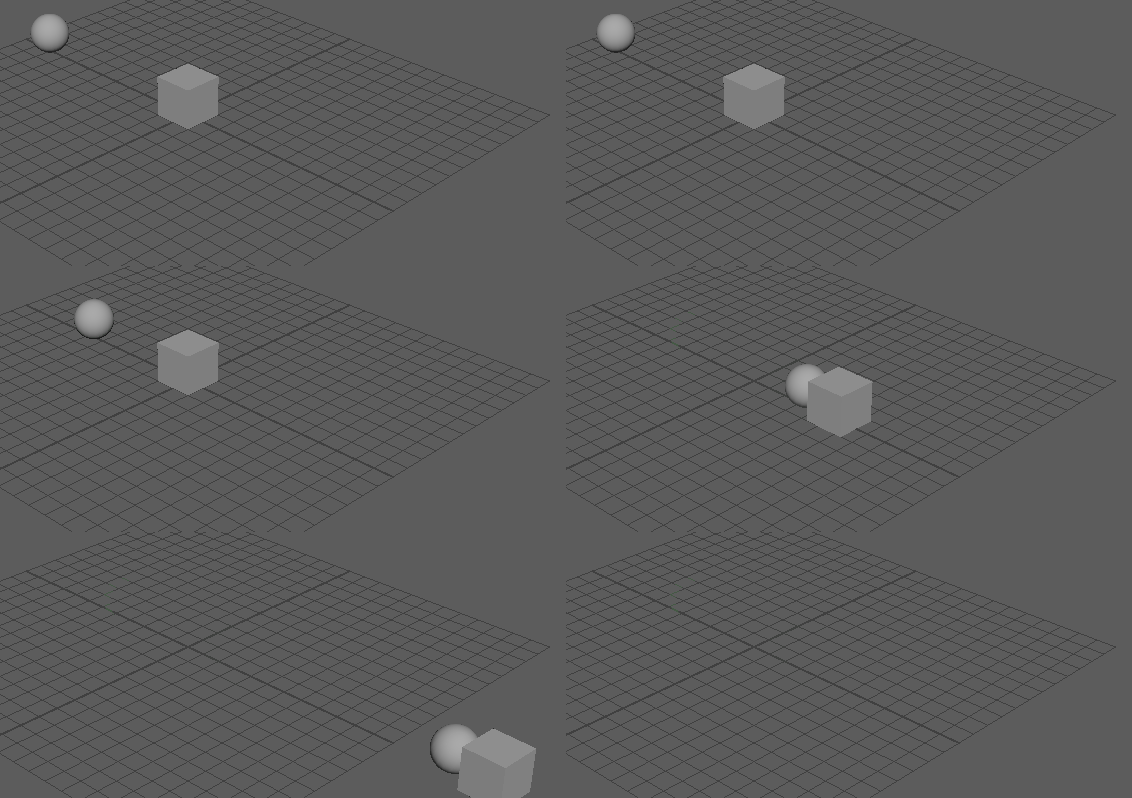
This workflow demonstrates the rigid body simulation and collision detection between any two of the three objects.
- In a new Maya scene, set the Maya Time Slider duration to 100 frames and ensure it is set to play back at frame 1.
- Create a polygon cube by selecting
Create >
Polygon Primitives >
Cube >
 .
.
- Set the Width, Height, and Depth to 2, and click Create.
- Position the cube by setting its
Translate values to the following:
- X: 0
- Y: 1
- Z: 0

- Create a polygon sphere by selecting Create > Polygon Primitives > Sphere. Set the Radius to 1 and click Create.
- Position the sphere by setting its
Translate values to:
- X: -10
- Y: 1
- Z: 0

- Convert the cube and sphere to rigid bodies by
 -selecting them and selecting
Bullet > Create Active Rigid Body.
- In the Outliner, select bulletSolver.
- In the Attribute Editor, turn on Ground Plane in the Solver Properties section.
- Select the cube and select its bulletRigidBodyShape node tab in the Attribute Editor.
- In the Rigid Body Properties section, set Friction to 0.1 , which reduces the force due to friction that is currently acting on the object.
- Set the
Restitution to 0.0, so the cube will not bounce when the sphere strikes it.
Note: Experiment with the Restitution settings to create a reaction from the cube as the sphere drives into it,
- Select the sphere and select its bulletRigidBodyShape node tab in the Attribute Editor.
- In the Rigid Body Properties section, set Friction to 0.1 and in the Forces/Impulses section, set Impulse along the X axis to 0.8.
- In the Collider Properties section, set
Collider Shape Type to sphere. It is a good idea to match the Collider Shape type as closely to the shape you are using as possible. Play back the simulation.
The Impulse attribute applies a force along the X axis causing the rigid body sphere to roll along the plane and collide with the cube, pushing it along.
