A Marker set links optical motion data to the Actor asset, matching the motion data to the body parts of an Actor. Linking the Actor to the optical data through a Marker set lets you preview the optical motion data on the Actor.
To create and define a Marker set with optical data:
- Load a file containing optical motion data.

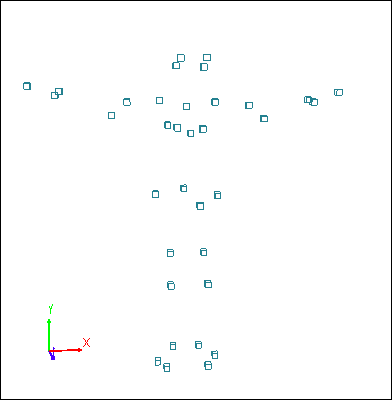
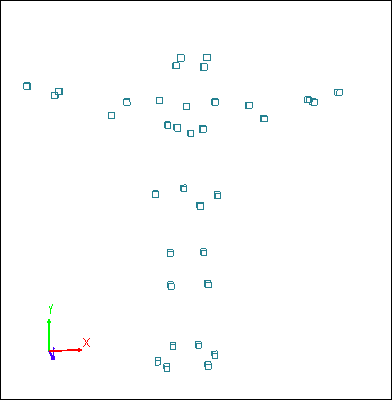
Motion capture data loaded in the scene
Ideally, the markers load in a T-stance facing the positive Z-axis. When capturing motion data, you should always start or end your take with the performer in a T-stance facing the positive Z-axis.
- From the Asset browser > Characters folder, drag an Actor asset into the scene.

Actor added to the scene
The name Actor appears in the Navigator window > Actors folder, the Actor Settings display in the right pane, and a gray model displays in the scene.
- In the Viewer window, select the hips of the Actor and translate until the Actor appears inside the cloud of data markers.
- Translate, scale, and rotate the Actor and its body parts until the data markers are appropriately aligned. Tip: Try to position the body of the Actor so that the markers are placed exactly as they were on the body of the performer.
- In the Actor settings, click the MarkerSet button and select Create in the Marker Set menu.
- In the Navigator window, click the Lock button to keep the Actor settings.
- Alt-drag each optical marker into the appropriate body part cell of the Actor representation. Each cell can have a maximum of five markers.
As you drag markers into the Actor representation in the Actor Settings, white markers representing the Marker set appear around the light blue optical sensors in the Viewer window. The cells in the Actor representation display the number of markers affecting each body part, and the names of the sensors appear in the Object(s) List.
Note: Make sure to deselect each marker after you are finished dragging it, otherwise it is dragged into each successive cell. When using a Glove device, place hand markers into the wrist cells, and the Glove reference into the Glove reference fields in the hand cells. To see the Glove reference fields, click the hand cell in the Actor representation. - In the Actor Settings, click Snap to calculate offsets and to activate the mapping in the Actor settings.
- Click TR in the dialog box that appears asking how you want to recalculate the Marker set offsets. TR indicates that you want to recalculate them based on both translation and rotation
The Actor is active, and the position of the sensors match the body parts of the Actor. The Marker set links the sensors and the Actor, letting the Actor move using the optical motion data.
After you have created a Marker set for an Actor, you can select the Actor as a motion source for a characterized character.