Create a New Material
To create a new material, add a material to a project and modify it as needed:
Click Render tab > System panel > Autodesk Rendering
 to display the dialog:
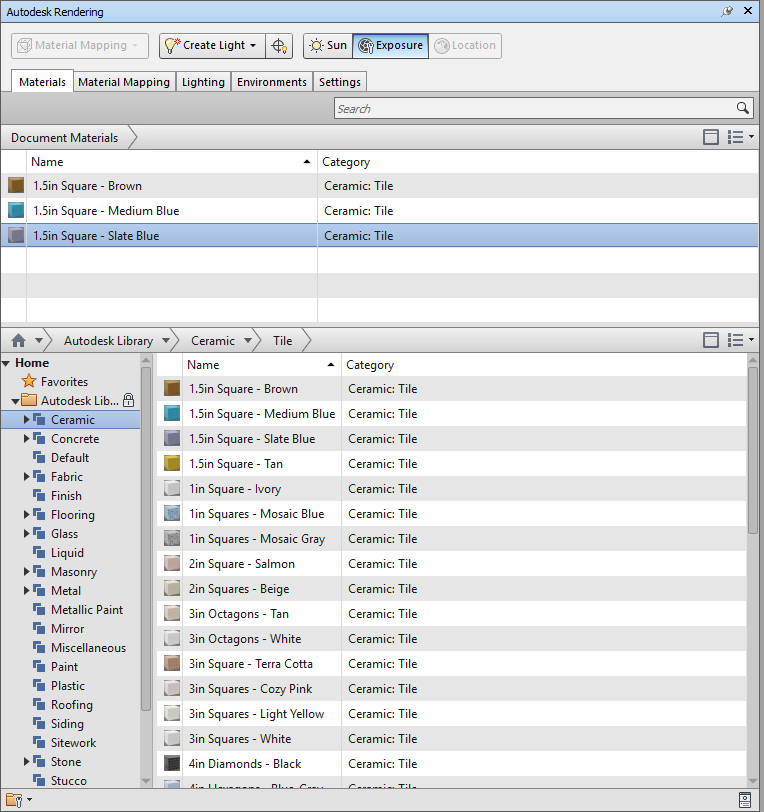
On the Materials tab, browse the Autodesk Library and click to select a material type.
Tip: Select a material similar to the one you want to create.Hover over the material you want to use, and click
 at the end of the row to add the material to the project and display it in the Material Editor:
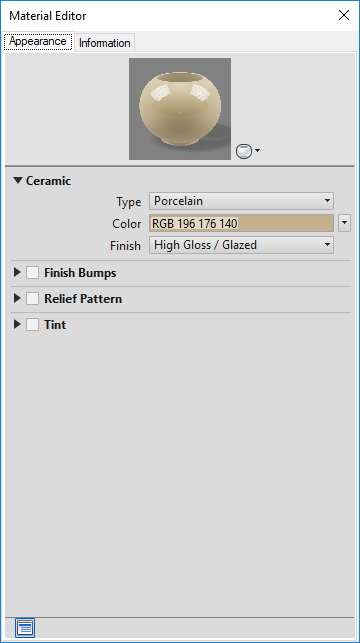
Alternatively, if you already have a similar material in the project:
- In the Document Materials area, right-click the material.
- Select Duplicate from the context menu.
- Rename the new duplicate material.
- Right-click the new material and select Edit to display the Material Editor.
On the Appearance tab, specify the material properties and color options.
Click the Information tab and enter a name, description, and keywords to describe the material.