Export Images and Animations
Export an Image as a Bitmap, PNG, or JPEG File
You can export rendered scenes as images, so they can be used in presentations, on websites, in print, and so on.
To export an image as a bitmap, PNG, or JPEG file:
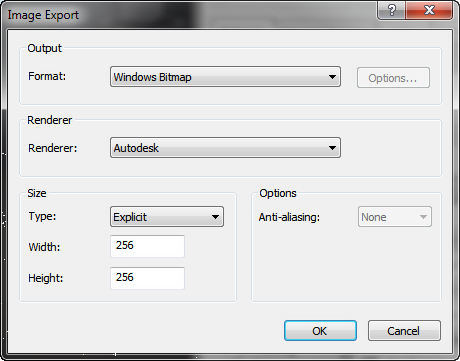
Display the view you want to export in the Scene View, and click Viewpoint tab > Export panel > Image drop-down, and click Image
 .
.In the Image Export dialog box, select the Format of the image you want to export.
Select a render option from the Renderer drop-down list. See Image Export Dialog Box for further information.

Use the Size and Options area to set the image size. See Image Export Dialog Box.
For PNG files, click the Options button, and use the PNG Options dialog box to specify the Interlacing and Compression settings.

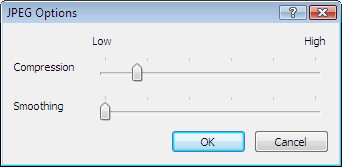
For JPEG files, click the Options button, and use the JPEG Options dialog box to specify the Compression and Smoothing settings.

Click OK.
In the Save As dialog box, enter a new filename and location, if you want to change from those suggested.
Click Save.
Export an Animation to an AVI File, or a Sequence of Image Files
Click Animation tab > Export panel > Export Animation
 .
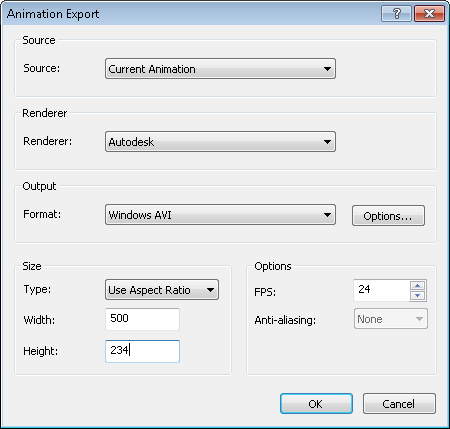
.The Animation Export dialog box opens.

To export the currently selected viewpoint animation, select Current Animation in the Source box.
To export the currently selected object animation, select Current Animator Scene in the Source box.
To export a TimeLiner sequence, select TimeLiner Simulation in the Source box.
Set up the rest of the boxes in the Animation Export dialog box, and click OK. For more information, see Animation Export Dialog Box.
In the Save As dialog box, enter a new filename and location, if you want to change from those suggested.
Click Save.