Use the Parallel or Perpendicular Lock When Measuring
Click Review tab > Measure panel > Measure drop-down.
Click the Area Measure tool.
Press L for parallel, or P for perpendicular.
Or, on the Measure panel, click Lock
 drop-down, choose from:
- Parallel
 .
. - Perpendicular

- Parallel
In the Scene View, hover your mouse on the model and use the surface snap
 to select a surface. Your measurement will be parallel or perpendicular to this surface.
Click the start point of the distance to be measured in the Scene View.
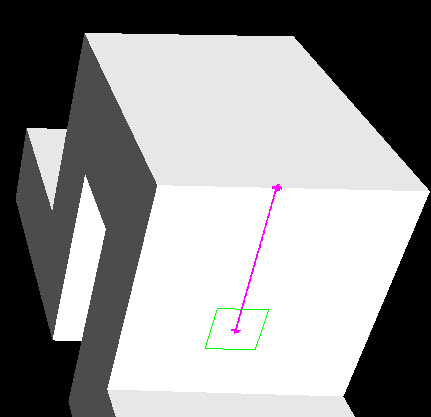
The measure line is displayed as a solid magenta line when it is parallel to the surface of your start point:

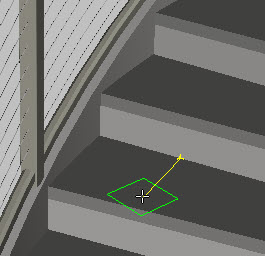
or as a solid yellow line when it is perpendicular to the surface of your start point:

Click the end point of the distance to be measured in the Scene View.
The optional dimension label displays the measured distance.
Command entry: Press L (parallel) or P (perpendicular) when using a Measure tool.