Locking selected leads and links stops them from being edited when you change any connections of the entire toolpath.
Tip: When you select leads and links and edit them, they remain selected so you can make further changes. You can click anywhere in the graphics window to deselect any leads and links.
The following example shows how to edit and lock selected links:
Note: The same principle applies for editing and locking leads of a toolpath.
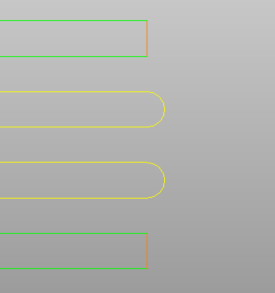
- Using your cursor, draw a box around the links you want to edit. The selected links turn yellow.

- Edit the links:
- Click Home tab > Toolpath Setup panel > Toolpath Connections to display the Toolpath connections dialog.
- Select the Links tab
- From the 1st choice list, select Circular arc.
- Click Apply links.
 Note: The edited links remain selected.
 - Lock the links:
- From the individual Toolpath menu in the Explorer, select Edit > Lock Connection Moves > Leads and Links.
- Click anywhere in the graphics window to deselect the links.
- Edit the links of the entire toolpath:
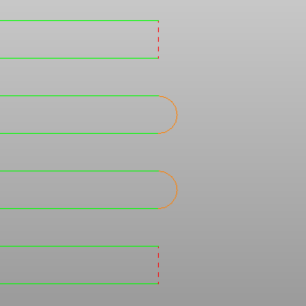
When you change the Links of the entire toolpath, the locked links do not change.
- Click Home tab > Toolpath Setup panel > Toolpath Connections to display the Toolpath connections dialog.
- Select the Links tab
- From the 1st choice list, select Incremental.
- Click Apply links.
 Note: All the other links in this example change to Incremental, which is shown by dotted lines, but the locked links remain as circular arcs.
To edit locked links:
- Using your cursor, draw a box around the locked links you want to edit. Even though they are locked, selecting them in this way lets you edit them.

- Edit the links:
- Click Home tab > Toolpath Setup panel > Toolpath Connections to display the Toolpath connections dialog.
- Select the Links tab
- From the 1st choice list, select Straight.
- Click Apply Links.
 Note: All the links, locked and unlocked, are updated.