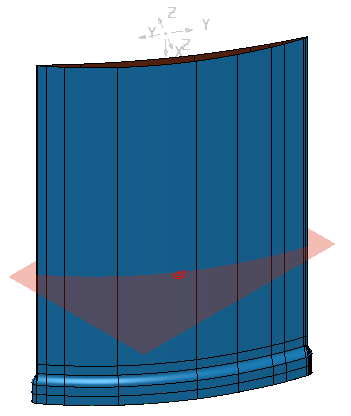
To create a planar section:
- Ensure the Intelligent Cursor is enabled.
- Display the Planar Section dialog:
- In the Explorer, right-click an individual pattern or boundary.
- Select Curve Editor. The Curve Editor tab is displayed.
- Click Curve Editor tab > Create panel > Curves > Planar Section. The Planar Section dialog is displayed. The position of the origin point is displayed on the model and the cursor changes to
 .
.
- Click on the model to define a point which the slicing plane passes through. The orientation is determined using the principal editing plane of the active workplane.
The coordinates of the curve are displayed in the Origin area of the Planar Section dialog. TheIntelligent Cursor must be enabled for the origin selection to work through the cursor.

- To select a surface:
- Click
 to switch to surface selection mode. The cursor changes to
  .
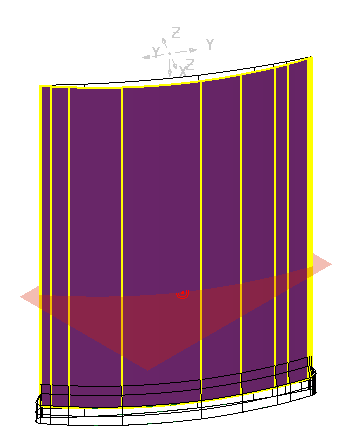
. - Select a surface on the model. The selected surface turns purple.

- Click
- Enter:
- A Tolerance of 0.01.
- A Surface Joining Tolerance of 10.0.
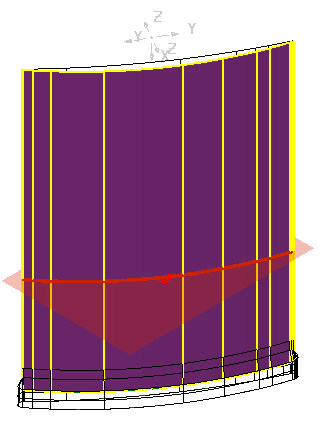
- Click Preview. A preview of the curve is displayed as a thick, red line on the model.

- Click Create. The segments are added to the pattern.
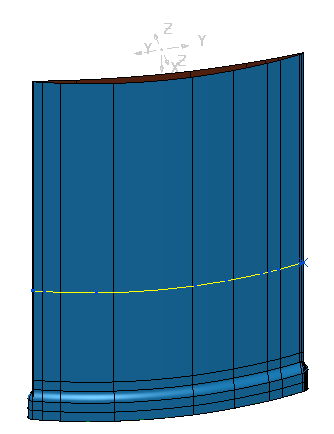
- Click Close to close the dialog. The curve is displayed on the model.
