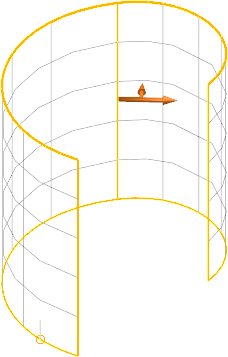
You can inspect a solid, surface or component and display the following inspection data:
- Coordinates
- Surface normal
- Draft angle — Measured from the principal plane to the normal of the point on the surface under the cursor.
- Curvature — You can display the curvature as either:
- maximum and minimum values
- values along the T or U parametric directions
- radius or curvature values
by selecting the relevant Curvature type and Display As options on the Surface Analysis page of the Options dialog.
To display inspection data:
- Select a solid, surface or component. For example:

- Click Visualisation tab > Tools panel > Surface Inspection.
- Left-click on a position on the selected surface. The surface normal arrow is displayed, and the draft angle and curvature values of the position are displayed below the cursor:
- Select File > Options > Application Options > Tools > Analysis, and use the Surface Analysis page to specify the data that is displayed.
- Drag the cursor across the surface to display data at different positions.
If multiple items are selected, you can drag the cursor from one item to another.
- To capture surface inspection data, hold down the left mouse button and press Enter. Repeat to capture data for multiple positions.
- Click Visualisation tab > Tools panel > Surface Inspection to turn inspection mode off.
- Select the
Paste option in any text editor to paste the captured data.
Note: Data cannot be pasted until Inspection mode is turned off.
Tip: You can select more than one item.