You can create a textured material based on an image file. This is saved to the shareddb for use with your models.
To create a textured material:
- Select the surfaces and solids you want to create a textured material for.
- Select Visualisation tab > Format panel > Material to display the Material Selection dialog.
- Click the
Textures button to display the
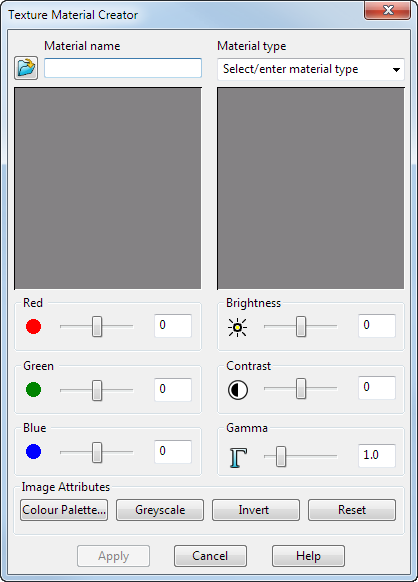
Texture Material Creator
dialog:

- Click
 to display the
Load Image File dialog.
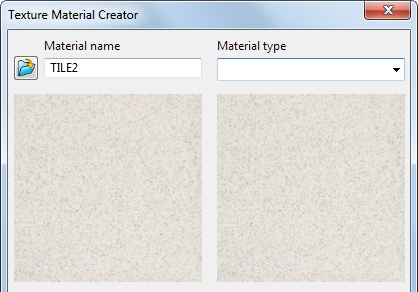
- Select the texture you want. You can use any image file as the basis of a new texture material. The selected image is displayed in both windows of the
Texture Material Creator dialog:

When you make changes to the image, the updated image is displayed in the right-hand window.
- If required, enter a new Material name. This name is used when you save the texture material.
- If no appropriate
Material type
exists, enter a new type in the box. This is added to the
Material type list available in the
Material Selection dialog.
Note: Typically, you might create a new Material type calledMy Materialsto hold all the customized textures materials that you have made.
- Use the Red/Green/Blue sliders to adjust the colour of the image or enter a value in the text box.
- Use the Brightness/Contrast/Gamma sliders to adjust the appearance of the image or enter a value in the text box.
- Use the
Image Attributes to make changes to the underlying attributes of the image:
- Colour Palette — Opens the colour palette. The colour you select is applied to the image.
- Greyscale — Converts the image to greyscale.
- Invert —Invertsthe colours in the original image.
- Reset — The changes you have made using the slider controls and values are ignored and the updated image reverts to the original image.
- Click
OK to update the image file. The image is added to the custom Material Type you chose. The textures are added to the
Material Type folder that is stored in the
Textures folder of the
shareddb
folder. For example:
C:\Program Files\Common Files\Autodesk\shareddb\textures\My Materials\mytexture.jpg