- On the ribbon, click Home tab
 Project panel
  Data Manager.
- In the Data Manager, in the drop-down list, click the appropriate data view.
- In the tree view, click the node where you want to import data. Note:
Make sure to select the node that corresponds to the worksheet or CSV file containing the data you want to import. If you select a node that does not correspond directly to the modified worksheet or CSV file, the import ignores the changes.
-
 On the toolbar, click Import.
 - If a message is displayed, click OK. Note:
The message indicates the location of the log files for accepted and rejected edits from the imported spreadsheet or CSV file. You can click the link in the message to open the folder. After you accept and reject edits, you can access the log file in the folder.
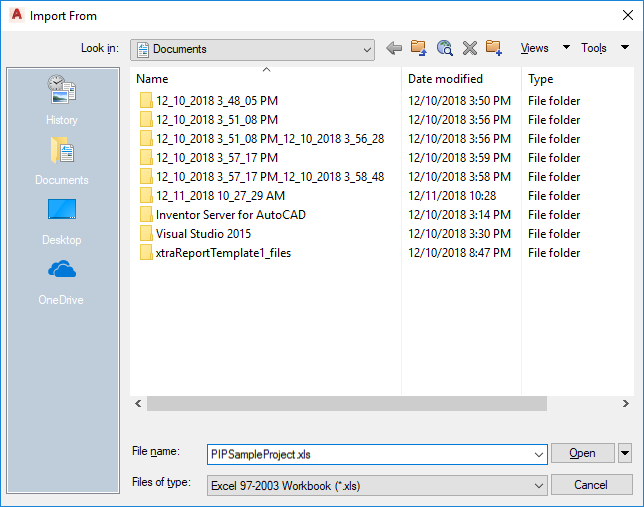
- In the Import From dialog box, do the following:
- In the Files of Type list, click the type of files to display (XLS, XLSX, or CSV).
- Navigate to and select the spreadsheet or CSV file you want to import.
- Click Open.

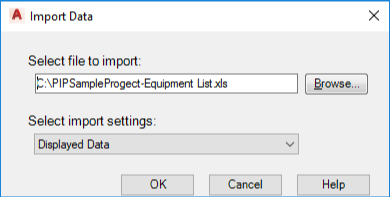
- In the Import Data dialog box, do the following:
- To select a different file to import, click Browse. Repeat step 6.
- In the Select Import Settings list, click Displayed Data or a custom setting. Note:
To import data from another program, click the appropriate custom setting. (Custom settings are unavailable, however, if you are importing into an area or customized view.)
- Click OK.
