Add a property to a class definition
- On the ribbon, click Home tab
 Project panel Project Manager Project Setup.
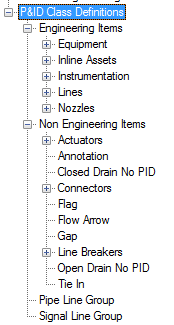
- In the Project Setup tree view, expand P&ID or Plant 3D Class Definitions.
- Continue to expand the list until you locate and click the class definition whose property you want to add.
- On the Class Settings pane, under Properties, click Add.
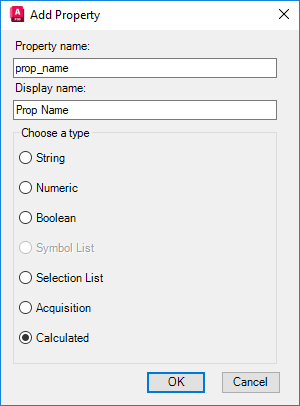
- In the Add Property dialog box, do the following:
- Under Property Name, enter a name for the new property. The name cannot contain any spaces.
- Under Display Name, enter the name you want to be displayed for the new property when using the Data Manager or Properties palette.
- Under Choose a Type, select one of the available data types.
Modify a property for a class definition
- On the ribbon, click Home tab Project panel Project Manager Project Setup.
- In the Project Setup tree view, expand P&ID or Plant 3D Class Definitions.
- Continue to expand the list until you locate and click the class definition whose property you want to edit.
- On the Class Settings pane, under Properties, do the following:
- Change the value for the Display Name property. (This information is displayed in the Data Manager.)
- Change the value for the Default Value property.
- Add or remove custom properties as needed for the class or line definition.
- Change the values of other properties as needed (such as tagging format, annotation style, and so on).
 Note: To change the name of the property or its type, delete the property and then add it again.
 - Click OK.