Create a Data Exchange and save it to Autodesk Docs.
This procedure explains how you can create a Data Exchange of your
Revit model and save it in the Autodesk Docs. After the Data Exchange is created successfully, it will be listed in the interface, which you can select to view or update later.
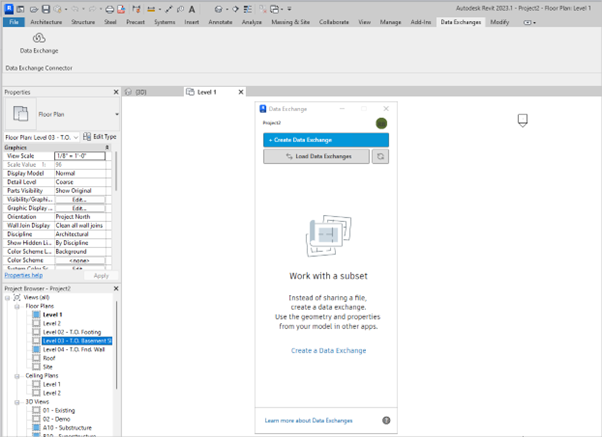
- In the
Revit application, Click Data Exchange under the Data Exchanges tab. It opens the Connector interface.
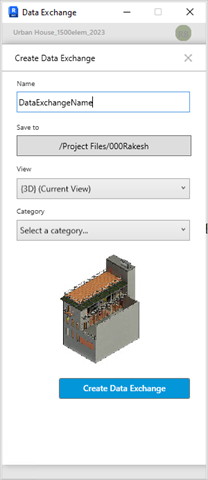
- Click Create a Data Exchange, and the following window opens. Key in the Name, location in the Autodesk Docs, View, and Category for your Data Exchange. Save your RVT file, then click Create Data Exchange.
 Note: If there are unsaved changes to your model, save the changes in Revit before you proceed to create a Data Exchange. If you go ahead with creating an exchange with unsaved changes to the model, you will be prompted to save your changes before the Data Exchange is created.
 -
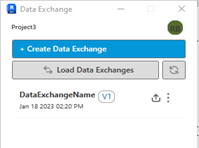
After the exchange is created successfully, you can view the new Data Exchange listed with details such as the name, version, date, and time.
Important: The Up Arrow button besides the Data Exchange indicates that you created it using your Revit model. If you modify your model locally, then you can update the Data Exchange with the latest changes.