To create a loadable family, you select a family template, and then name and save the family file.
Name the family so it adequately describes the element that it is intended to create. Later, when the family is complete and you load it into a project, the family name displays in the Project Browser and the Type Selector.
You can save families to any local or network location. After you create families, you can use the Copy and Paste commands in Microsoft® Windows Explorer to move the families to different locations.
To create a family with a template
-
Click File tab
 New
New  Family.
Note: If you are creating an annotation or title block family, click File tab
 New
New  Annotation Symbol or Title Block.
Depending on the current drawing units, the New Family - Select Template File dialog displays the available imperial or metric family templates that are installed in a subfolder of this location:
%ALLUSERSPROFILE%\Autodesk\RVT 2023 Release\Family Templates
Note: Depending on your software installation or office standards, the family templates may be installed in another location, either locally or on a network. Contact your CAD Manager for more information. - Optionally, to preview a template, select it.
The template preview image displays in the upper right corner of the dialog.
- Select the family template that you want to use, and click Open.
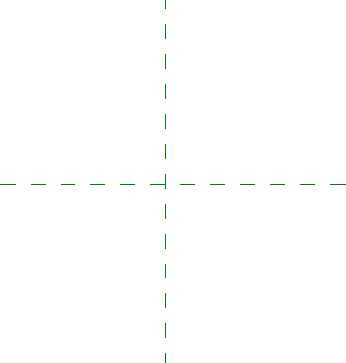
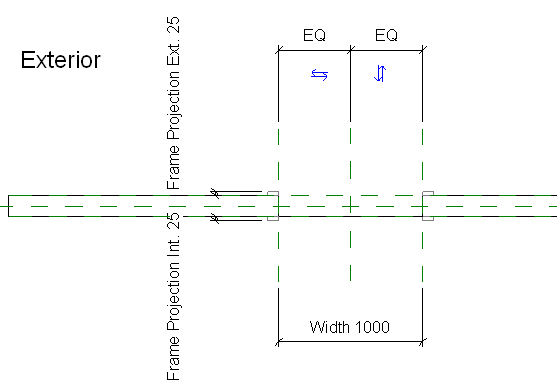
The new family opens in the Family Editor. For most families, 2 or more dashed green lines display. These are reference planes, or the working planes that you will use when you create the family geometry.

If you are creating a host-based family, host geometry may also display.

- In the Project Browser, notice the list of family views.
The family views vary depending on the type of family that you create. If necessary, you can create additional views by duplicating and renaming existing views.
-
Click File tab
 Save As
  Family.
- In the Save dialog, navigate to the location in which you want to save the family, enter a name for the family, and click Save.
Note: Use title case for the family name.