Use the Light Group Editor to add or remove lights in a light group.
- Open the Light Group Editor, using either of the following methods:
- In a project view, select a lighting fixture. On the Options Bar, for Light Group, click Edit. Note: If Light Group displays None, select the light group to which you want to add the selected lighting fixture. Then click Edit.
- Open the Artificial Lights Dialog. In the Artificial Lights dialog, select the group name. Under Group Options, click Edit.
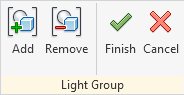
Revit enters light group edit mode. The Light Group panel displays in the drawing area. (You can drag it to the desired location or place it on the ribbon. Model elements and lighting fixtures that belong to another light group display in halftone. Lighting fixtures that belong to the selected light group display in green. Lighting fixtures that are not currently assigned to a light group display normally.
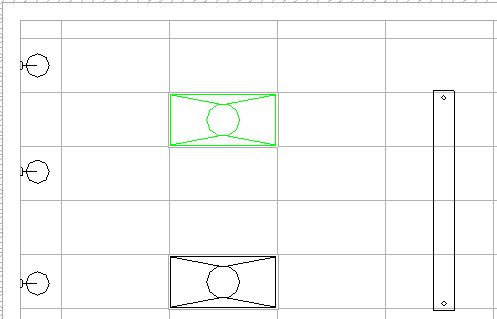
A reflected ceiling plan in light group edit mode
- In a project view, select a lighting fixture. On the Options Bar, for Light Group, click Edit.
- If necessary, use the Project Browser to open any view in which you can see the lighting fixtures to add or remove in the group.
- To add lighting fixtures to the group, do the following:
- Click Light Group panel

 (Add).
 Revit highlights lighting fixtures that are not currently assigned to a light group. All other model elements continue to display as halftone, indicating that you cannot select them.
- Select each lighting fixture that you want to add to the group.
When you select a lighting fixture, Revit displays it as green to indicate that it is being added to the group.
- If necessary, you can open another project view, click Light Group panelAdd, and select more lighting fixtures to add to the group.
- Click Light Group panel
- To remove lighting fixtures from the group, do the following:
- Click Light Group panel
 (Remove).
 The lighting fixtures that are currently assigned to a light group display as green.
- Select each lighting fixture that you want to remove from the group.
After you select a lighting fixture, it displays normally, indicating that it is no longer part of the group.
- If necessary, you can open another project view, click Light Group panel (Remove), and select more lighting fixtures to remove from the group.
- Click Light Group panel
- When you are finished adding and removing lights for the current light group, click Light Group panel
 (Finish).