On a structural framing plan, establish elevation views.
Note: You must have a grid in your view, before you can add a framing elevation view.
- Click View tab
 Create panelElevation drop-down
 (Framing Elevation).
 - On the Options Bar, select a view scale.
- (Optional) In the Type Selector, select a view type from the list, or click Edit Type to modify an existing view type or create a new view type.
- Place the framing elevation symbol perpendicular to the selected grid line and in the direction of view to display, and click to place it.
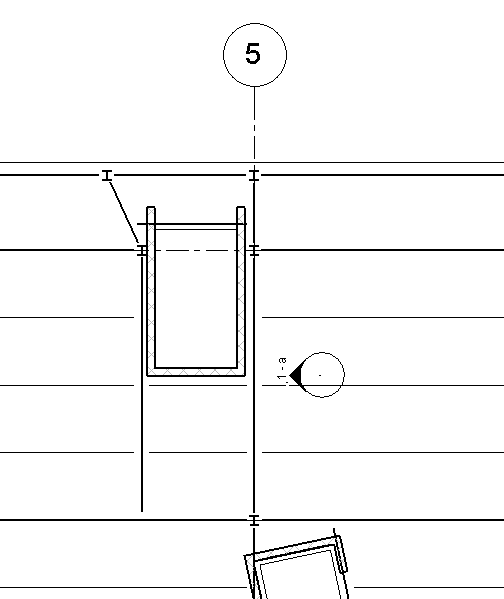
- Press Esc to finish.
- Double-click the elevation arrowhead to open the framing elevation.
The view represents a full-height view of the area at the work plane of the grid or of the reference plane. The view is constrained to the surrounding grids or limits of the reference plane.