Welding symbols are view-specific annotations. They appear only in the views to which you add them.
- Click Annotate tab
 Symbol panel
 (Symbol).
 - In the Type Selector, select the appropriate welding symbol.
You can place the following types of welding symbols:
- Fillet
- Flare Bevel
- Bevel
- V
- Back
- Flare V
- J
- Slot
- Square
- U
- Click in the drawing area where you want the symbol to appear.
- Click Modify, and then select the welding symbol.
- On the Properties palette, specify the desired properties for the welding symbol.
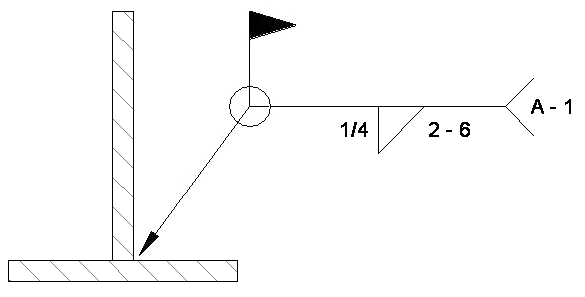
You can specify the following welding symbol properties:
- Top symbol type, size, and length
- Bottom symbol type, size, and length
- Contour symbol type
- Leader configuration
- Tail and tail note display
- Weld all-around and field weld symbol display
- Left or right symbol orientation
You can also edit various welding symbol parameters by selecting the welding symbol, then clicking the appropriate blue text value. Type the desired value in the edit box, and press Enter.