Placing schedules on sheets adds to the information content of the documentation set.
- In a project, open the sheet to which you want to add a schedule.
- In the Project Browser, under Schedules/Quantities, select the schedule, and drag it onto the sheet in the drawing area. Release the mouse button when the cursor is over the sheet.
Revit displays a preview of the schedule at the cursor.
- Move the schedule to the desired location, and click to place it on the sheet.
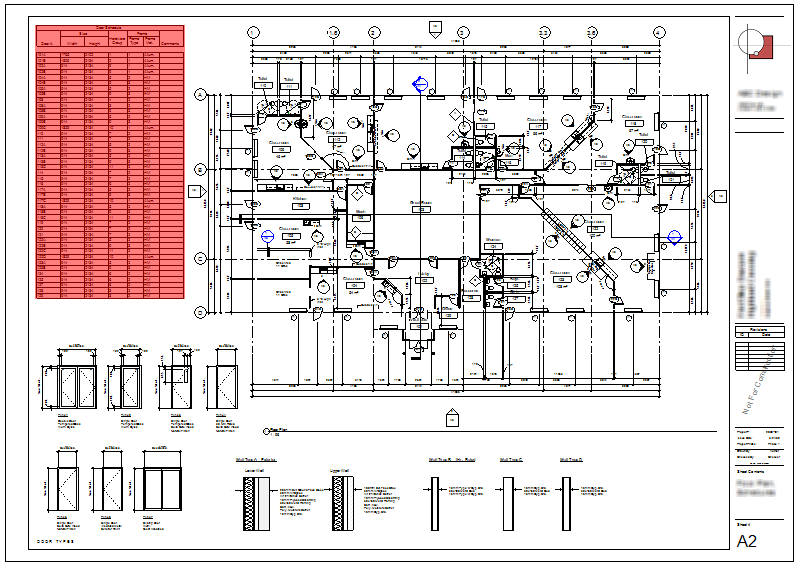
You can modify the schedule after placing it on the sheet. In the sheet view, right-click the schedule, and click Edit Schedule. The schedule view displays. You can now edit the cells of the schedule. You can also rotate the schedule on the sheet.