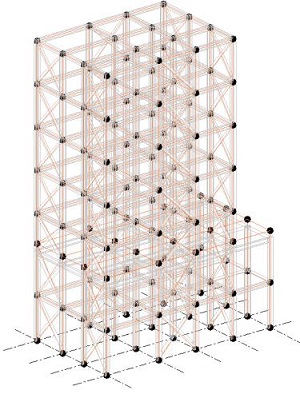
When working in a 3D view, you can display and modify grids for the model.
To change the visibility of grids in a view, use the Visibility/Graphic Overrides dialog, Annotation Categories tab.
In a 3D view, you can treat girds in many of the same ways as in a 2D view, including the following:
- Hide grids by element, category, or filter, or by using the Visibility/Graphic Overrides dialog.
- Change the graphics of individual grids or based on view filter settings.
- Display grids using halftone (from the Visibility/Graphic Overrides dialog).
- Use a scope box to specify the view-specific extents of the grids plane.
- Change the elevations of grids.
- Copy or cut the grid and paste it elsewhere in the model, or paste it into another model.
- Delete grids from the model.
- Snap to grids when placing other elements.
- Change grid instance properties and grid type properties.
- Include grid visibility as part of a view template, based on settings in the Visibility/Graphic Overrides dialog, Annotation Categories tab.
Show Grids in 3D Views
- Open a 3D view.
- In the 3D View Properties palette, under Graphics, click the Edit button next to Show Grids.
- In the Show Grids dialog, check the boxes for the levels where you want the grid lines to be displayed.
Note: The grid lines represent the intersection of a level plane with the grid surface. The grid lines will be displayed only for those grid surfaces that intersect the selected levels, and they will be updated automatically if the grid or level positions change. For each checked grid-level intersection a grid line will be displayed.
- Click OK to save your changes and exit the Show Grids dialog.
By default, the lowest level is checked for newly created 3D views. For existing views, no level is selected after upgrading the model.

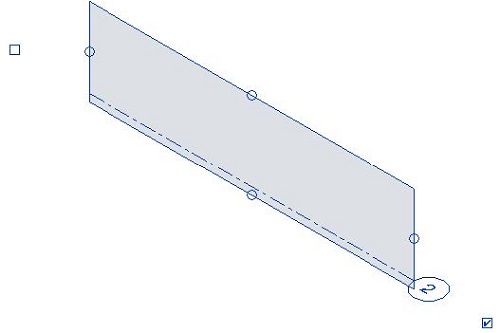
When you select a grid, its plane displays as a blue planar vertical surface, in-canvas controls appear, and its properties display on the Properties palette. When you only hover over a grid, its plane highlights as a blue planar vertical surface.
For a selected grid, you can use in-canvas controls to do the following:
- Change the elevation of the grid.
- Change the model extents of the grid plane (as long as it's not controlled by a scope box). You can adjust the surface of the grid by dragging the blue circles in the center of each edge of the surface.
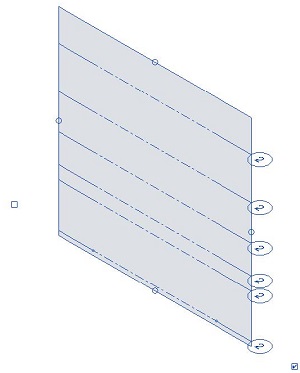
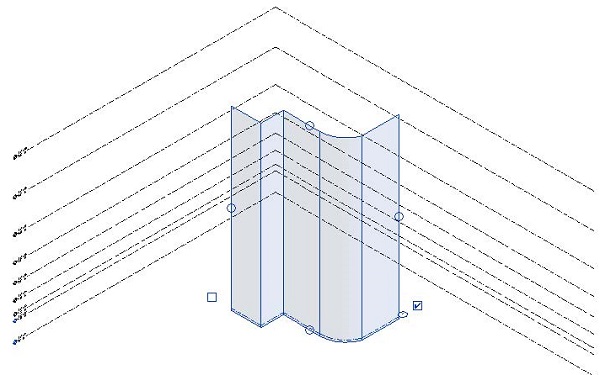
Note: For multi-segment grids, on the vertical direction, you can only adjust all the surfaces at once. On the horizontal direction, you can only adjust the start and end surfaces of the grid, and only for the free edge. Use TAB when hovering over a segment of the grid, to select each surface - you cannot adjust the surface of a segment selected separately using TAB.
Grid Annotation in 3D Views
- You can control the annotation visibility for each grid.
- The grid annotation is always placed in the horizontal plane.
- The visibility settings of grid annotations refer to all the grid lines of the same grid, for each end.
- The grid annotation defaults on creation are the same as for Plan Views.
- You can control the symbol visibility using the correspondent checkbox next to each grid end.
- 2D/3D option, Elbow and End Segment are not available in 3D views.