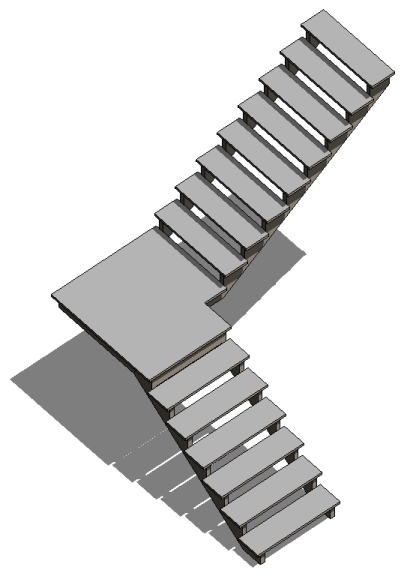
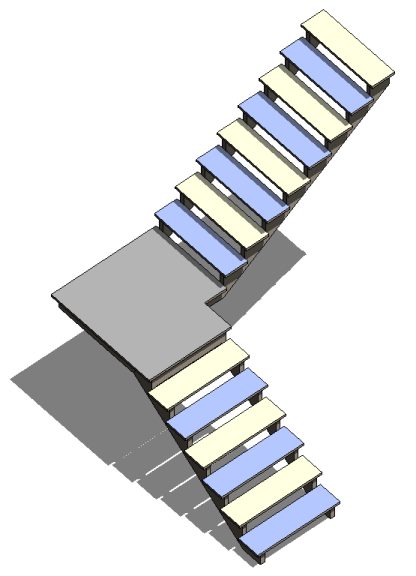
The Paint tool applies a material to the selected face of the element or family; it does not change the structure of the element.
Example

Before painting (applying material to) stairs

After painting (applying material to) stairs
Elements that you can paint include walls, roofs, massing, families, and floors.
If the element highlights when you place the cursor near it, you can paint it. The Paint tool is especially useful for applying materials to split faces.
If the surface pattern for the material is a model pattern, you can select references in the pattern for dimensioning or aligning.
To paint a surface
- Click Modify tab
 Geometry panel
 (Paint).
- In the Material Browser dialog, select a material. Note that you can only browse for a material when you select the paint tool.
- Place the cursor on the element face to highlight it. You may need to press
Tab to select the desired face.
If you highlight a face that has already been painted, the status bar indicates the material that is applied to it.
- Click to apply the paint.
- In the Material Browser dialog, click Done.
More about painting surfaces
- To remove the paint, use the Remove Paint tool.
- You cannot apply materials to faces of component family instances (except columns) in a project. You must apply the materials to faces of a component family in the Family Editor.
- You can apply paint to the face of a column. However, if you plan to have multiple instances of the painted column in your project, create the column in the Family Editor and apply the paint there.
- When you are in the Family Editor, you can create a family parameter of type material. You can then paint a face (or faces) of the family with the material parameter. In a project materials are applied to the painted faces by setting the parameter to a material in the project.
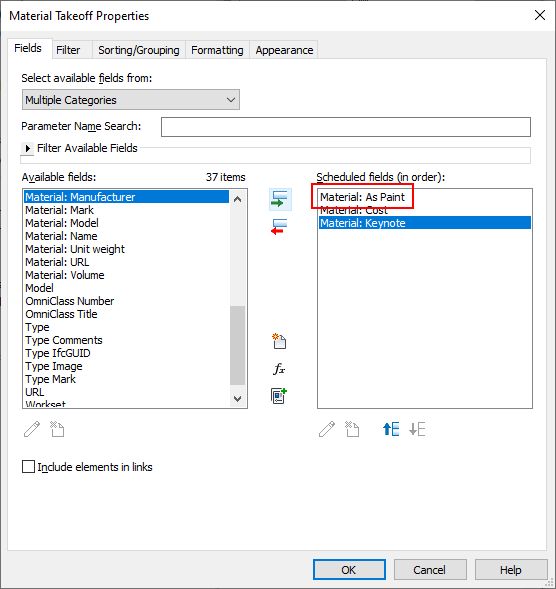
- For quantity reporting and scheduling, materials that are applied with the paint tool are distinguishable from those that are used as the body material of host object elements.
