Navigating and Hiding parts
In this step, we'll go over a few techniques you'll need in the next steps: navigating the model and hiding parts to access internal parts.
Navigating the Model
There are three basic ways to navigate (move) the model--rotate, zoom, and pan.
1. To rotate the model, hold the Shift key (on the keyboard) and the middle mouse button while moving the mouse:

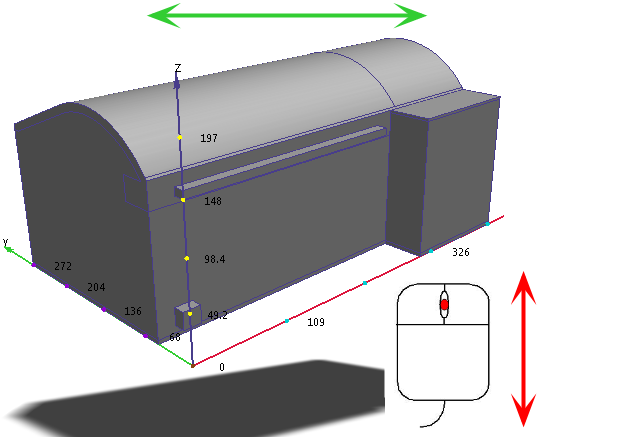
2.To zoom the model, roll the mouse scroll wheel:

3. To pan (move) the model, hold the middle mouse button while moving the mouse:

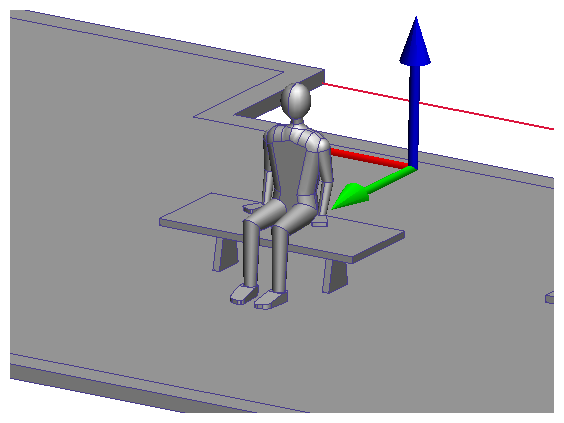
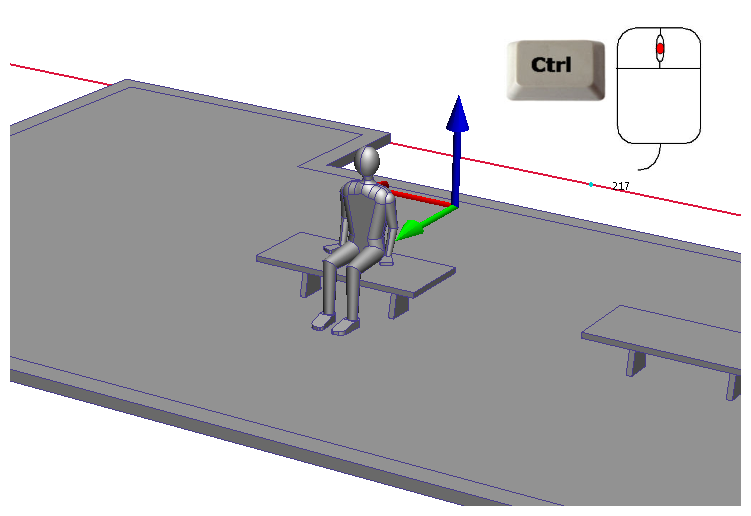
4. To see the human occupant, hide the wall and air parts by positioning the curser over each, hold Ctrl, and clicking the middle mouse button.
a. Hide the wall part.
 |  |
b. Hide the air part.
 |  |
5. Rotate the model and zoom in to get a good view of our friend.

6. To show all the parts again, move the mouse off the model, hold Ctrl, and click the middle mouse button.

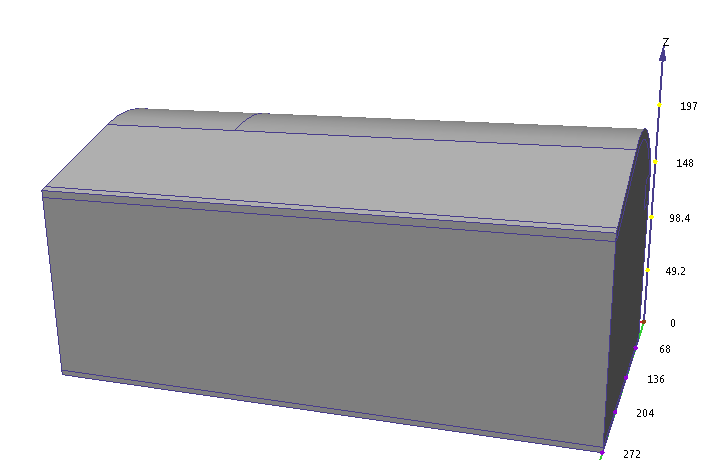
7. To see the entire model, zoom out.
