Lights
Learn about delta and area lights, such as directional, point, spot, spherical, disk, and rectangular. Also, read about IES Profiles, Ray Files, and light nodes.
You can create the following types of lights in VRED:
Delta and area lights, which include directional, point, spot, spherical, disk, or rectangular lights.
IES Profiles and Ray Files (VRED Professional only).
For information on using lights, see Working with Lights.
Delta and Area Lights
Directional, point, and spot light are all delta lights that create hard shadows in Raytracing. In OpenGL, their shadow can be softened using Map Filter Radius, which is found in the Light Editor > Light Settings tab, under Properties. Rectangular, disk, and spherical light are area lights that create soft shadows, depending on their size in Raytracing. In OpenGL, their shadow can be softened with the Map Filter Radius, which is found in the Light Editor > Light Settings tab, under Properties.
These are the delta and area lights found in VRED:
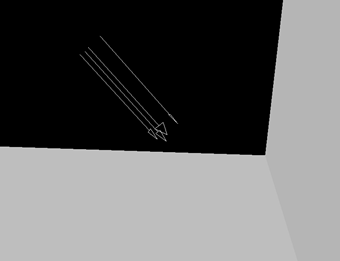
Directional Light
Light rays from directional light sources are parallel like sunlight. A directional light represents a distant light source and has no position, only a direction that affects how the scene is illuminated.
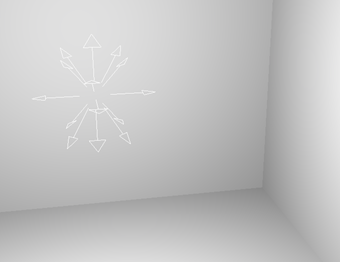
Point Light
Point light rays start at a single point and emit radially.
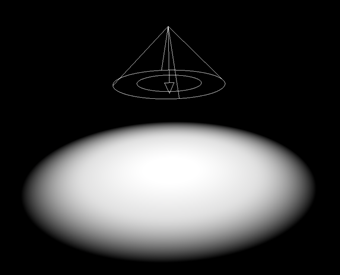
Spot Light
Spot light rays follow a beam cone. They start at a single point and spot in a circular area on the object. It is often used to emphasize an object or surface.
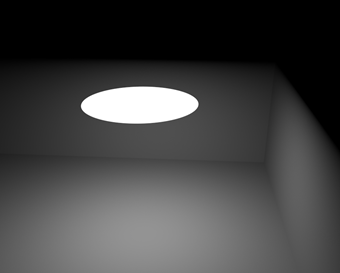
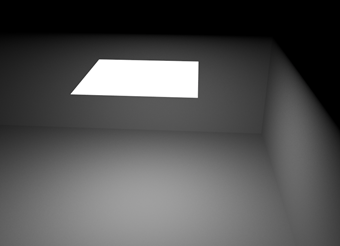
Disk Light or Rectangular Light
The disk and rectangular lights are area lights that emit light from a flat surface, either from a circle (disk) or square (rectangular).
| Disk Light | Rectangular Light |
|---|---|
 |
 |
Use these to creating area lights to connect to HDR Light Studio. See How to Connect Area Lights to HDRLS.
In Render Settings > Raytracing Quality > Illumination Mode, enable Precomputed + Shadow, Precomputed + IBL, or Full Global Illumination for the correct diffuse, glossy, and specular reflections, as well as shadows from area lights. Also, pay attention to the area light's actual 3D position inside the scene. If the area light is outside the dome (environment geometry), it won't be seen inside the dome or in the specular reflections. To correct this, place the area light within the dome and enlarge the dome. By default, the dome has a radius of 10,000 mm (10 meters).
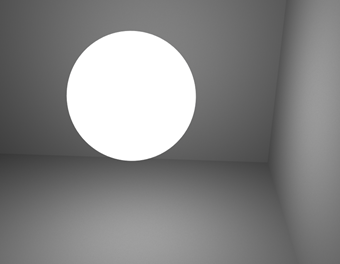
Spherical Light
The spherical light is an area light that emits light from a sphere. It is more realistic than point light.
IES Profiles and Ray Files (VRED Professional only)
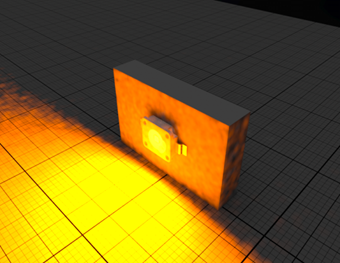
Ray Light
Ray light files contain the simulated spatial and angular distribution, as well as photometric or spectral information of emitted light from a complex light source.
Location and rotation can be modified by using the Transform Manipulator.
VRED can read ray files in the following formats:
- plain ASCII format
- LucidShape's ASCII and binary formats
- spectral LucidShape ray file format
- Osram's ASCII format
The basic method is to use photon mapping, which is easy to set up and accurately recreates the illumination stored in the ray file. However, since ray files are just a bunch of photons, they cannot be seen in specular reflections/refractions. Glossy reflections are also problematic, since you need a lot of rays for them to be noise free.
For the second method, you need the geometry the photons in the ray file originating from. If you have the geometry, you can turn it into a lightsource (in the material's Incandescence channel: select Evaluate Ray Lights). Whenever a ray hits the light geometry, a view-dependent lookup into the ray file is performed. With this approach, you do not need to use photon mapping. You can "look directly into" the light source and see the light in the specular reflections/refractions. Although you will get a noise-free image easier, it maybe not be as accurate.
VRED Professional only, Raytracing only, needs photon mapping or surface with ray light evaluation
IES Profiles
In Raytracing and OpenGL mode, these light types support an IES profile: Point light and Spot light.
In Raytracing mode, these light types support an IES profile: Disk light, Rectangular light, and Spherical light.
The correct way to use an IES profile is to load it into a point light. Use other types to achieve certain effects.
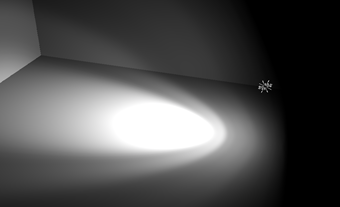
Point Light with IES profile (VRED Professional only, Raytracing or OpenGL)
Light Nodes in the Scenegraph
In VRED 2016 and previous versions, in the Scenegraph, there were two nodes for each light source. One node stored its transformation, in contrast to the second, which stored properties, such as color. Define which objects could be locally lit by the light source using the location of that second node in the Scenegraph hierarchy
Since VRED 2017, there is one node per light source in the Scenegraph, which stores both the transformation and other properties of the light, such as color. Since the position of that node in the Scenegraph is not relevant when it comes to local lighting, use Light Link Sets in the Light Editor to define local lighting of objects.