Attributes
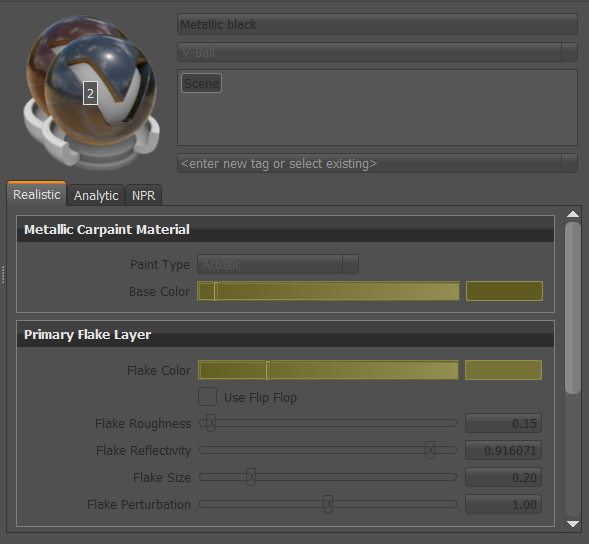
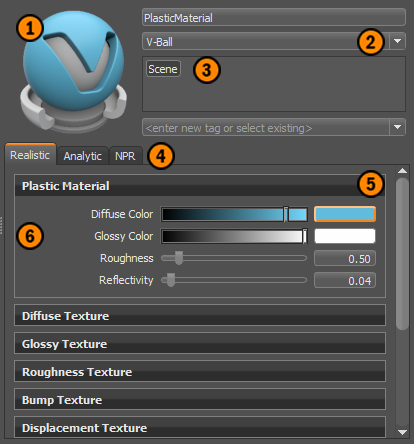
The Attributes shows all available attributes for the currently selected material, which can be modified, along with a preview of the material. Any tags associated with a material are listed to the right of the preview. The material name can be edited by clicking the Name field and entering a new one.
|
|
 Material Preview
The material preview is the shader ball (or other shape) that provides a visual representation of the material applied to simple geometry. To change the shape of the geometry, use the Material Preview dropdown. There are default shapes or you can create your own.
The name of the material is to the right of the preview. To rename it, click the material name and make your changes.
 Material Preview Dropdown
As for 2023, you can change the shape of the material preview to best display the material, using the dropdown below the material name.
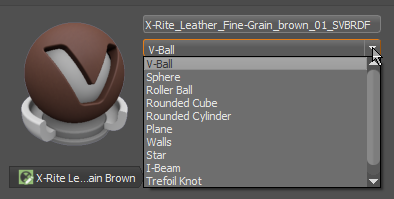
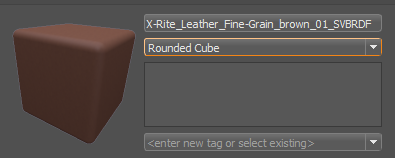
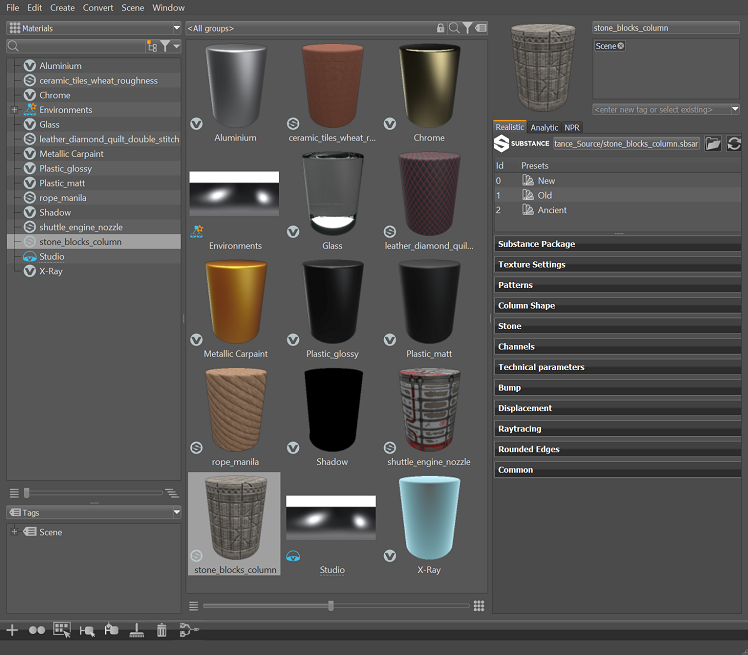
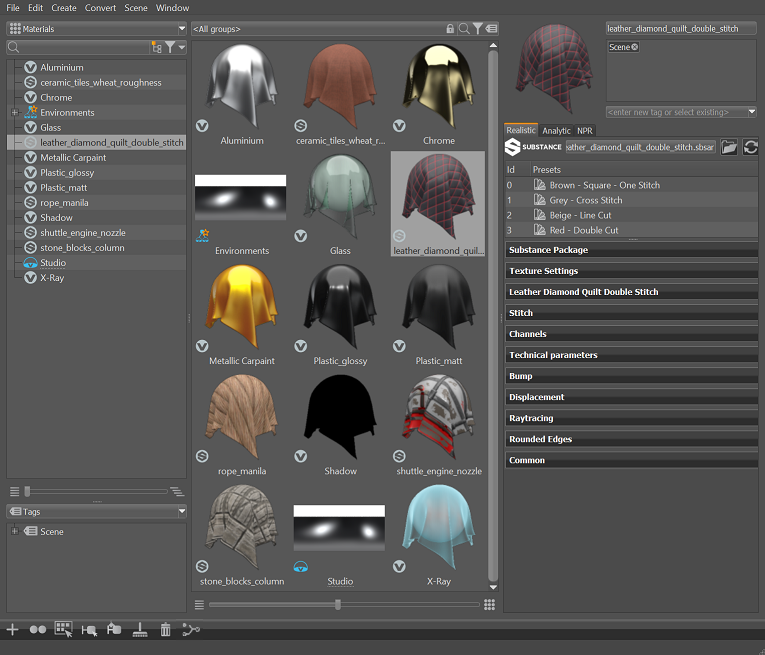
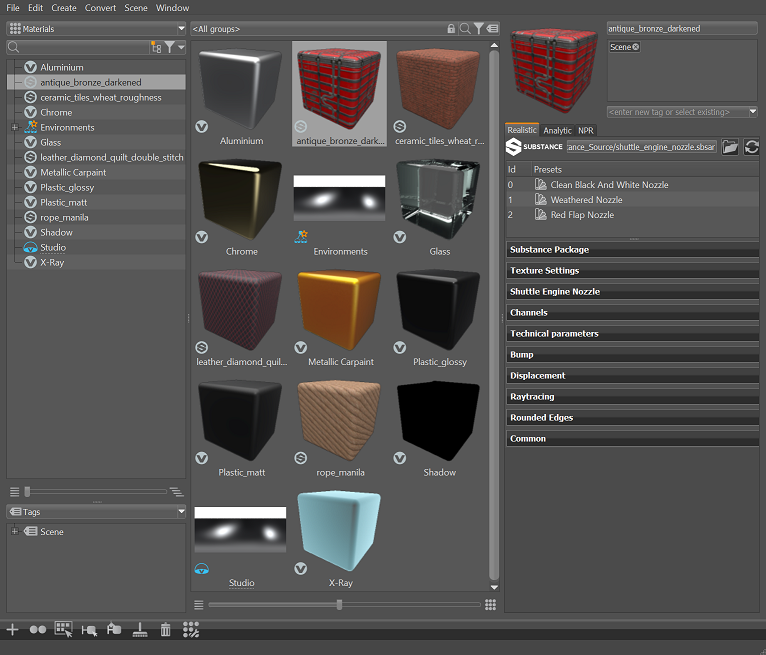
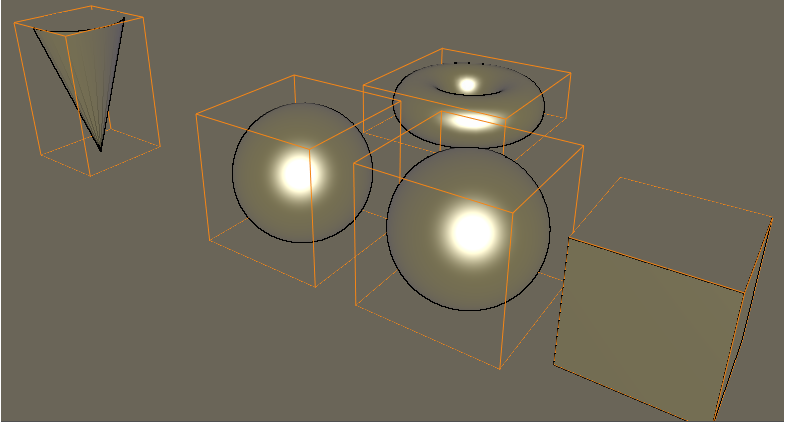
Change the material preview shape for easier identification of materials, especially those with patterns or decals, which are hard to judge as the material ball. Use different shape to categorize materials. For example, try the Draped Fabric preview for cloth and Cylinder for metals.
| Cylinder | Fabric | Cube |
|---|---|---|
 |
 |
 |
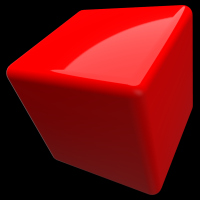
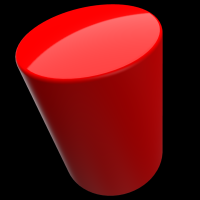
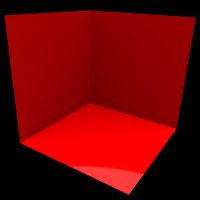
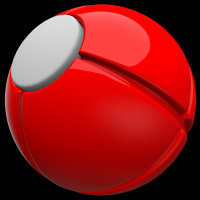
Select from the following geometric shapes to change the shape used for the material preview.
 |
 |
 |
 |
 |
 |
 |
 |
 |
|---|---|---|---|---|---|---|---|---|
| V-Ball | Rounded Cube | Sphere | Rounded Cylinder | Plane | Walls | Roller Ball | Trefoil Knot | Draped Fabric |
For instructions using this, see Changing the Material Preview Shape, and for how to make custom material preview shapes, see Creating Your Own Material Preview Shape.
For materials, such as decals, the typical shader ball may not best represent the material. Changing the shape can make it easier to identify various materials in the Group Preview.
Modify Asset and Save Asset
Since asset materials are references of files from the Asset Manager, making a change to one can effect all in use. This is why an extra step is required for modifying one. When wanting to make a change to an asset material, use the Modify Asset/Save Asset button found below the Asset Material icon.
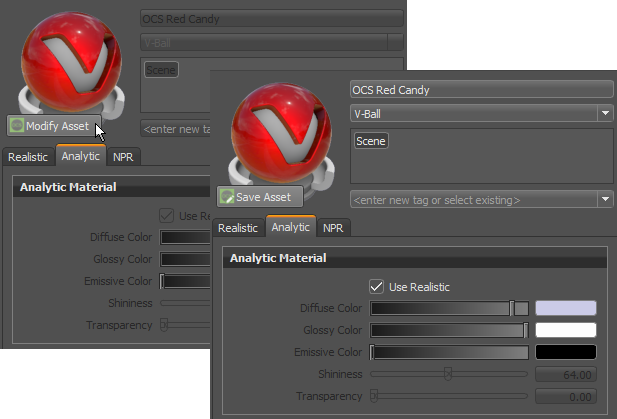
Modify Asset - Makes it possible to change the selected asset, including its material preview. Click the button to make it editable, changing the button to Save Asset.
Save in Asset Manager - Saves the modified asset material within the Asset Manager, updating all references. Click the button to save the modifications, return the attributes to an uneditable state, and revert the button to Modify Asset.
 Tags
Tags
Tags can be RMB-dragged from the Tags Lister and dropped into the Attributes Tags area.
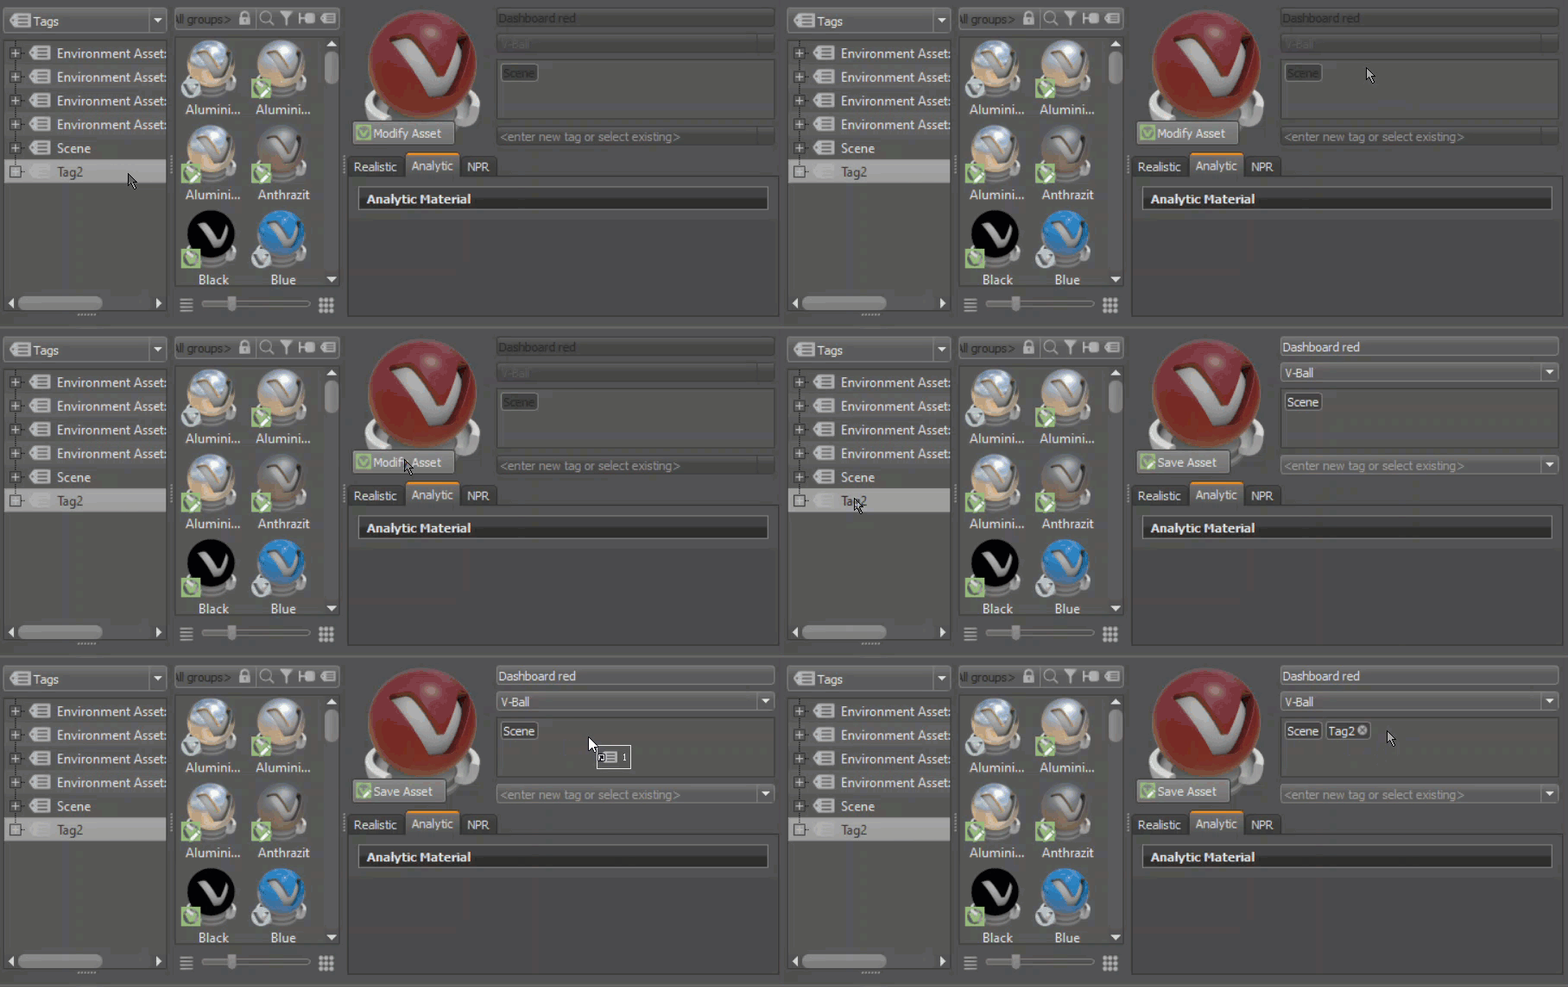
Use the field below the Tags area to add an existing tag to the current material or create one for the material.

Any material with a tag appears in the Metadata Editor.
Breadcrumbs
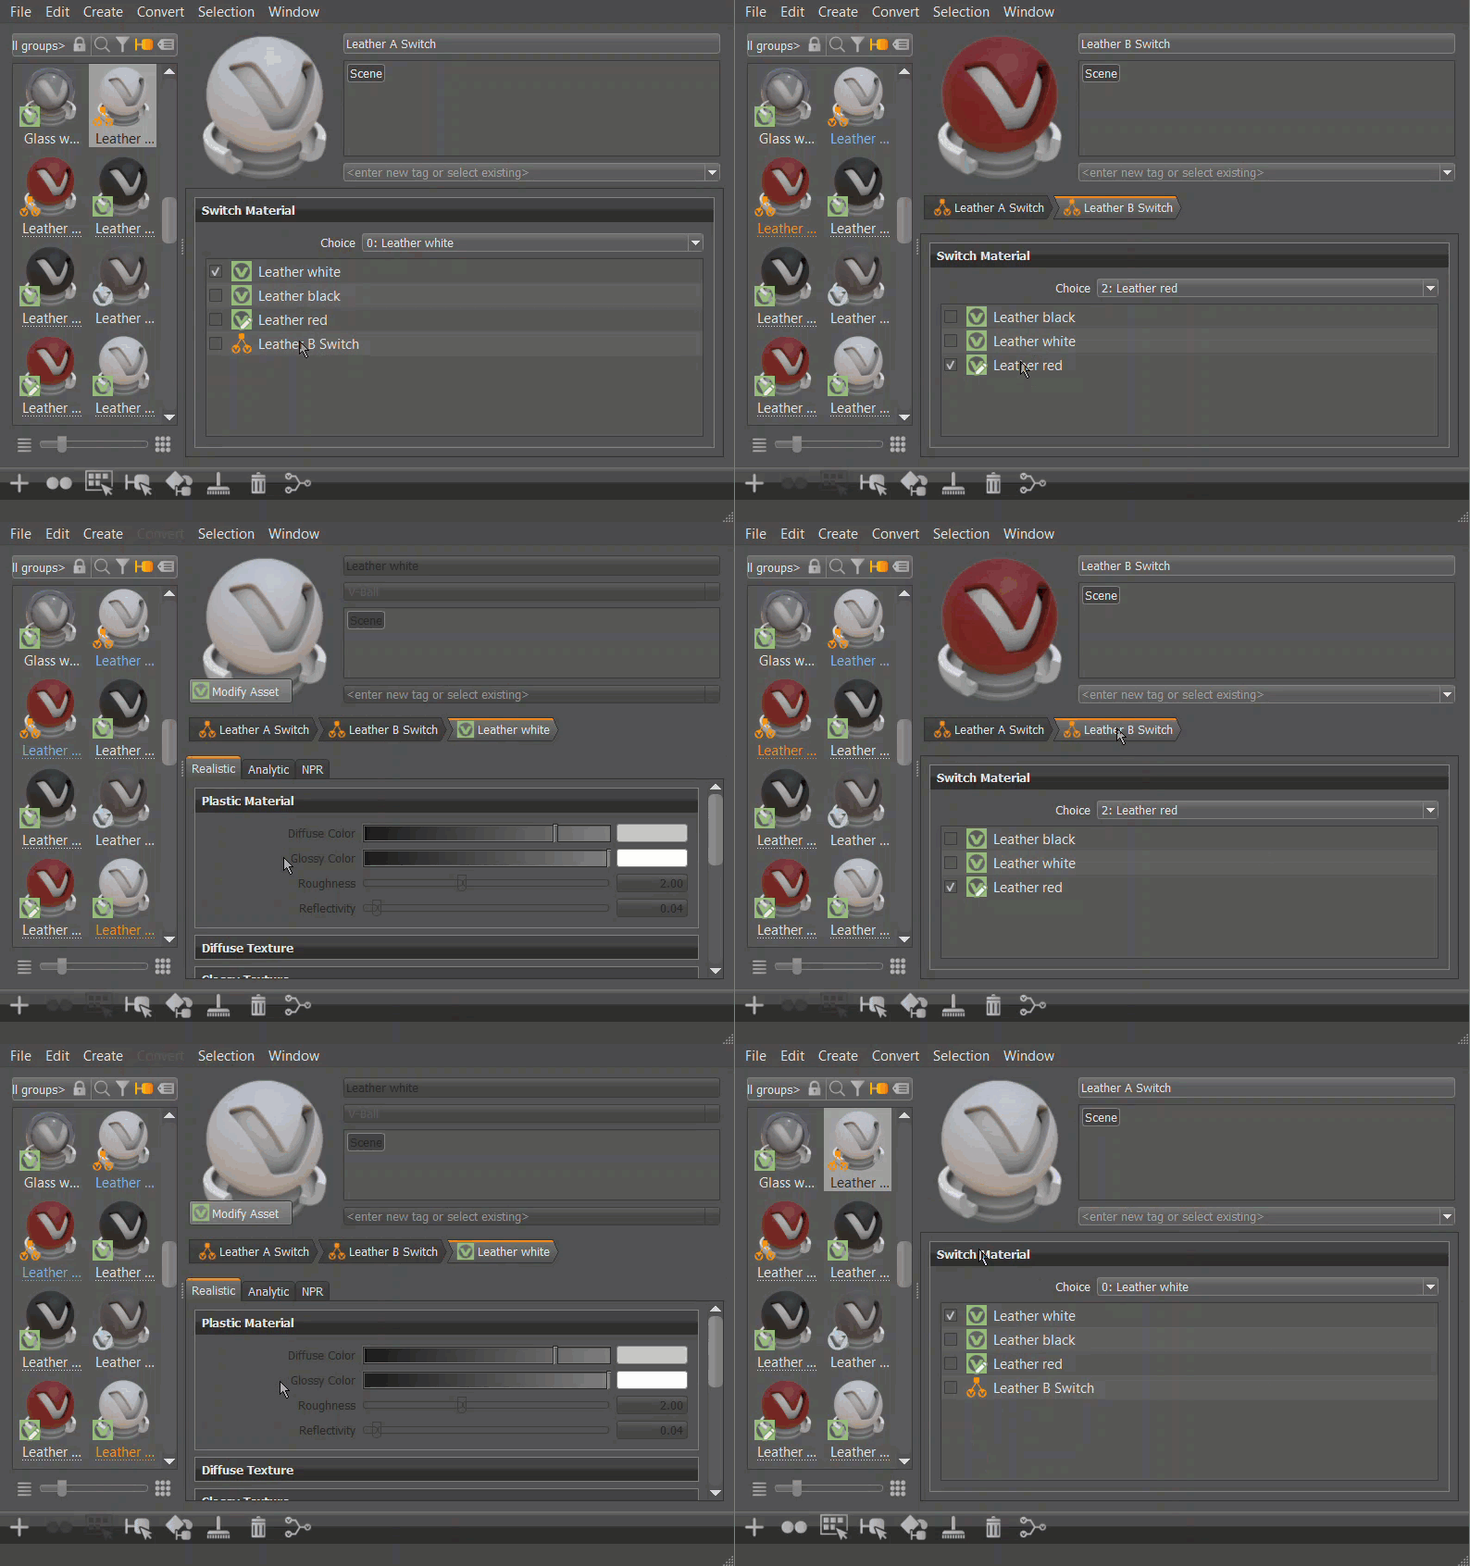
In 2023, we added "breadcrumb" tab navigation for seeing the organization of sub-materials and their parents, making it easier to navigate between these materials.
Dbl-clicking a sub-material within the Switch Material or other parent material section loads that sub-material's attributes and displays breadcrumbs. Clicking a tab in the breadcrumb will navigate to that material.
 Tabs
Tabs
There are three tabs along the top of the Attributes: Realistic, Analytic, and NPR.
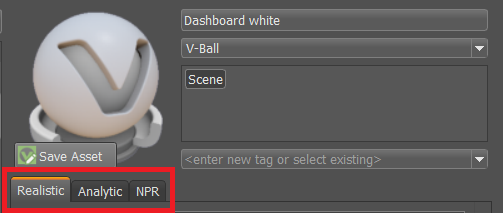
Each tab contains attributes for controlling the look of your materials. By default, material attributes are displayed in the Realistic rendering mode. Selecting Analytic or NPR opens the attributes for setting the shading parameters for these rendering modes.
Use these in conjunction with options in the Visualization menu. See the video, Visualization Modes, for more information.
Realistic
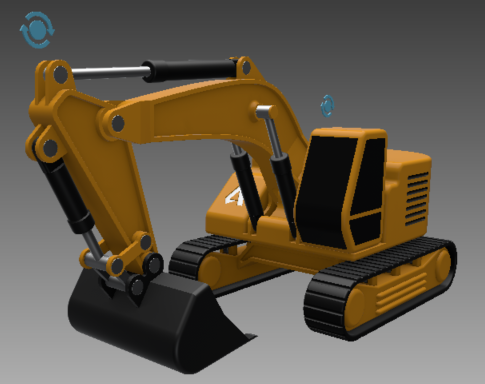
Use these settings to create a realistic look in conjunction with the Visualization > Realistic Rendering option. Using another Visualization option will provide different results. See Render Options in the Visualization Menu for more information.
For information on parameters in the Realistic tab, refer to the specific Truelight Material or consult the other Materials content.
Analytic
Sets the shading for the analytic rendering mode (Visualization > Analytic Rendering), which uses a basic shading quality, without distracting reflections. It only uses standard light sources and ignores IBL.
A light source is needed for analytic rendering, as there is no environment in this mode. In the Light Editor, enable Head Light to light the model.
 |
 |
|---|---|
| Use Realistic enabled | Use Realistic disabled and Transparency changed |
See Render Options in the Visualization Menu for more information on Analytic Rendering.
Analytic Material
Disable Use Realistic to access the Analytic Material options.
Use Realistic - Synchronizes the Analytic Material attributes with the Realistic Material attributes, disabling all custom Analytic attributes. Disable it to use the analytic rendering mode.
Diffuse Color - Sets the diffuse reflection color used in the Analytic Rendering mode. Use the slider to change the brightness; click the color field to the right to change the color.
Specular Color - Sets the color of glossy reflections in the Analytic Rendering mode. Use the slider to change the brightness; click the color field to the right to change the color.
Emissive Color - Sets the color of emitted glowing light from the material used in the Analytic Rendering mode.
Shininess - Sets the sharpness or width of the glossiness of the surface reflection. The higher the value, the glossier the surface.
Transparency - Sets the see-throughness of the surface in the Analytic Rendering mode. The larger the value, the more transparent. A value of 0 = completely opaque.

NPR
Sets the shading parameters for the Non Photorealistic Rendering mode (Visualization > Non Photorealistic Rendering), blending warm and cool colors to change the object color and glossy exponent. Use these settings to create a 2D illustration look.

For a simple example using these tools, see James Cronin's Use VRED PRO to create coloring book imagery video.
Warm Color - Sets the shading color for the surface's area with normals pointing toward a light source.
Cool Color - Sets the shading color for the surface's area with normals pointing away from light sources.
Alpha and Beta - Alpha and Beta are used in combination to blend warm and cool colors with object colors.
Alpha and Beta = 0 Alpha and Beta = 0.5 (Default) Alpha and Beta = 1 No object color, only cool/warm mix, based on the viewing angle and object shape. Mix of cool, warm, and the object color. Neither cool nor warm, only the object color. 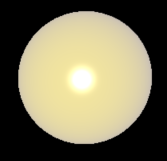
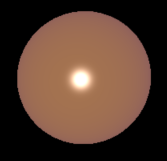
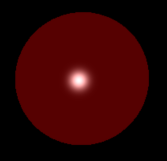
Specular Color - Sets to color used for the glossy specularity.
Default Changed 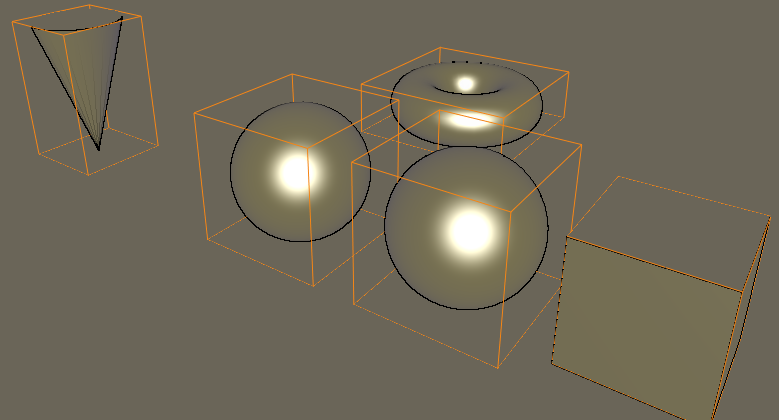
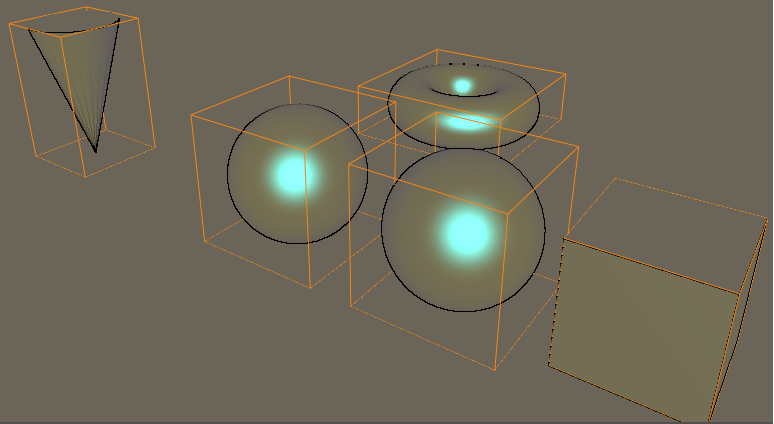
Exponent - Sets the sharpness and width of the glossy specular reflection on the surface. The lower the value, the larger the width, which translated to a hotter lightsource and very glossy surface.
Exponent = 500 Exponent = 5 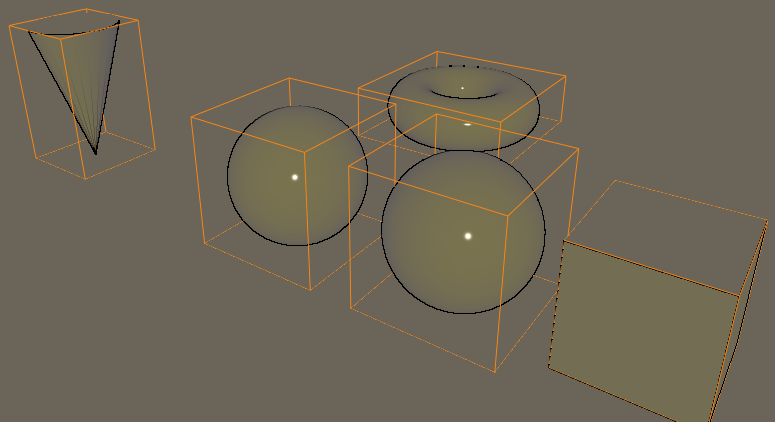
 Sections
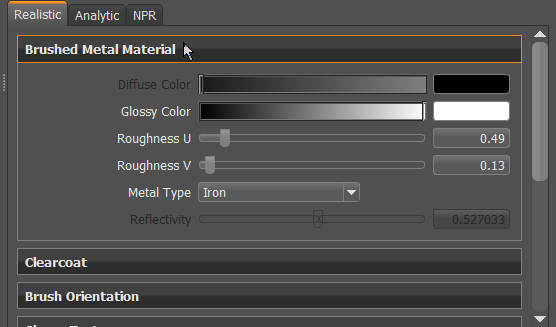
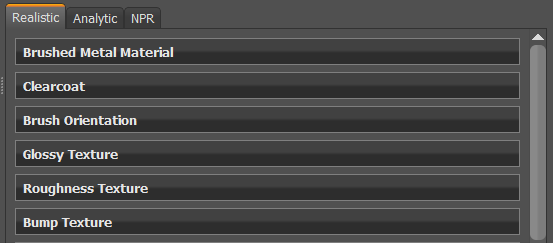
When a material is selected, its attributes are loaded. These attributes are grouped into sections, which can be expanded or collapsed by clicking the section header.
| Expanded Section | Collapsed Section |
|---|---|
 |
 |
For asset materials, Modify Asset must be used to access their attributes.
 Attributes
Attributes displays all available settings for the currently selected material or materials, which differ per material. When multiple materials are selected, you can change values for the complete selection at once in Attributes. This means you can set an override for multiple materials.
Information on the most noteable material attributes can be found in General Truelight Material Settings in the following sections:
- Incandescence
- Transparency
- Raytracing
- Displacement
- Rounded Edges
Shadow attributes can be found in Shadow.
Environment attributes can be found in Sphere Environment, Skylight, and Substance Environment.
Note:For HDR Light Studio attribute definitions and explanations, see HDR Light Studio.
Multiple Material Selection and Editing
Multiple materials can be selected, using either Shift or Ctrl, which loads them into the Attributes. When multiple materials are selected, a yellow background appears for input fields that are not common amongst the selected materials. You can change values for the complete selection at once, setting an override for multiple materials.
