Context Menu
Contains quick shortcuts to commonly used Material Editor functions.
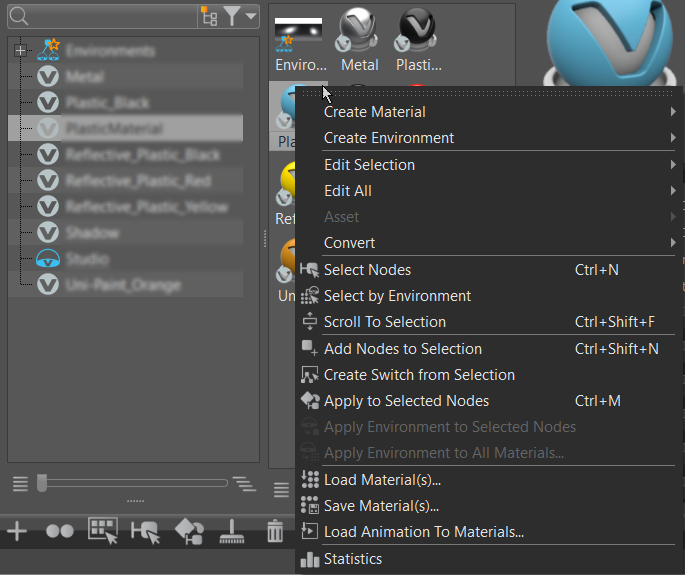
Right-click in the Material Graph and Group Preview to access the following options. These options are grouped into creating, editing, selecting, adding, and loading and saving.
Creating
- Create Material - Creates a material. Choose from a large list of materials. See the Truelight Materials Reference section, for information on each material and its use.
- Create Environment - Creates an environment map material. Choose from Sphere Environment, Skylight, Substance Panorama, and Environment Switch.
- Create Group - Creates a group node in the Material Graph. Select and drag materials into it.
Editing
Edit Selection - Accesses a sub-menu with options for copying, pasting, duplicating, and deleting, along with others for pasting attributes and texture size, dealing with inline images sequence, and locking and unlocking materials.
Edit All - Accesses a sub-menu with options for merging, optimizing, and removing. These options are also found in the Edit menu.
 Merge Duplicate Materials - Merges materials, based on the option selected in the Merge Duplicate Materials dialog that appears.
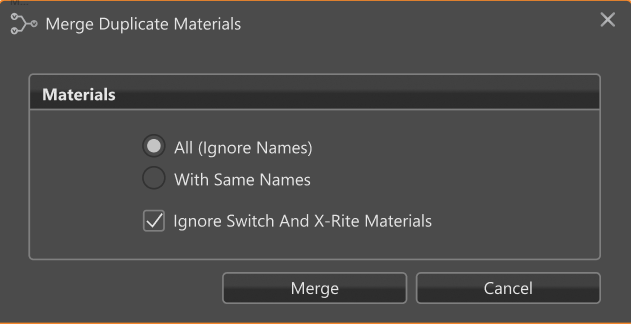
Select one or more options, then click Merge. Locked materials cannot be merged.
- All (Ignore Names) - Merges all materials, regardless of different naming.
- With Same Names - Merges only materials that share the same name.
- Ignore Switch and X-Rite Materials - When checked, switches and X-Rite materials are omitted from the merging, even if they are a duplicate.
 Remove Unused Materials (Ctrl+U) - Removes all unassigned materials from the Material Graph.
 Reference Unused Materials - Creates a reference to any unused materials, so that they are not erased by commands such as Remove Unused Materials.
 Optimize Textures - Optimizes textures to improve memory performance.
 Remove All Groups - Removes all material group nodes and places the materials in the top level of the Material Graph.
Asset - Provides a submenu for editing the usage of external file references. These files are imported into the Material Editor and are present within its structure. Any change to an external file reference will be present within the scene, once the affected file is reloaded.
Note:If changes are made to an asset from within VRED, Modify Asset and Save Asset or Asset > Modify and Asset > Save in Asset Manager must be used to propogate the change to all references.
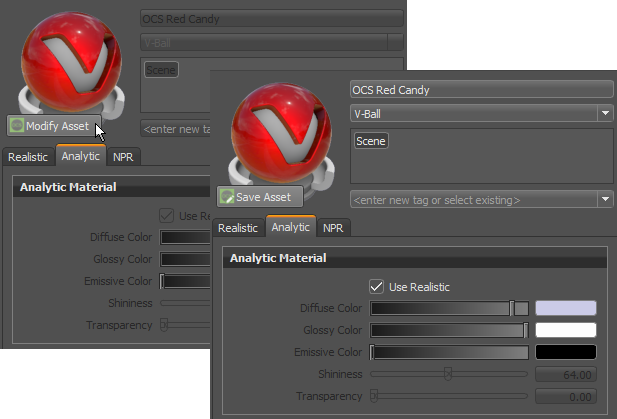
 Modify - Unlocks the asset, so the material and/or material preview can be modified. The referenced asset in the Asset Manager remains unaffected.
Before After 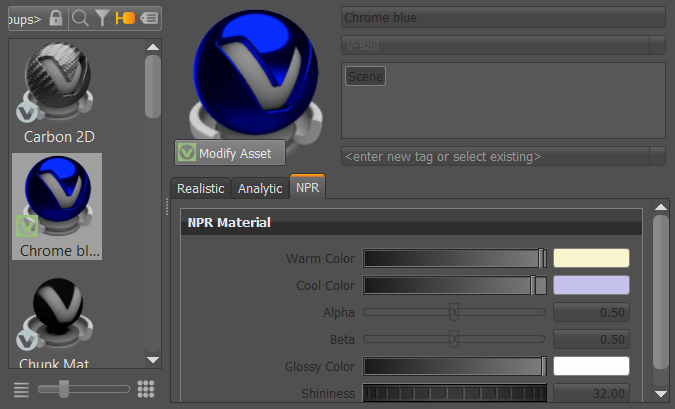
 Tip:
Tip:You can also click the Modify Asset button below the Material Preview.
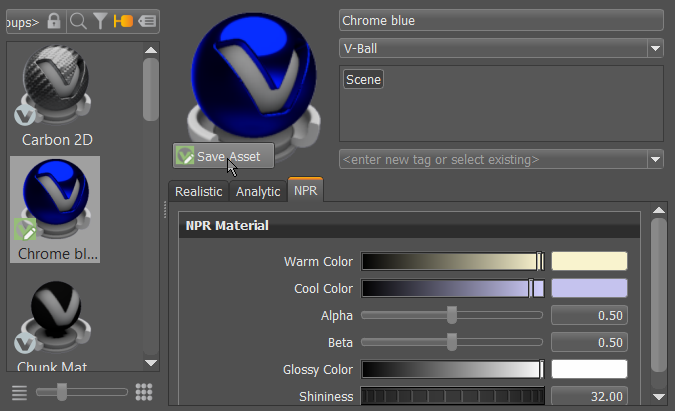
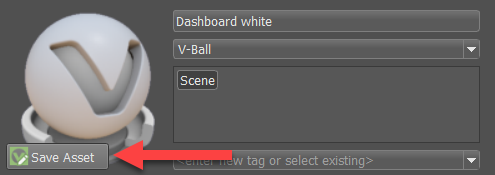
 Save in Asset Manager - Saves the modified selected asset within the Asset Manager, updating all references. Attributes is greyed out, once saved, and the Save Asset button reverts back to Modify Asset.
Before After 
 Tip:
Tip:You can also click the Save Asset button below the Material Asset icon.
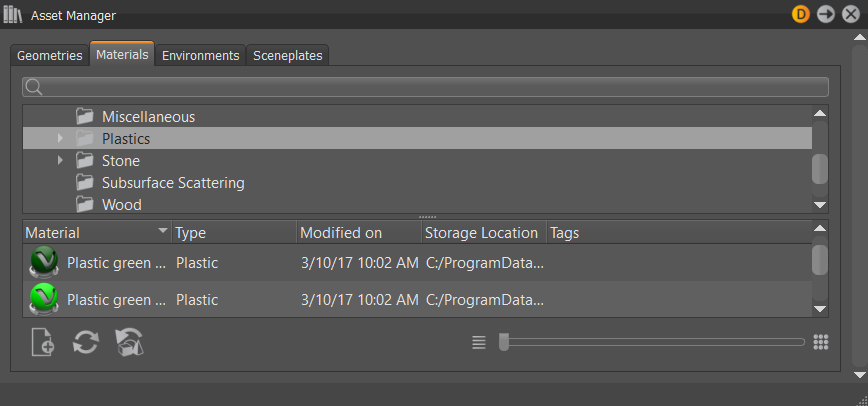
 Find in Asset Manager - Opens the Asset Manager and selects the corresponding folder within the file browser tree inside the Asset Manager's Materials tab.
 Reload from Asset Manager - Opens the Reload from Asset Manager for replacing the asset in your scene with the current version from the Asset Manager.
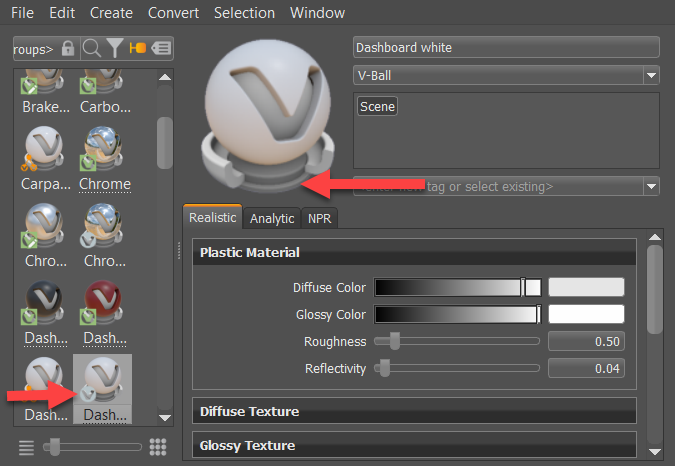
 Remove Link - Breaks the link from the node of the selected asset to the Asset Manager. The material is no longer a material asset, as seen by its icon
  and the absence of the Modify Asset button.
- Convert - Accesses a sub-menu with options for converting the selected material into a TrueLight material, Phong Truelight material, Skylight, or Sphere Environment.
Selection
Select Nodes - Selects the geometry nodes assigned to the currently selected materials.
Select Material - Selects the original material used in the grouped hierarchy (a switch, multi pass, or layered material). Select a child material within a switch, multi pass, or layered material, then right-click and choose Select Material to select the original material.
Scroll to Selection (Ctrl+Shift+F) - Scrolls to the selected material. This is useful when working with large lists of materials.
Adding
Add Nodes to Selection - Extends the selection in the Scenegraph to include nodes with the currently selected material.
Group Selection - Creates a group from the selected materials, switches, or environments.
Create Switch from Selection - Creates a switch material node and applies selected materials to it.
Apply to Selected Nodes - Applies the currently selected material to the selected geometry nodes in the Scenegraph.
Create Light Sources - (Only available when Environment materials are selected) Opens the Create Light Sources from HDR module to add lights to your environment. Once the module opens, click the Create New Light Source button.
Boost Light - (Only available when Environment materials are selected)
In some outdoor HDRs, the sun is too dark compared to the sky. This leads to incorrect lighting that's bluish look, with shadows that aren't contrasted enough, etc.
Use the Boost Light dialog to repair an HDR. All values in the HDR above a threshold (e.g., 95% of maximum value) are scaled up by a user-defined boost. Use this to make the sun brighter, compared to the rest of the HDR.
Note:If you choose to apply your boost settings to the environment, this action is not undoable, as the pixel values in the HDR are actually modified (overwritten).
 Apply to Selected Nodes (Ctrl+M) - Applies the currently selected material to the selected geometry nodes in the Scenegraph.
 Apply Environment to Selected Nodes - (Only available when Environment materials are selected) Applies the environment to all materials of the selected nodes. This is a quick way to apply the same environment to a part of the model, such as a car exterior.
 Apply Environment to All Materials - (Only available when Environment materials are selected) Applies the environment to all materials in the Material Editor. Material types, such as Plastic, Brushed Metal, and Carpaints, use the environment for image-based lighting. Use the dialog that appears to assign the environment to only materials with a certain name.
For example, if you select an environment called “Skylight” and enter nothing in the dialog, all materials are assigned the Skylight environment. However, if you enter “Studio”, all materials currently assigned the Studio environment, now are assigned Skylight.
By default, all materials are assigned the default Environments switch. This means they use the environment that is currently active in the switch. When assigning a specific environment to a material, they will always use that environment, instead.
Loading and Saving
Load Material(s) - Allows the loading of all formats, such as AXF or HDR, using File > Load Materials. You can filter for HDR environment, Substance, X-Rite, and OCS materials. Materials are created using the original filename.
To create these materials, assign a texture file, like an AXF or HDR file. If you select multiple files containing any supported texture format, the Material Editor will create corresponding materials and assign textures to them automatically.
Save Material(s) - Saves the selected materials to a file.
Load Animation to Materials - Applies a saved material animation to the selected material nodes.
Statistics - Shows some important statistics about the materials used within the scene, such as the number of materials and textures and amount of memory used by the materials.