Material Graph/Tags
The Material Graph/Tags shows the logical sorting and listing of the currently created materials. It encompasses the Materials and Tags Selector, Search Bar and Filter, Material Graph, Extension Column, and Tag Lister.
Materials and Tags Selector
Sets whether a section will display the Material Graph or Tags. Click the selector to pick which view is displayed in which section. By default, one shows the Material Graph and the other, Tags; however, two graphs or tags could be displayed.

If two Material Graph views are displayed, only the last-focused one will auto-scroll to the selection.
Search Bar and Filter
The Material Editor has two searches, the basic and advanced, which provide a live-search. The basic search includes filtering. The advanced search does not, but its search is based on Python.

Basic Search
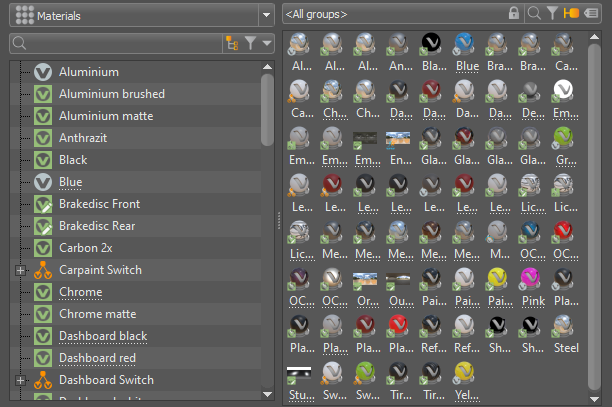
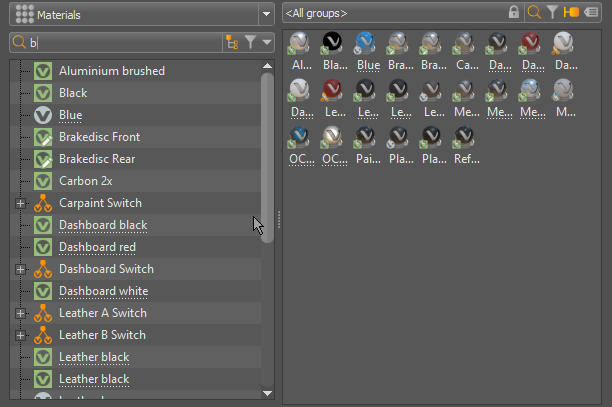
The search field provides live-search capabilities for materials. It is helpful for quickly identifying materials in complex scenes without browsing through a vast list of materials. Search by name. Only single search terms and regular expressions are supported.
Entering one character to show only materials with that character in their name.
| Original | Filtered |
|---|---|
 |
 |
Use ![]() to open the Filter Selection menu for configuring the filter settings. Press-hold the icon to open the Filter Selection menu for configuring the filter settings. Use it, for example, to toggle between all materials and all Substance materials.
to open the Filter Selection menu for configuring the filter settings. Press-hold the icon to open the Filter Selection menu for configuring the filter settings. Use it, for example, to toggle between all materials and all Substance materials.
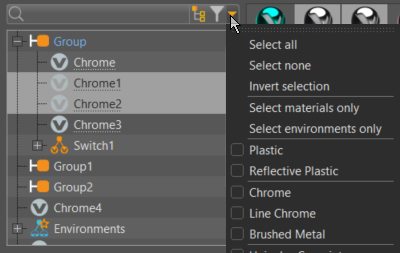
The search and filtering toggles in the Group Preview follows the search and filtering set in the Material Graph and Tag Lister.
The menu contains all the ways you can filter materials, from type to the following. Use these filtering options, in conjunction with a search term and/or tag selection, to further define a search.
Select All - Selects all items, which is the default.
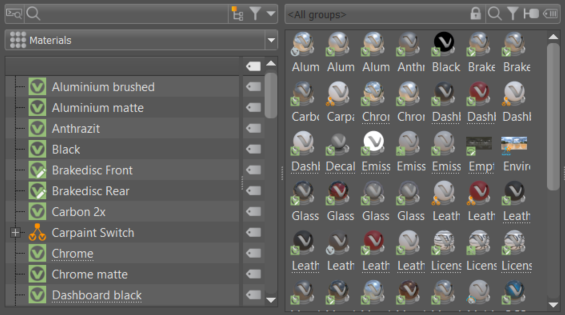
Select None - Clears the filtering selection, reloading all the materials in the Group Preview. Filtering is automatically deactivating in both the Material Graph and Group Preview.
Filtered After Select None 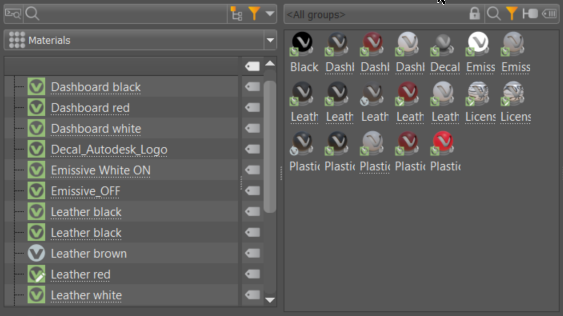

Invert Selection - Deselected all previously selected items, and selects all items previously unselected.
Select Materials Only - Selects all materials, while deselecting everything else.
Select Environments Only - Selects all environments, while deselecting everything else.
Filter Search Depth
Use ![]() Toggle Search Depth to toggle between flat and recursive matching. When disabled, only top-level matches appear. When enabled, matches deeper in the hierarchy appear.
Toggle Search Depth to toggle between flat and recursive matching. When disabled, only top-level matches appear. When enabled, matches deeper in the hierarchy appear.
| Flat Match | Recursive Match |
|---|---|
 |
 |
Advanced Search
For how to use the advanced search, see Using Advanced Search.

Material Graph
Lists all the materials, environments, switches, and groupings within the scene.
![]()
These are the icons you will see in the Material Graph and what they represent.
- Assets dropped from the Asset Manager into the Material Editor are represented by
 .
. - When an asset has been modified, its icon will include
 .
. - If an asset had been deleted from where it was stored,
 appears at the top of the icon.
| Icon | Element |
|---|---|
| OCS | |
| Substance | |
| X-Rite | |
| Asset | |
| Layered | |
| Multi Pass | |
| VRED Material | |
| Environment | |
| Switch | |
| Environment Switch | |
| Group |
When a material or environment is underlined, this means it is used elsewhere, such as within a hierarchy, like a switch.
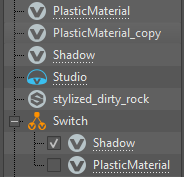
When Select all Occurances is used, the parent node text is highlighed blue, indicating a copy of the selected underlined material can be found within.
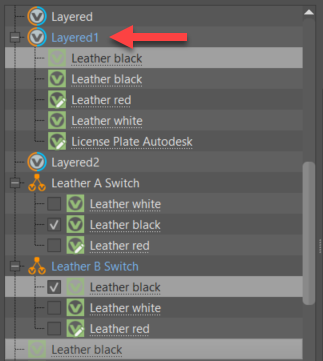
Right-clicking within the Materials Graph accesses the context menu.
Material Groups
Use groups to organize and easily find materials. For Python users, check out the Material Groups documentation.
Material groups can be imported into VRED. Use the Import Group Materials feature, in the File Specific Options of the Import File(s) dialog, to choose whether or not to import MaterialGroup nodes for part files, assemblies, or instances. See Material Group Import for more information.
To set a default state for importing of material groups, see the Import Group Materials section of the Catia V5 preferences.
To create a group, use Create Group, which can be found in the Create and context menus.
When a material group is selected, it affects what is displayed in the Group Preview. See Group Preview for more information on their influence on the Group Preview.
Expansion Column
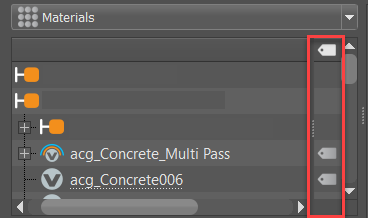
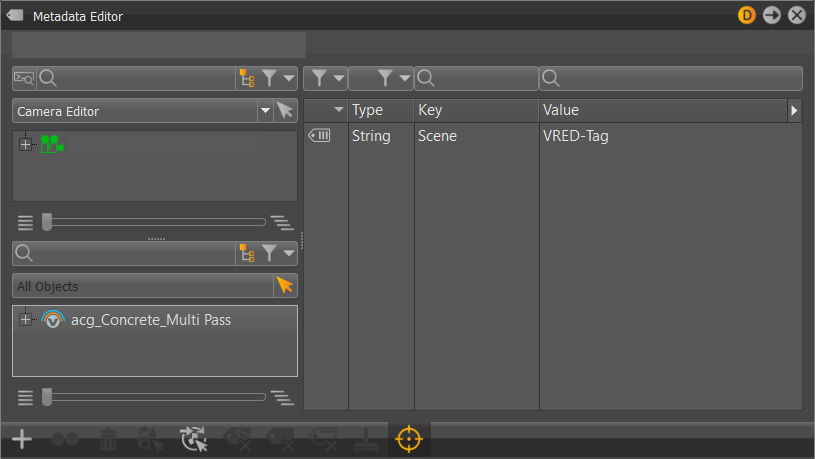
The Expansion Column displays icons showing which nodes contain metadata. The column is tucked into the Material Graph. Pull the grip to expose it. Double-clicking an icon opens the Metadata Editor, loading the node into the lower list.
Tag Lister
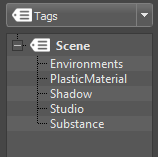
Select Tags from the Material and Tags Selector dropdown to display the Tag Lister. It lists all tags found in the scene materials.
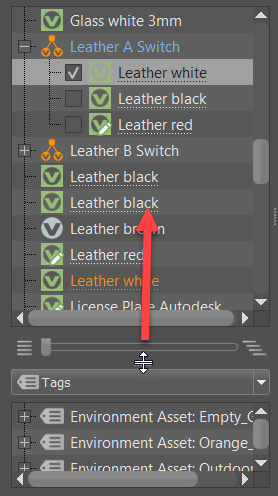
If there is only areas along the left, click-drag  up.
up.
How it Works
Use tags in conjunction with a search term and/or filters to further define a search.
Did you know that tags are used when working with markers in XR? See Preparing Nodes for Placement in the Markers in Mixed Reality section for more information.
Clicking a tag filters the Group Preview, displaying only the materials within the selected tag.
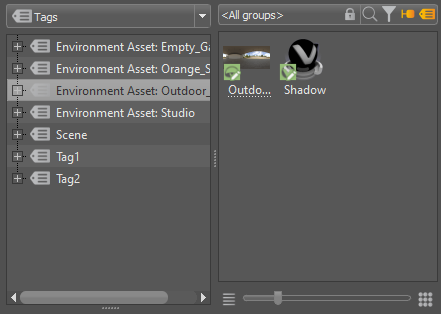
Clicking an empty space in the Tag Lister, resets Group Preview, displaying all materials.

Click-dragging one or more materials onto a tag adds them to that tag.
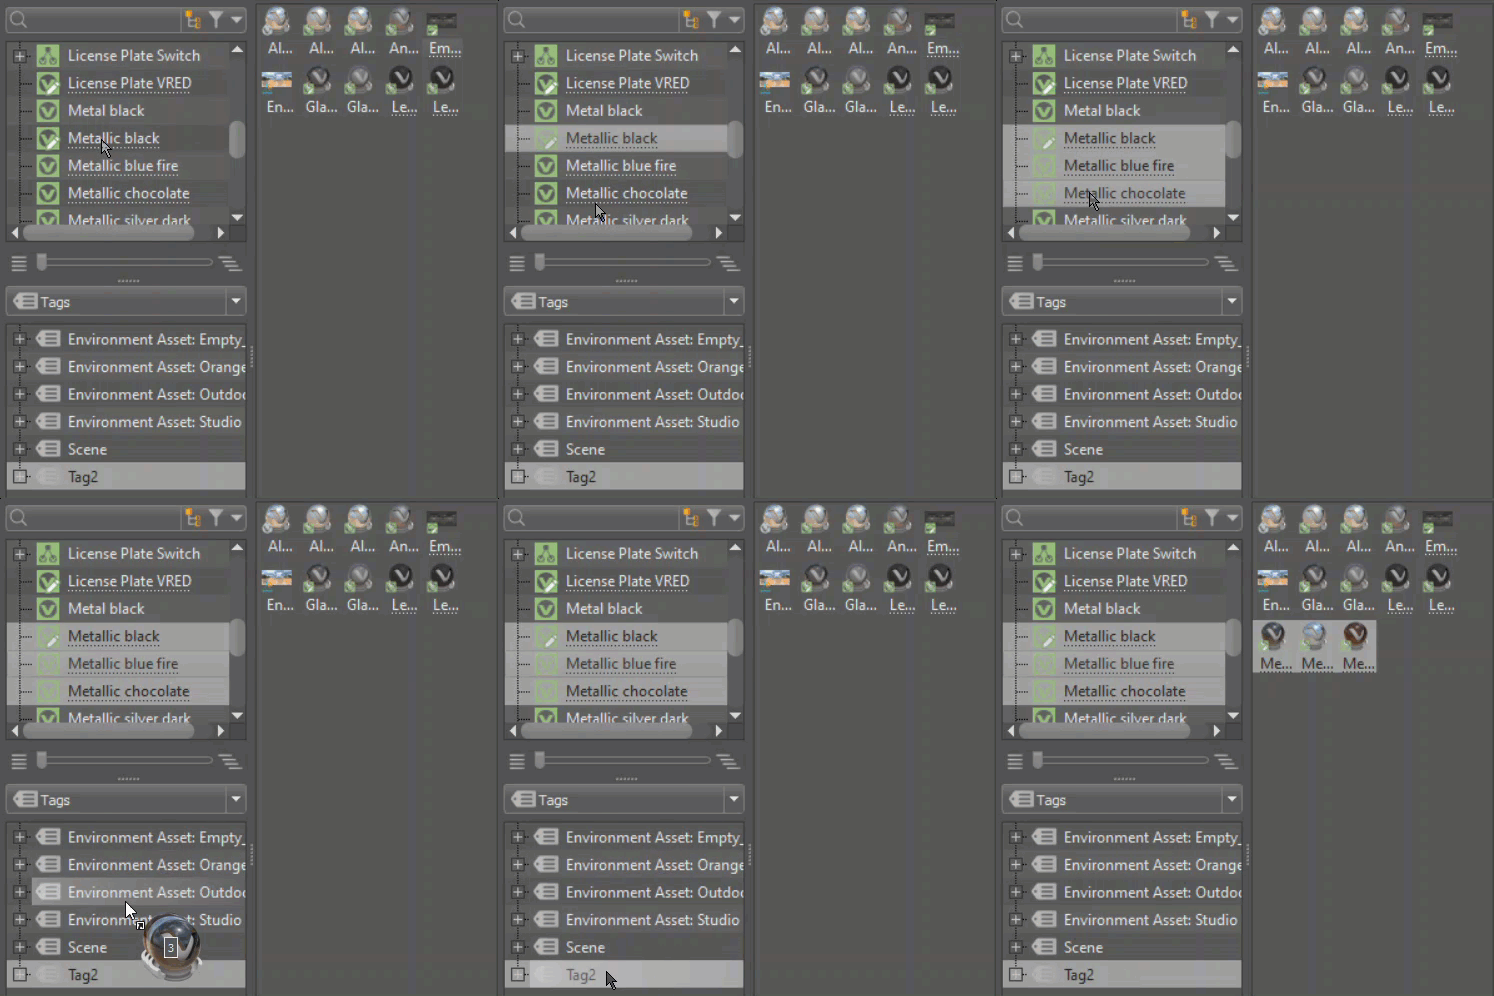
Doing either of these adds a tag to a material:
RMB-dragging a tag onto a material in the Material Graph.
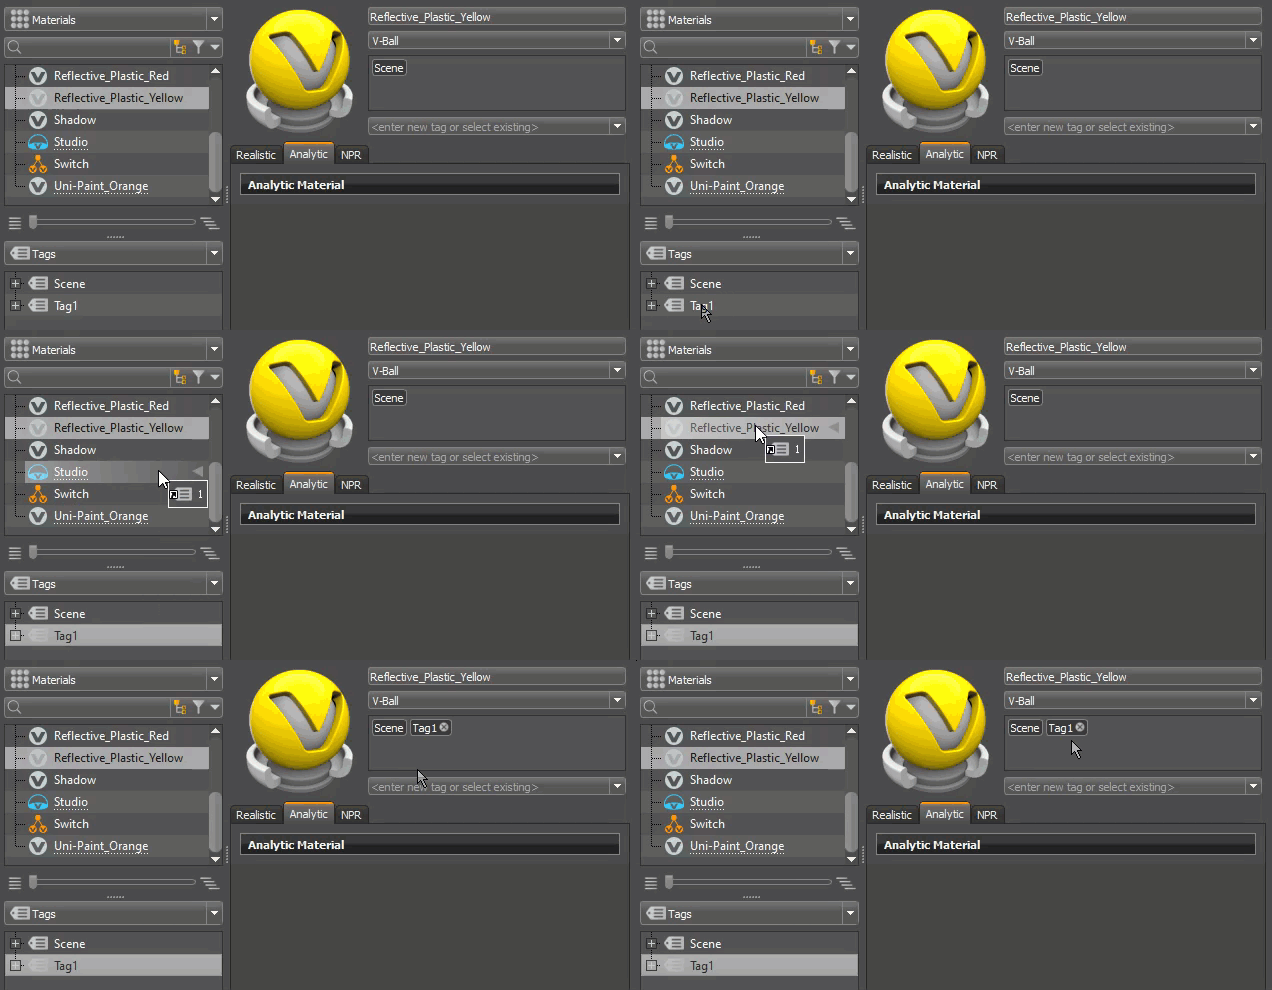
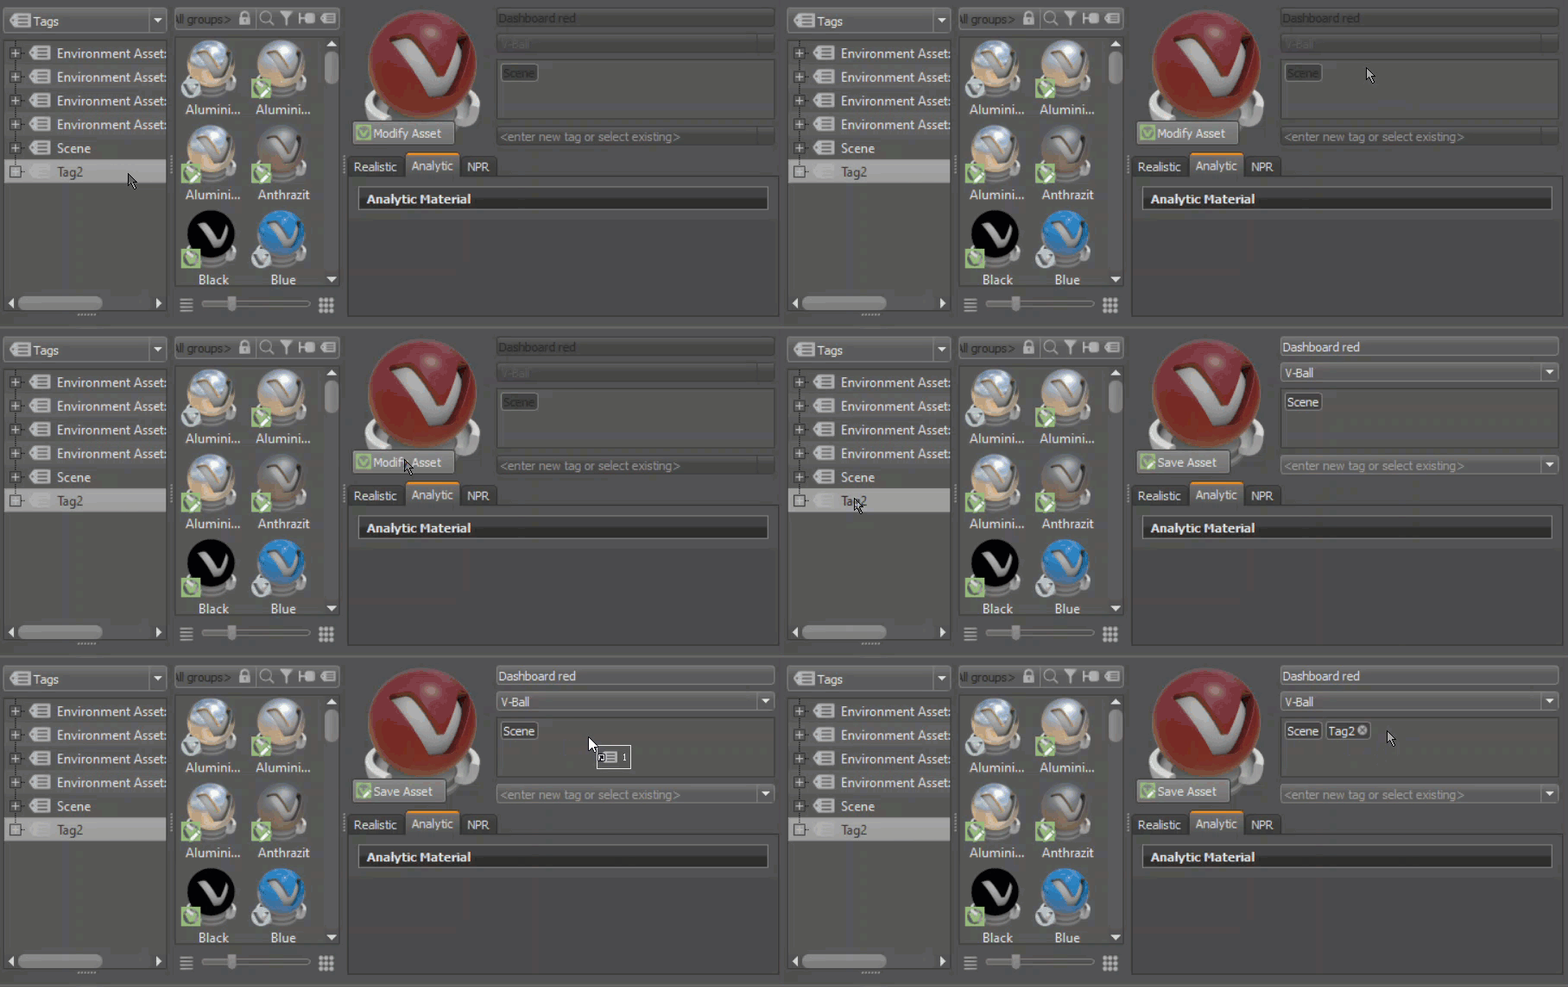
RMB-dragging a tag from the Tag Lister and dropping it into the Attributes Tags field.
Tag Lister Context Menu
Right-click within the Tag Lister to access the following options:
![]() Create New Tag for Selected Material - Creates a tag in the Tag Lister, using the selected material(s).
Create New Tag for Selected Material - Creates a tag in the Tag Lister, using the selected material(s).
![]() Add Tag to Selected Materials - Adds the highighted tag to the Attributes Tag area of the selected material.
Add Tag to Selected Materials - Adds the highighted tag to the Attributes Tag area of the selected material.
![]() Remove Tag from Materials - Removes the selected tag material(s) from the tag.
Remove Tag from Materials - Removes the selected tag material(s) from the tag.
![]() Delete Tag - Deletes the tag from the Tag Lister and from the Attrributes Tag area of all materials.
Delete Tag - Deletes the tag from the Tag Lister and from the Attrributes Tag area of all materials.
![]() Delete All Tags - Deletes all tags, with the exception of the default Scene tag, from the Tag Lister and from the Attributes Tag area of all materials.
Delete All Tags - Deletes all tags, with the exception of the default Scene tag, from the Tag Lister and from the Attributes Tag area of all materials.