Changing the Material Preview Shape
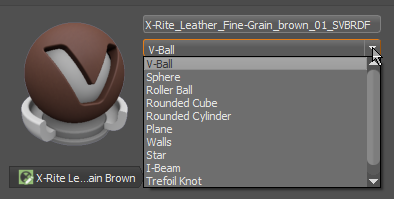
Change the shape of the material thumbnail to best display the material, using the material preview dropdown.

To change the geometry, click the dropdown next to the current material preview and select another option.
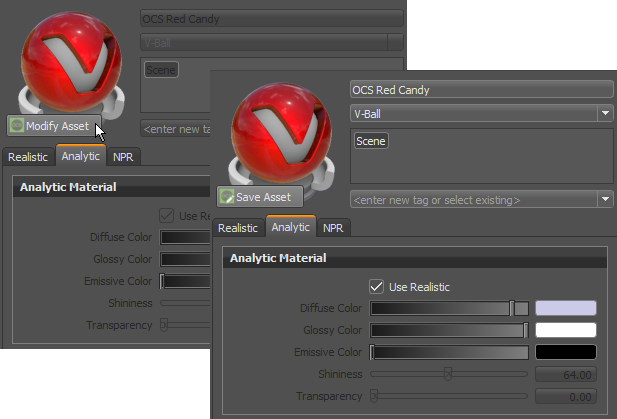
However, if the material is an asset, you will need to click the Modify Asset button, first. Then, if you want the change to affect all references of that material, click the Save Asset button.

You can assign a different material preview shade to multiple materials at once by multi-selecting materials in the Group Preview, then selecting a shape from the material preview dropdown.
![]()
For a video, see Autodesk VRED - Tutorial - Customize Material Preview.
Creating Your Own Material Preview Shape
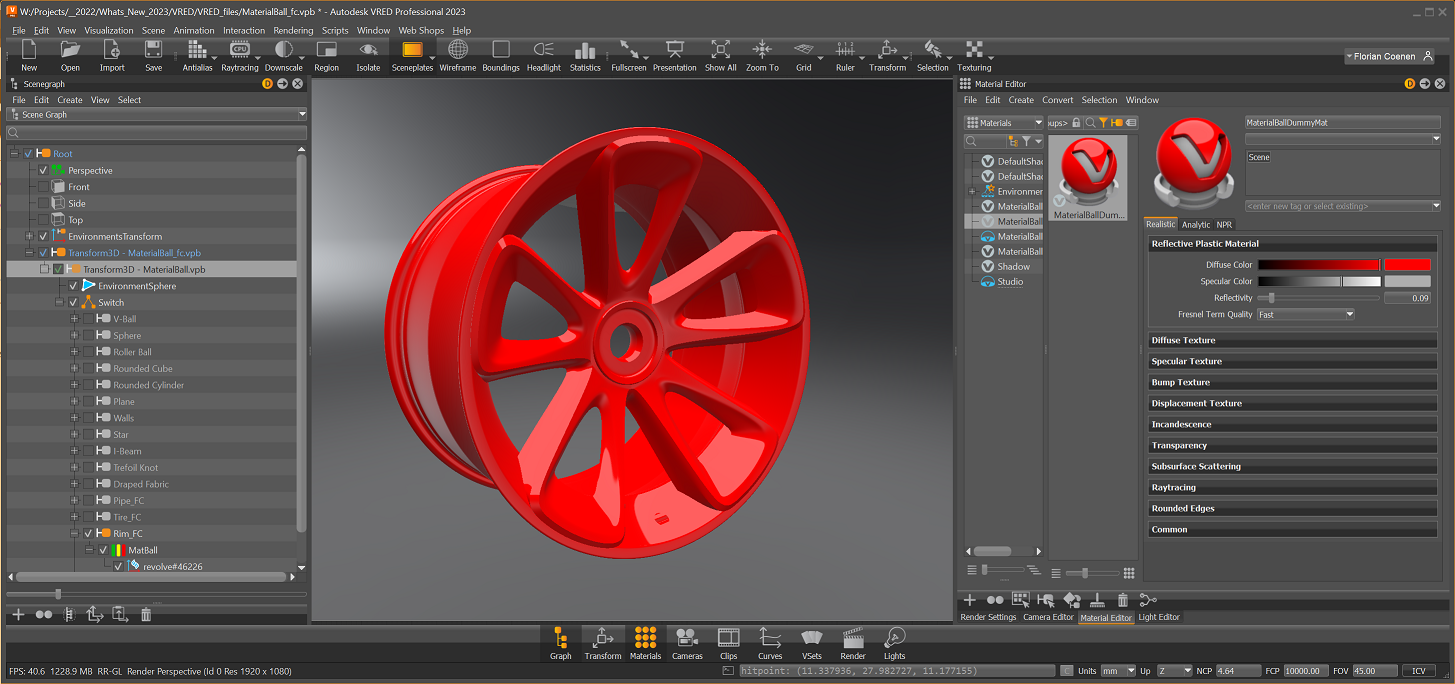
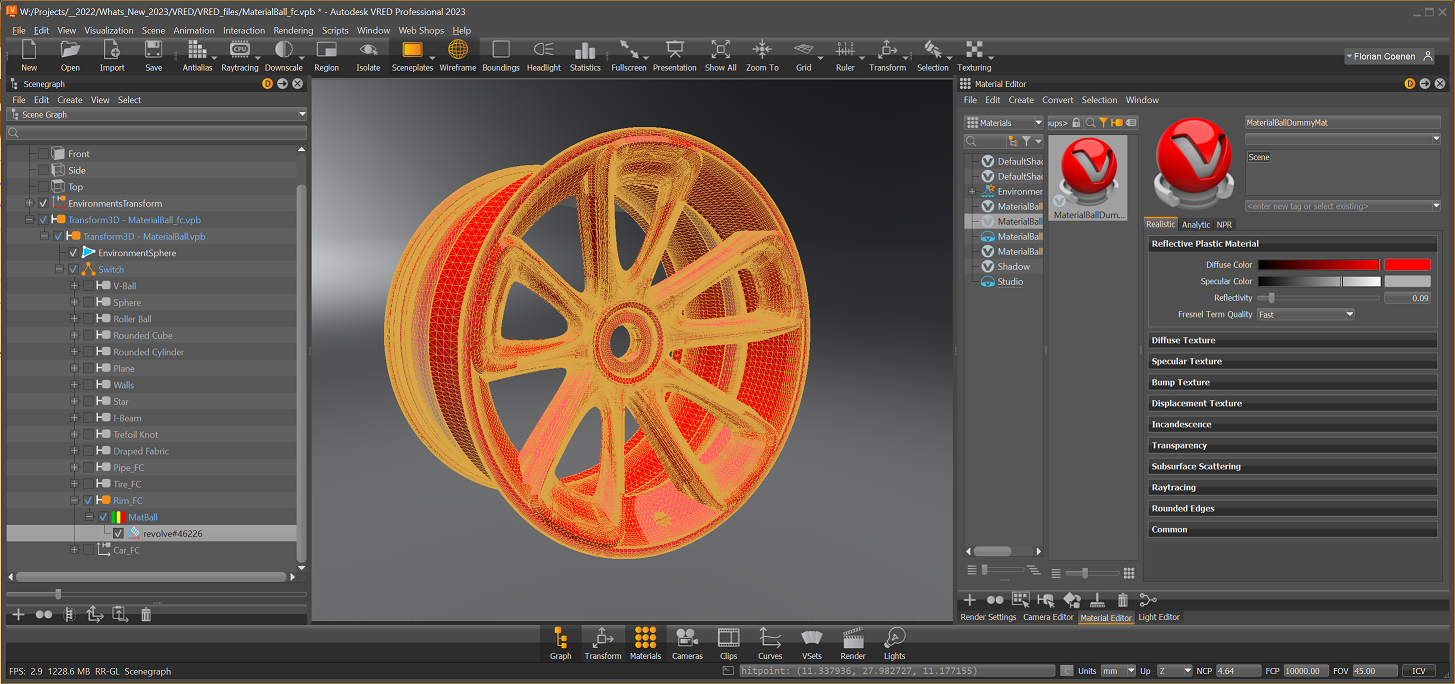
Add custom shapes to the material preview dropdown, by modifying the MaterialBall.vpb VRED provides.
Load the
MaterialBall.vpbfrom theAutodesk\VREDPro-15.0\data\Internalfolder into VRED.Expand the switch to see the default shapes.
In Alias or some other software, create your geometry, using the default shapes as reference for size, etc.
Add the files to the switch in
MaterialBall.vpb.Select the first transformation node in the hierarchy and export it without the environment as a
.vpb.
Rename the exported
.vpbtoMaterilBall.vpband eventually backup the original in a separate folder.