Creating and Managing Backplates
Use backplates to provide different locations for your product. You can toggle the display of a background image in the render view (Viewport).
For reference information, check out:
How to Create a Backplate
In the Menu Bar, select Scene > Sceneplate Editor.
Right-click in the left side of the Sceneplate Editor and select Create Backplate.
Under Properties, in the Name field, enter a name for the backplate and for Repeat Mode, select how the backplate is applied to the scene.
Repeat - Tiles the image.
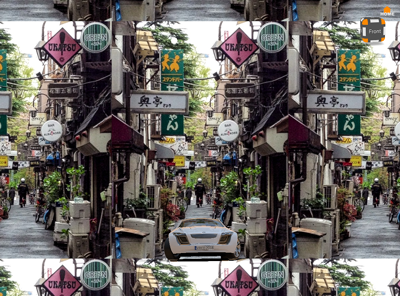
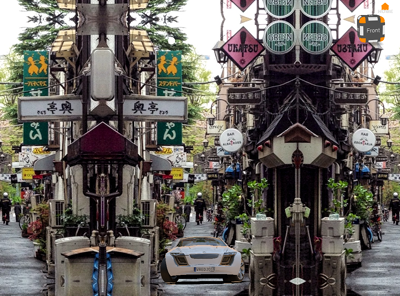
Mirror - Mirrors the content it at the ends.
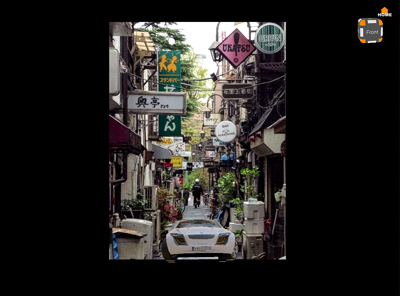
Decal - Centers the image and fills the rest of the scene black.
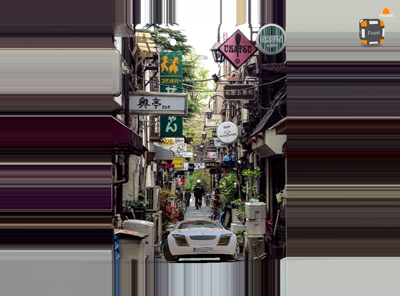
Clamp - Stretches the pixels along the border of the image to the edges of the scene.
For selecting the backplate image, click the folder icon and select the image you want; if at any point the image is updated, click
 Restore to load the latest version.
Under Size and Position, adjust any necessary values.
For absolute scale, pixels are used. For relative scale, percentage is used.
How to Create a Backplate Switch
Right-click in the left side of the Sceneplate Editor and select Create Switch.
Drag and drop backplates from the list onto the switch.
Select which backplate in the switch should be displayed by adding a check.
Note:When a child of a switch is checked, making it visible, the others are automatically unchecked and hidden.
How to Use Multiple Backplates
With sceneplates, you can have multiple backplates, create a switch for them, then use variant sets to switch between them. This is an example of how you can use multiple backplates.
PART ONE - Creating Backplates and Viewpoints
Use File > Import to load a model of your product into VRED.
Add a backplate.
Note:To transform the backplate, use the ui elements in the Sceneplate Editor or the Transform manipulator.
Use your mouse buttons to move the camera and position your product.
- LMB (Left Mouse Button) for rotation
- MMB (Middle Mouse Button) for lateral movement
- RMB (Right Mouse Button) for forward and back
Click the Cameras icon to open the Camera Editor.
Select the Perspective camera, right-click and select Create > Viewpoint to create a viewpoint.
Add a second backplate, then uncheck the previous backplate to makes only the new backplate visible.
Use your mouse buttons to move the camera and position your product.
In the Camera Editor, right-click the Track and select Create > Viewpoint.
Before continuing, let's check the viewpoints. Double-click the first viewpoint. Look at the placement of the product. Double-click the second viewpoint, notice how the placement of the product has changed. We will fix the placement in PART FOUR - Setting a Camera View for a VSet.
PART TWO - Creating a Switch
In the Sceneplate Editor, select both backplates.
Right-click a backplate and select Create Switch from Selected from the menu. This groups the backplates under a switch called
Grouped_Nodes.Note:If you don't see the Create Switch from Selected option, move your cursor over the backplates and right-click.
PART THREE - Creating a Variant Set (VSet)
Click the VSets icon.
In the Variant Sets panel to the left, right-click and select New Set.
In the Sceneplate Editor, select the Grouped_Nodes switch and drag it into the VSets' Sceneplate tab.
Note:If you can't drop it into the VSets' Sceneplate tab, select New Variant 1 and try again.
In the Variant Sets Sceneplate tab, below State, click !None, then click it again to access a drop-down menu and select a backplate from the list.
To check it is correct, in the Variant Sets list, double-click New Variant 1. If the product isn't placed in the correct backplate, select the other backplate from the list.
Repeat steps 2 - 4, but select New Variant 2 and the other backplate, to create another variant set.
PART FOUR - Setting a Camera View for a VSet
The second variant set created above does not use the correct viewpoint (camera view). To test this, double-click New Variant 2. Notice that the product is positioned incorrectly. In this section, we will correct this by linking the correct viewpoint to the VSet.
- In Variant Sets, with New Variant 2 selected, click the View tab.
- In the Camera Editor, double-click the viewpoints to find the one with the correct product placement.
- Drag the correct viewpoint onto the Variant Sets' Viewpoints section.
- Select New Variant 1. If you double-click it, you will see the product placement is incorrect.
- To fix this, in the Camera Editor, select the other viewpoint, then drag it onto New Variant 1's Viewpoints section.
To check that the variant sets are correctly linked, double-click New Variant 1, then New Variant 2.
How to Manage Backplates in the Sceneplate Editor
In the Sceneplate Editor, do the following:
To duplicate a selection of backplates, right-click the selection and do either of the following:
- Right-click in the left side and select Edit > Duplicate.
- Click
 (the Duplicate icon) at the bottom of the editor.
To change the order in which backplates appear in the scene, drag and drop them within the list to rearrange them.
To group a selection of backplates together, right-click the selection and select Create Group.
To show or hide backplates, check or uncheck them in the Sceneplate Editor list.