Setting Camera Height in VR
VRED starts in a VR mode that uses the current camera position. The camera height is set to the ground.
Setting a Floor Detection Mode
VRED supports these two floor detection modes for teleporting:
- On Ground Plane - VRED uses a ground level and always positions the user at this height. The level can be set with
 (Calibrate Ground) in the xR Home Menu tool.
- On Geometry - VRED looks for geometry at the target of a teleport action. If geometry is found, the user is places on top of this geometry.
Click  (Teleport Ground) to toggle between these modes.
Setting Viewpoint Position
Viewpoint adjustment modes are used to set viewpoint positions in relation to the position of the current HMD. For example, if you look directly at a viewport, independent from the current HMD position, orientation, and height, all modes should be set to True.
| Mode | True | False |
|---|---|---|
| Adjust Height | Height will be Viewpoint Height - HMD height | Height will be floor height |
| Adjust Orientation | Orientation will be Viewpoint Orientation - HMD orientaiton | Orientation will be viewpoint orientation |
| Adjust Position | Position will be Viewpoint Position - HMD position | Position will be viewpoint position |
Preparing Nodes for Placement
To pick and place objects in MR, you must first prepare the nodes. If objects are too large or small for your room, they will need to be scaled to an appropriate size before entering MR.
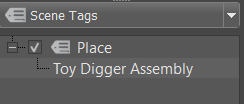
- Create a tag and rename is
Place. - Drag and drop an object node onto this tag.
Using Place
Nodes from your scene must be tagged before continuing. If this has not been done, see Preparing Nodes for Placement before continuing.
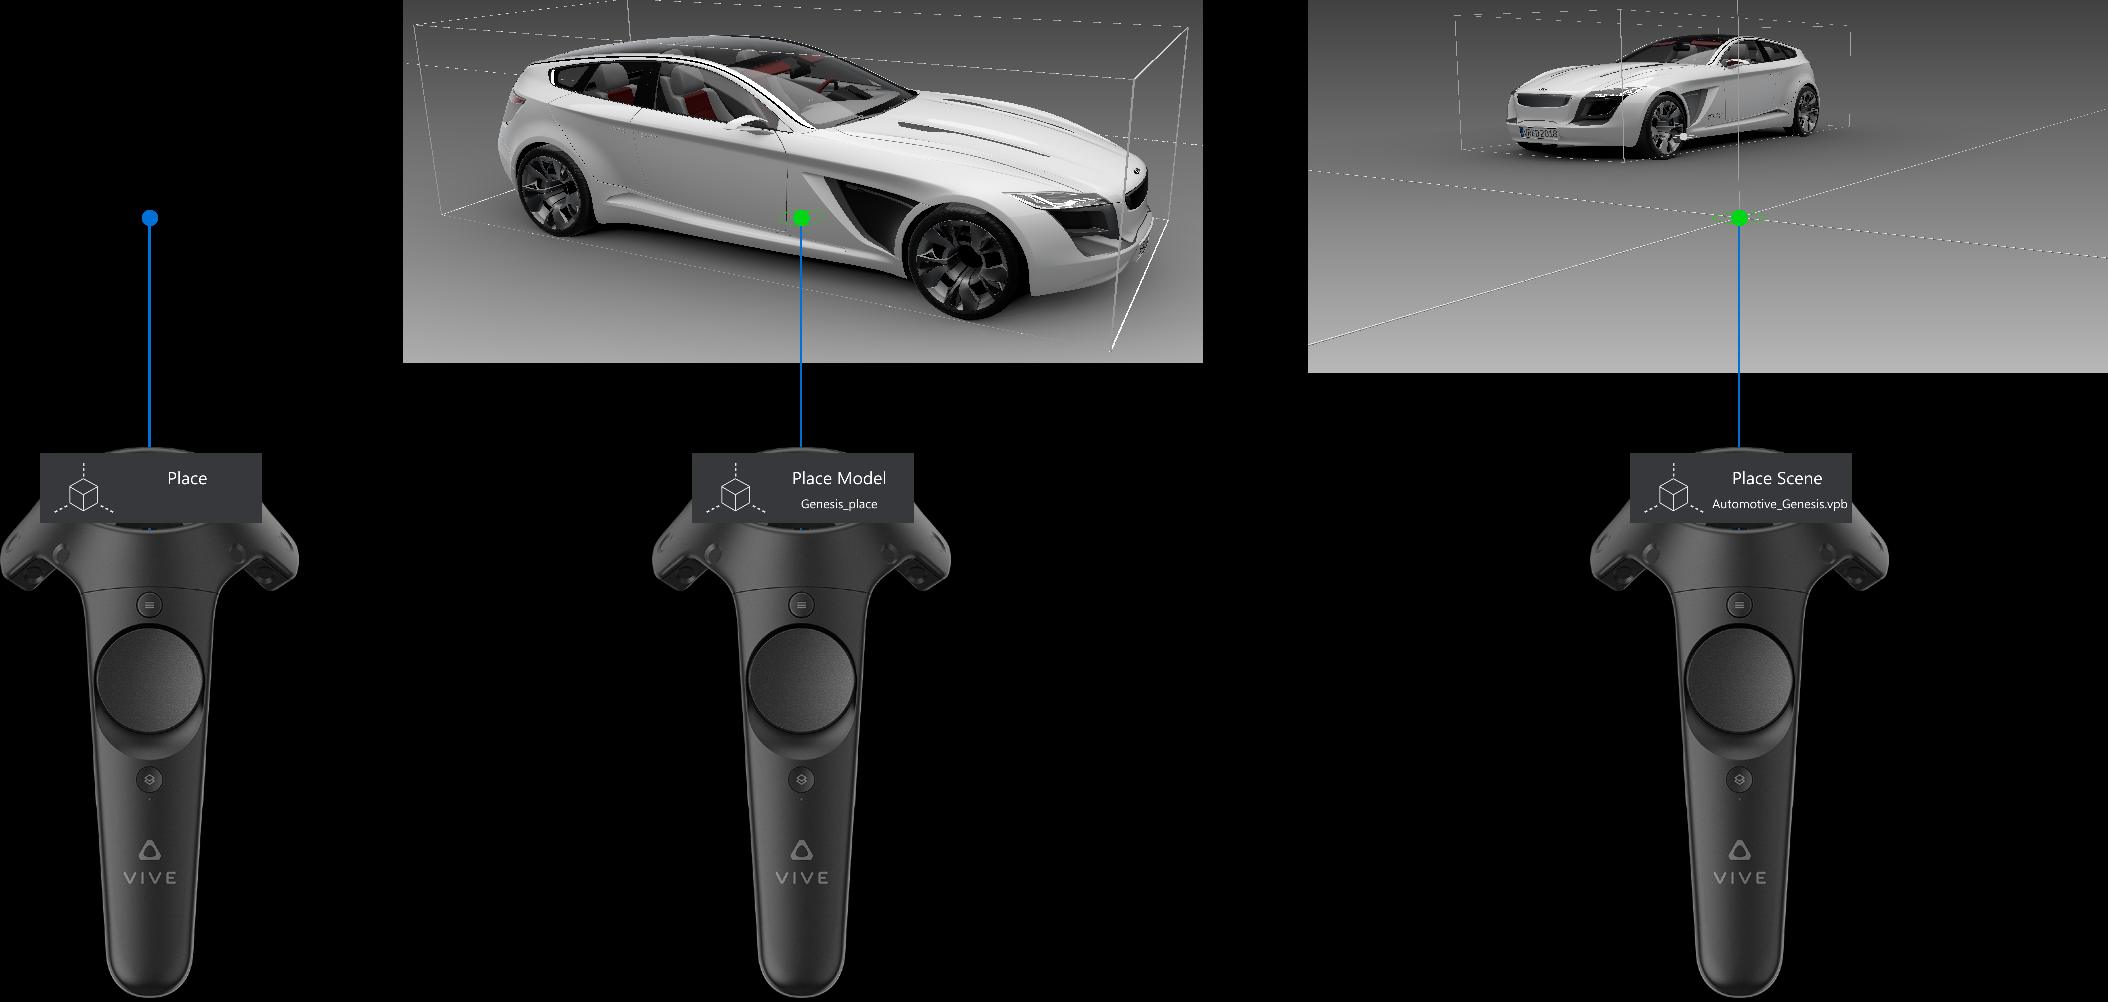
Wearing a connected Varjo HMD that supports MR, in VRED, select View > Display > Varjo HMD. The objects that were tagged with the
Placeappear in MR.Open the xR Home Menu with your controller and select Place.

When highlighted orange, the tool is enabled. When gray, the tool is disabled. An indicator appears above your controller stating what is active and picked.
Point to an object and continually squeeze the trigger to pick and move it on the virtual ground.
Use your controller to rotate it around the up axis.
Tip:Squeeze the Grip button to snap to 10 degree angle increments. Use this to help with the alignment of your object to another.
Preparing Nodes for Markers
Follow these steps to prepare your nodes before entering MR. Note that objects that won't fit in your room will need to be scaled down before entering MR.
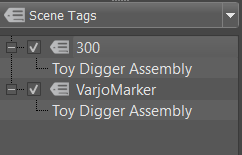
- Add a tag and rename it
VarjoMarker. - Drag and drop an object node onto this tag to assign it.
- Create another tag and rename it to the number printed on the Varjo marker.
- Drag and drop the same object node onto this tag.
Using Markers
Nodes from your scene must be tagged before continuing. If this has not been done, see Preparing Nodes for Markers before continuing.
Wearing a connected Varjo HMD that supports MR, in VRED, select View > Display > Varjo HMD. The objects that were tagged with the
VarjoMarkerand number tags appear in MR.Open the xR Home Menu with your controller and select Enable Markers.

The geometry jumps directly onto the marker.
Tip:Disable Enable Marker in the xR Home Menu to stop any jiggling of the object that may occur.
You can attach nodes to tracked markers, using a Python script. This script enables out-of-the-box functionality. The script attaches to all nodes with a name related to the marker id to the corresponding tracked marker. Use it to turn off some visual hints regarding the detection of markers.