Modifying Character Animation using Effectors
Effectors are also called Inverse Kinematics (IK). Effectors are used in MotionBuilder to easily manipulate a character skeleton and achieve realistic animation. Effectors jointly influence the corresponding bones in a skeleton. The influence of an effector on the bones is adjusted using the IK Blend and IK Pull.

Blend is used for measuring how much the corresponding bone reaches the effector without pulling the whole body. Pull works when the bone cannot reach the effector. It measures how much the corresponding bone pulls the body to the effector. Refer to the MotionBuilder online help for more information about the IK Blend and IK Pull.
To follow the instructions in this topic, download the files and script from http://area.autodesk.com/downloads/scripts/motionbuilder-animation-scripts.
The manipulate_ik.py script shows how to modify the animation using effectors. Run the manipulate_ik.py script step by step as explained in the following section:
Open the mia_fkik_runstopturn.fbx file in MotionBuilder.
Run the following steps in the manipulate_ik.py script one by one.
Create a new layer.
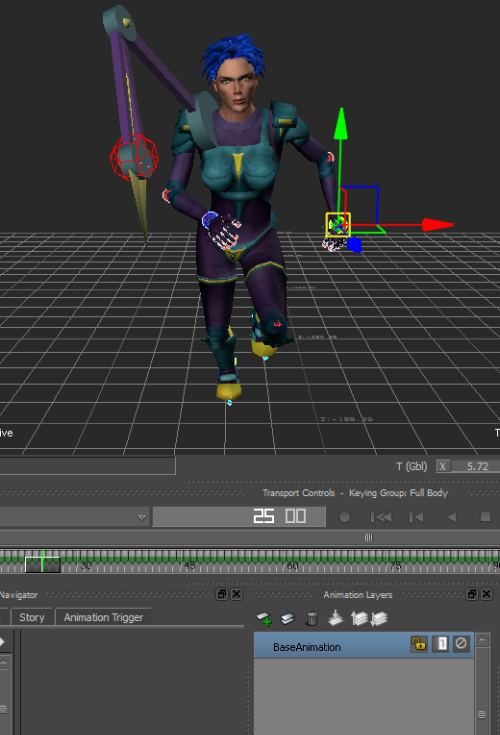
Go to frame 25 (in play control). The wrist position looks as shown in the following figure.
Select the left wrist effector.
Change the left wrist effector's IK Blend T to 100.
Modify the left wrist effector's T value.
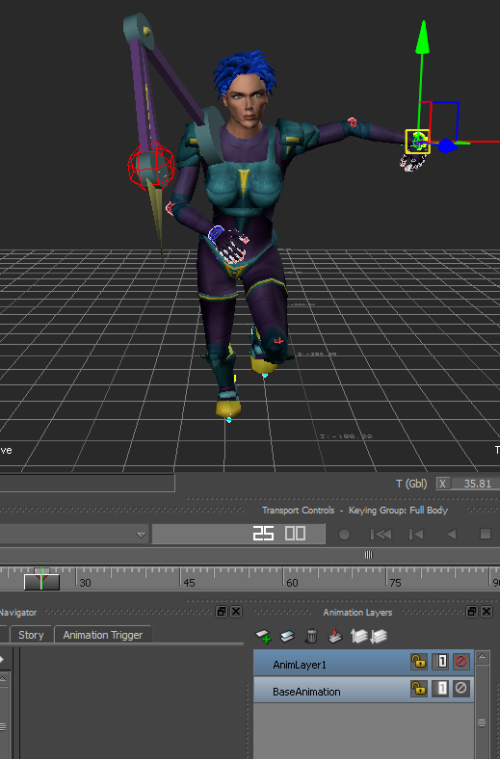
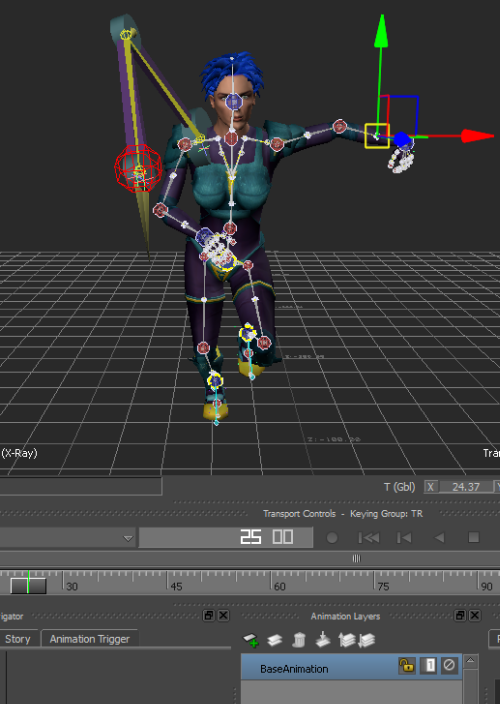
Key character. The character's animation on the left wrist is changed around frame 25 by creating a new key in the new layer as shown in the following figure.
Plotting Animation from the Control Rig to the Skeleton
Characters can store animation in the skeleton and control rig. The skeleton and control rig have many bones (joints) that contain animation in the T, R, and S channels (also called FCurve node). The FCurve node contains the x, y, and z FCurves, which contain the keys with the value, time, and key type information. In character plotting, the keys are copied and pasted frame by frame from one FCurve to the other.
The UI option for plotting is shown in the following figure.
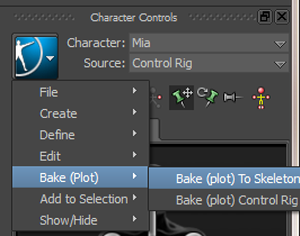
The FBCharacter::PlotAnimation() function is used for plotting in the SDK.
Continue the scene in the
!!CONVERSION WARNING!! broken xref detectd, likely a cross-book reference. The target GUID file is GUID-F95213E8-643A-4416-8DD4-23EF01D7586C.htm#GUID-2A278E6A-D43B-484E-9EFA-BB9DD66111EB and the target link text is Modifying Character Animation using Effectors
section. Follow these steps to merge and plot the character animation to the control rig and skeleton.
Run the
merge_character_animation_in_layers.pyscript to merge the animation in two layers into one layer, but this is still on the control rig.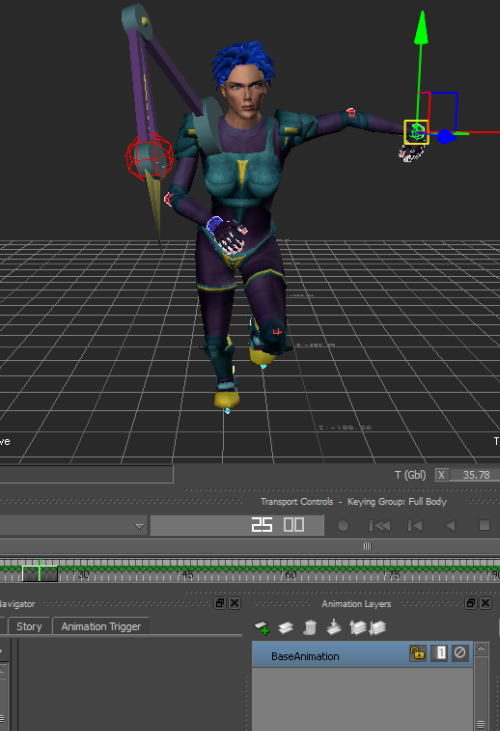
Select a bone in the skeleton. You will not find any animation.
Run the
plot_character_animation_to_skeleton.pyscript to plot the character’s animation from the control rig to the skeleton in the current take.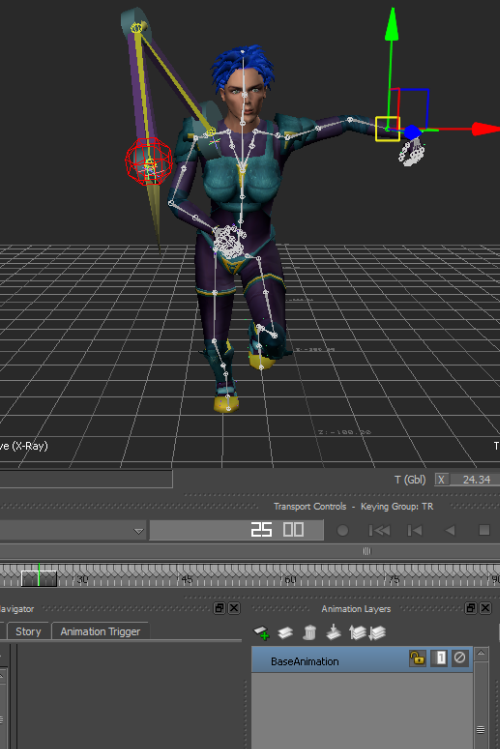
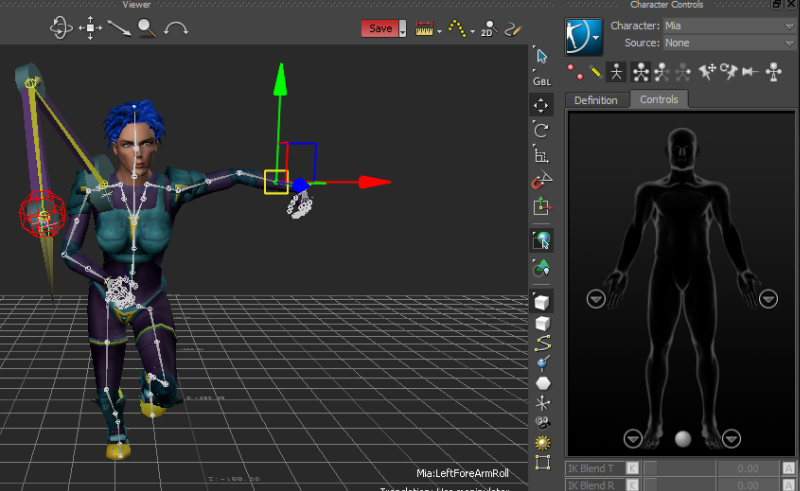
Now, you can see that the bone for the character (
LeftForeArmRoll) contains animation as shown in the following figure. If you select the character's input to None (usually, the input is automatically changed to None), the character still moves when played. It indicates that the animation is plotted to the skeleton, and the character does not require any input to move.