Transferring Animation from Markers to a Character
An actor (FBActor) connects the animation data from a source (for example, an optical motion capture device or marker) to a character (FBCharacter). The actor converts the positional information from the marker into joint rotations that are retargeted onto a character. Actor is a kind of constraint between the source data and the character.
To follow the instructions in this topic, download the files and script from http://area.autodesk.com/downloads/scripts/motionbuilder-animation-scripts.
Open the ActorDrivedByMarkers.fbx file and run the character_animation_from_markerset.py script step by step as explained in the following section to understand how to transfer the animation from an actor and marker set to a character.
Create a skeleton from the actor.
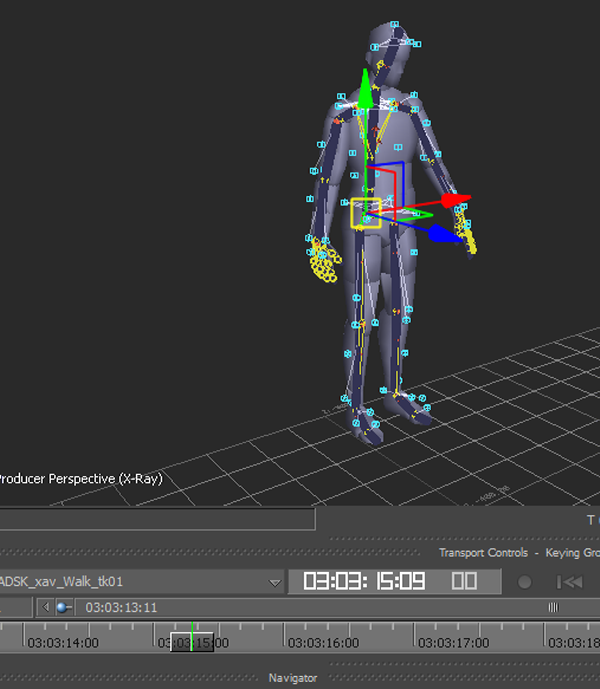
CreateSkeletonForActor(pActor,pPrefix)creates a skeleton as shown in the following figure.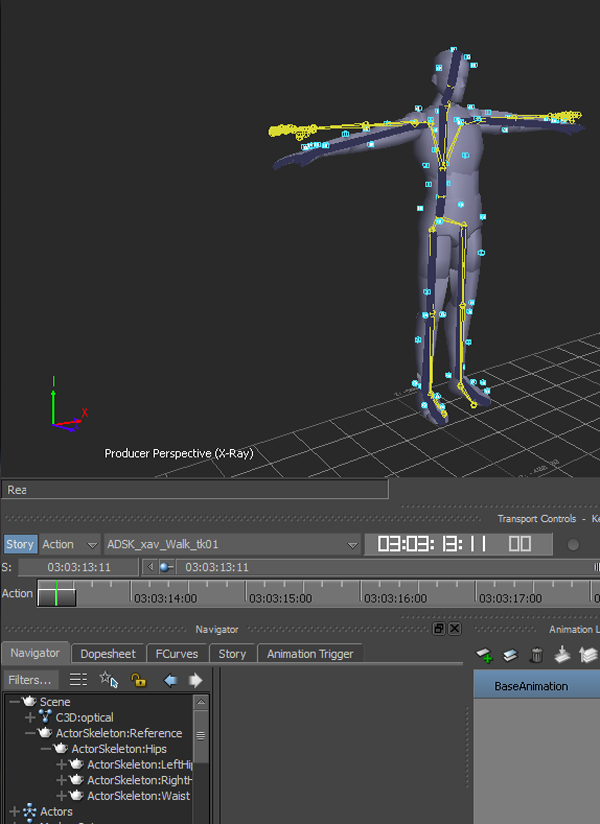
Set up the characterization and lock the character.
CharacterizeActorSkeleton(pPrefix)characterizes the skeleton.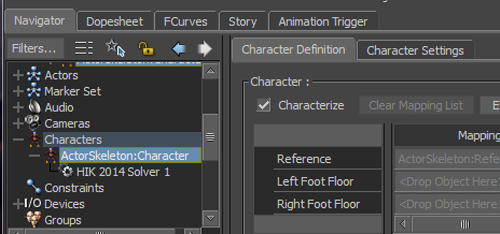
Prepare for snap.
Move the cursor forward so that the skeleton is not following the actor.
Run
ApplyStateFor(lChar, pActor.GetCurrentSkeletonState(False))to link the current state of the actor to the current state of the character. Then, the skeleton must be driven using the actor.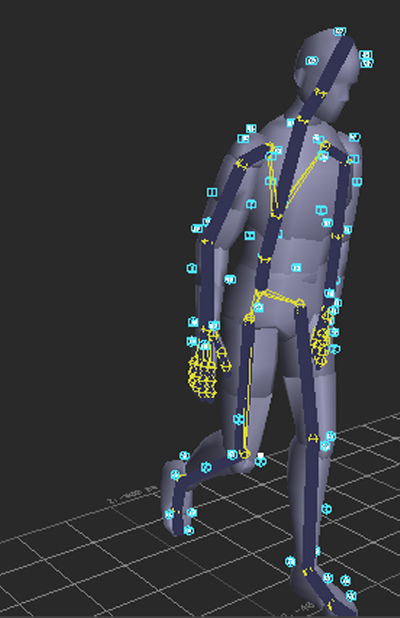 Note: State is a collection of transformation of all joints. Joints can be from an actor, skeleton, FK, or IK.
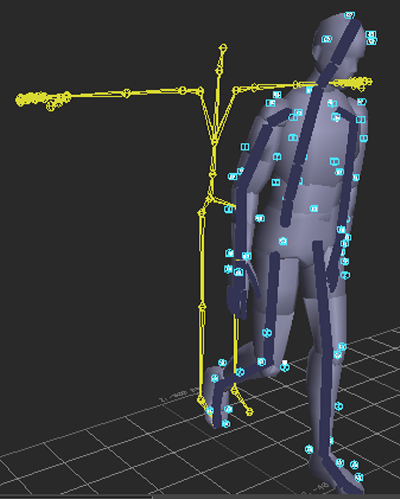
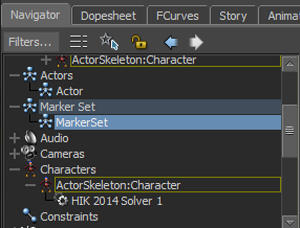
Snap markers on the character marker set. Initially, there is no marker for the character as shown in the following figure.
CopyMarkerMappingFromActorToCharacter(lChar, pActor)creates a marker set for the character, then snaps the actor’s markers to the character’s marker set. It useslMarkersProp.ConnectSrc(lMarker)to connect the character's marker property with the actor’s marker. The actor’s marker is the driving source. The character marker set is shown in the following figure.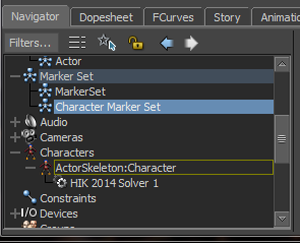
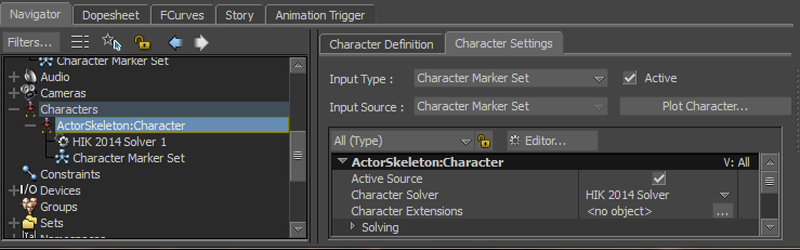
Set the character marker as the input. Then, set the character's input to its character marker set that is created in the previous step, and set the input as active.
Plot the animation to the skeleton. You can play the character with the animation. However, the character's skeleton does not contain the animation. You can select the hip of the skeleton to see that there is no animation.
lChar.PlotAnimation()can plot the animation to the character’s skeleton or control rig. Running this step plots the animation to the skeleton.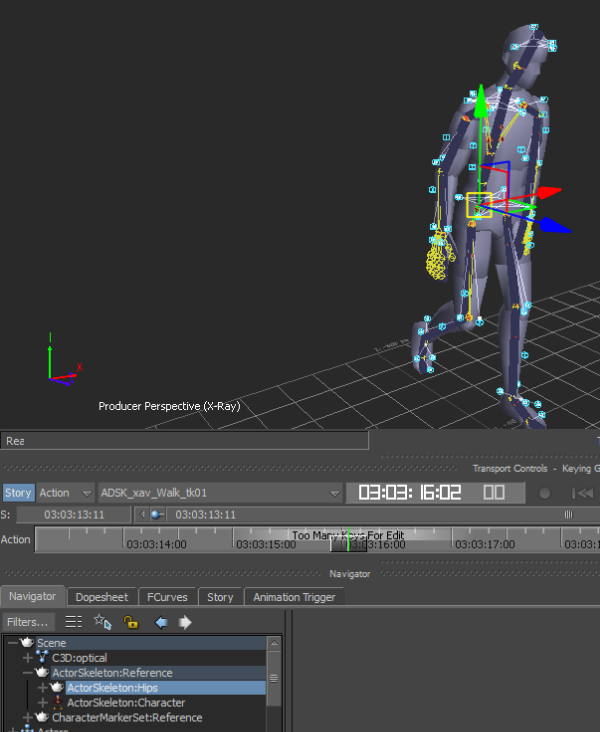
Now, the skeleton contains the animation that you can export as an animation clip.