Use this procedure to add individual part sizes to the model. You create individual part sizes by adding parameter values. Values can be a list or table of values, a constant value, or a calculation.
You can also create unique part size names. Each part size name is generated using a calculation – a formatted string of parameter values and text.
The set of default size parameters that are available for each part differs depending on the part type. For example, a structure part defined as a junction structure (part type = junction structure) has a certain set of default size parameters that are appropriate for junction structures. Inlet-outlet structures (part type = inlet-outlet structure) have a different set of default size parameters available. Pipe parts have yet another set of available size parameters.
- To add part sizes, in the part browser, right-click Size Parameters and click Edit Configuration.
The Edit Part Sizes dialog box is displayed, showing all of the currently available size parameters for the selected part. For the Simple Cylindrical Structure part example, some default size parameters are Part Size Name (PrtSN) and Structure Vertical Pipe Clearance (SVPC).
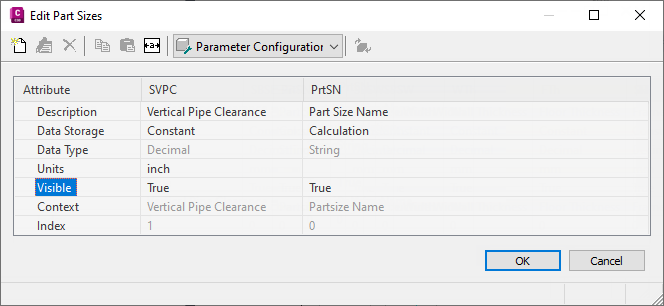 Note: Calculated values set in the model cannot be edited in the Edit Part Sizes dialog box. To change these values you must edit the model.
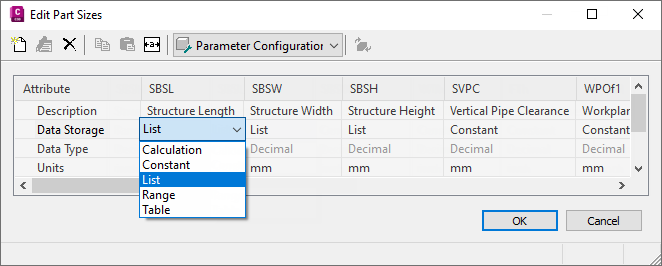
 - To add a list of available sizes for the part, change the data storage type of a size parameter to List.
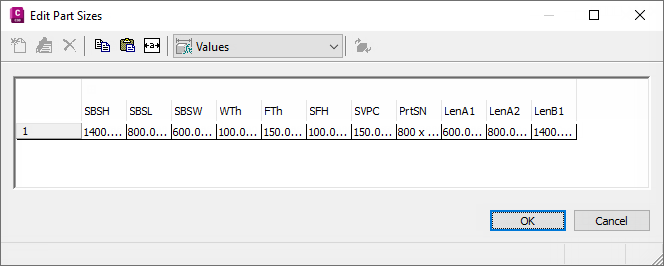
- In the toolbar, select Values from the list.
The parameter values are displayed.
- To add new sizes for the part, click a parameter value and click Edit on the toolbar.
The Edit Values dialog box is displayed.
- Click Add and enter a new size. When you are finished adding sizes, click OK.
Tip: You can cut and paste values from other part families using standard Microsoft® Windows cut and paste functionality (CTRL+C and CTRL+V). Open another part in Part Builder, select the size parameter you want to copy, and then paste the selected values in the desired parameter of your part. You can also create a list of values in Microsoft® Excel, select the list of values you want to add, and then paste the values in the desired parameter of your part.
Now when you click in the size parameter value you edited (for example, LenB1) on the Edit Part Sizes dialog box, the list of sizes you just added is displayed.
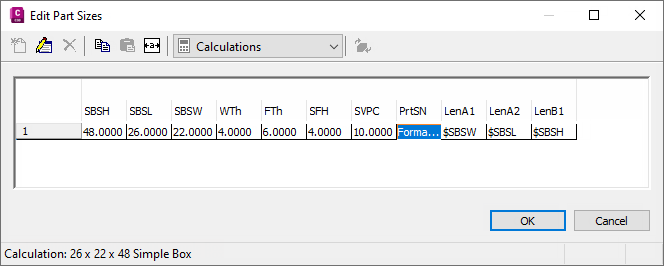
- To specify a unique, calculated part size name, select Calculations from the toolbar list box.
The calculation strings associated with parameter values are displayed. For example, the calculation formula for a Part Size Name (PrtSN) for a structure could be “SHBW x SHBTh x SBSH inch Concrete Rectangular Headwall”. Or for a pipe, it could be FormatNumber($PID,0) + “ inch Concrete Pipe”.
- Double-click the value cell of PrtSN.
The Calculation Assistant is displayed.
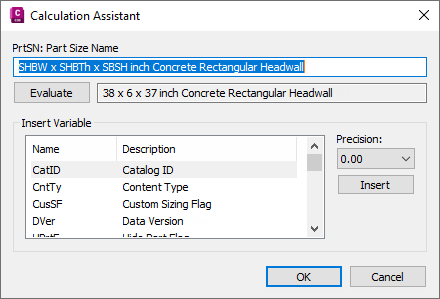
- Define the part size name with a calculated value:
- Highlight the value in the PrtSN: Part Size Name text box and press DELETE to remove the text.
- Select 0 for Precision.
- Under Insert Variable, select a variable and click Insert.
- Click the value of PrtSN:Part Size Name and enter the text you want to display in the Part Size Name string. For example, enter inch Dia. Concrete Pipe to add that text to the part size name.
- Under Insert Variable, select Ptype and click Insert.
- Select PTyp and click Insert.
- Click Evaluate; the calculation result is displayed.
- Click OK.
The calculation value of PrtSN is updated with the valid string and, when selected, the result is displayed in the status bar.
 Important: The part size name is generated using VB (Visual Basic) Script’s FormatNumber function and simple string substitutions. Correct syntax is crucial. Use the Calculator to ensure that the string is valid.
 - Click OK.