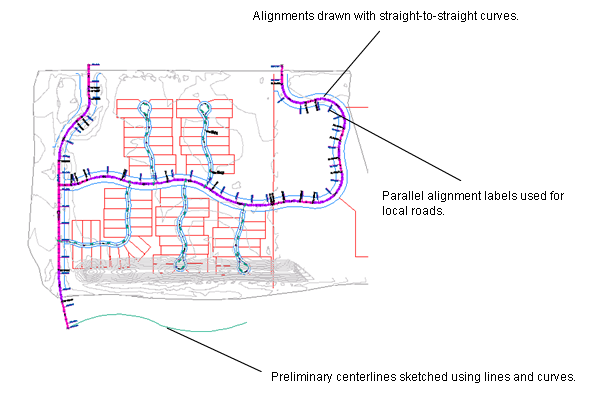
You create alignments as a combination of lines, curves, and transitions that are viewed as one object.
Alignment objects can represent road centerlines, pipe networks, and other construction baselines. Creating and defining a horizontal alignment is one of the first steps in carriageway, railroad, or site design. You can draw the alignment geometry as a polyline, and then create the named alignment from that geometry. For greater control, you can create an alignment object using the Alignment Layout Tools. You can also make edits to alignments using grips, or the commands on the Alignment Layout Tools toolbar, while automatically maintaining tangency between the alignment components.
Alignments can be stand-alone objects or the parent object of profiles, sections, and corridors. If you edit an alignment, the changes are automatically reflected in any related objects.
When creating an alignment, assign it a type of centerline, offset, corner radius, rail, or miscellaneous. You can use these alignment types to categorize your data based on alignment function. Select the centerline type for a road centerline, the rail type for a railway, or the miscellaneous type for other uses, such as a utility conduit. These types are independent objects.
Offset alignments and corner radius alignments can also be independent, but are often dynamically linked to other alignments. Both offset alignments and corner radius can be created automatically as components of a junction. Offsets can also be used in widenings.
After an alignment has been created, you can calculate how the corridor behaves around curves. You can calculate superelevation along centerline, offset, and corner radius alignments, or you can calculate cant along rail alignments.
Alignments are listed in either the Alignments collection or a Site collection in the Prospector tab. From these collections, you can change alignment properties, generate reports, and export LandXML.
If an alignment exists in a site, its geometry interacts with that of other objects in the site, such as plots and feature lines. For example, an alignment subdivides any plots it intersects within the site. Any plot lines or feature lines that cross an alignment assume the same level at the intersection point. The level is set by whichever object is last edited. To prevent an alignment from interacting with other objects in a site, set the site property to <None> or move the alignment to a separate site. For more information, see About Alignment and Site Interaction.
Control the visual appearance of alignment components and labels through styles. You can create specific styles to use in the various phases of a project. When you create an alignment, you specify a style for the alignment object and styles for the alignment labels. In the Alignment Labels dialog box, you can create groups of styles for alignment labels, and then save those labels as a label set to use with other alignments.
Use chainage equations to change chainage-distance references at any point without physically changing the geometry of the alignment.

Alignment lines, curves, and labels

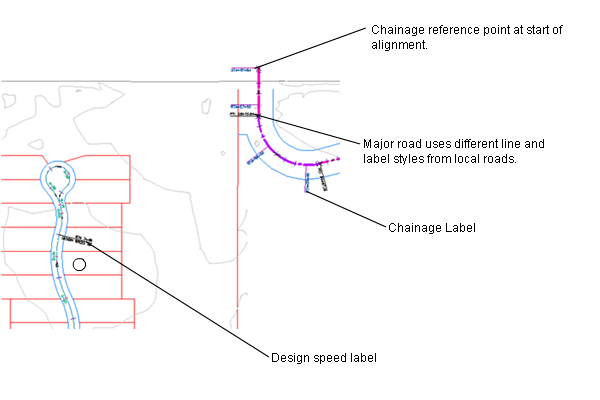
Examples of alignment labels