Object editing in Autodesk Civil 3D uses an approach that is consistent for all objects. The main editing tools are described here.
Item View
When you click an object or an object collection on the Prospector tab, for example, Points or Alignments, an item view appears. An item view can be either a list view or a graphical view, depending on the object selected.
The item view presents a table in which you can review and edit data for each object in the selected collection. For example, if you select a point group, the item view table includes a row for each point in the group.
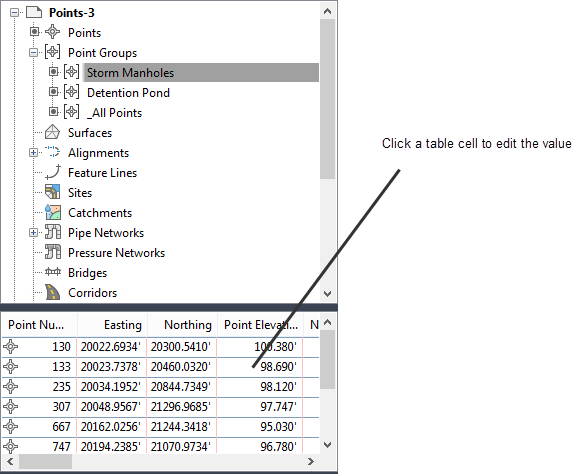
Item view showing a group of points
Panorama Window
Some object types, such as alignments and profiles, use the Panorama window to display a table of elements that make up that object.
The Panorama window is a floating, dockable window that you can keep open as you work. It can include several tables, called vistas, on different tabs. Panorama data shown in black text can be edited; data shown in gray text cannot be edited.
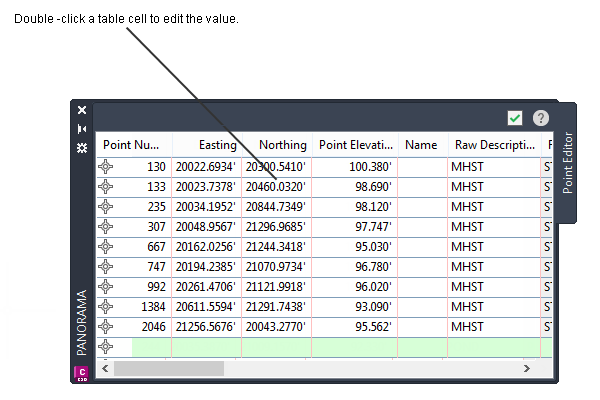
Panorama window showing an alignment
Property Editors
When you right-click any object on the Prospector tab, and then click , you can view all the Autodesk Civil 3D properties of that object, and edit some of them.
These properties typically include the styles, labels, related objects, and some structural details of the current object.
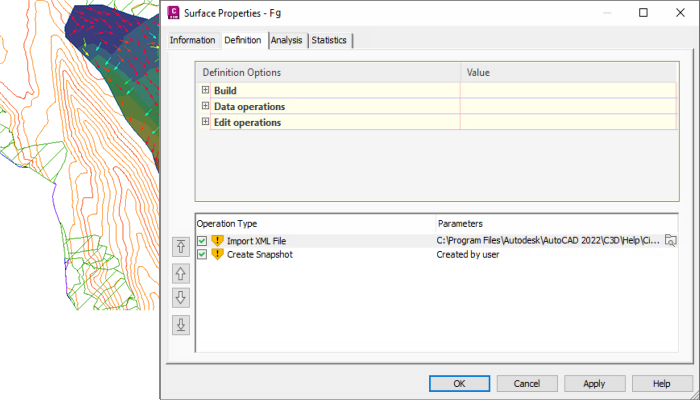
Properties editor showing surface properties
AutoCAD Properties Editor
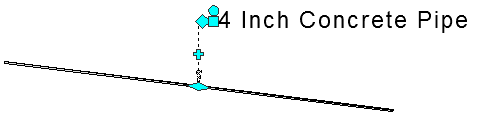
When you right-click an object in the drawing, and then click , the AutoCAD Properties dialog box is displayed.
You can use this dialog box to review and edit AutoCAD properties, such as the layer on which the object is drawn. You can view the style assigned to the object, and can also change it here. You can also edit an object style on the Settings tab of Toolspace. Right-click the object style. Click Edit to open the <feature> Style dialog box.

Editing AutoCAD properties for a pipe label
Grips
When you select an object in the drawing, grips appear on the object. You can use these grips to click and drag the object to a new location.
For example, when editing alignments, you can use grips to move intersection points or line-arc tangency points.

Alignment grips for manual editing
When you use a grip to drag a label object to a new location, a round reset grip appears. You can click this round grip to return the label to its original location. If there are multiple leader lines, click the round grip once to restore the leader to its original state. Click the round grip twice to restore a dragged label to its undragged state.
Use round grip to restore label leader or to reset label