The new glTF Material uses a shading model that gives an accurate representation of what your asset will look like once published to glTF.
The 3ds Max System Units influences how the glTF material is previewed in the Max viewport. When using the glTF Material, scaling the affected attributes is required to ensure that the 3ds Max render/viewport preview matches the glTF viewer being exported to.
Interface
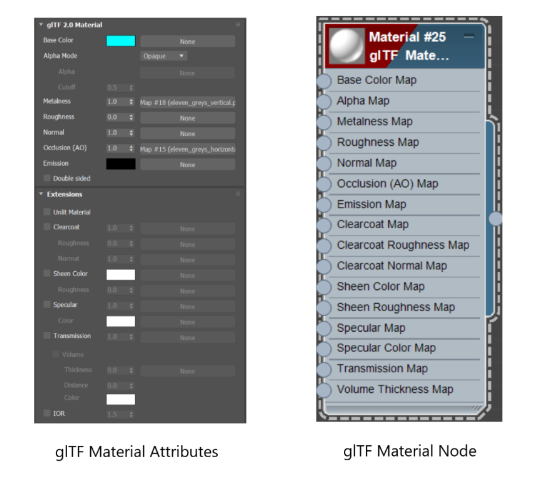
glTF Material Parameters
- Base Color Map
-
Maps added to the Base Color Map Parameter can be considered the diffuse color for non-metals. For metals, it is the color of the metal itself.
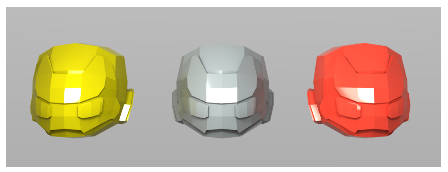
Metalness=0.0 and Base Color=yellow, grey and red respectively
- Alpha Map
-
Defines how the alpha value is interpreted.
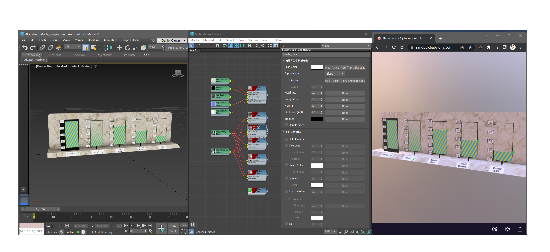 Note: Unlike other materials in 3ds Max, the alpha is derived from the RGB Value of the Alpha input map and not the Bitmap's Alpha channel.
 - Metalness Map
-
Values range from 0.0 for non-metal to 1.0 for fully reflective metal.
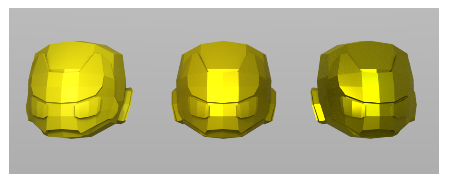
Metalness=0.0, 0.5 and 1 respectively
- Roughness Map
- When applied, a higher roughness yields a blurrier material, while a lower roughness yields a more mirror-like material.
Note: The default Roughness value is 0.0. When a Roughness Map is added, the Roughness value is automatically set to 1.0.
- Normal Map
- A tangent space normal map.
- Occlusion (AO)
-
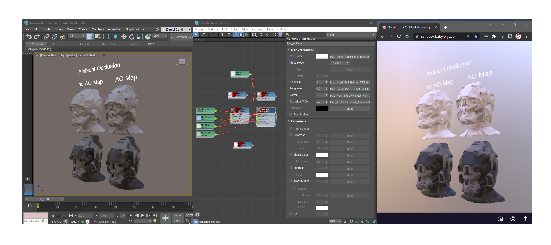
The Ambient Occlusion is a greyscale map that darkens the diffuse color.
- Emission Map
-
This map controls the color and intensity of light being emitted by the material (self-illumination).
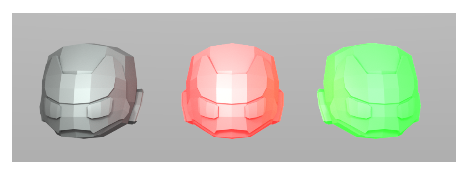
Emission=black, red and green respectively
- Clearcoat Map
-
This map defines a clear coating that can be layered on top of the material.
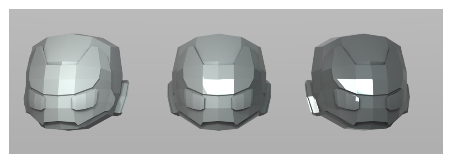
Clearcoat=0.0, 0.5 and 1 respectively
- Clearcoat Roughness Map
-
This map defines a Clearcoat Roughness that can be layered on top of the material.
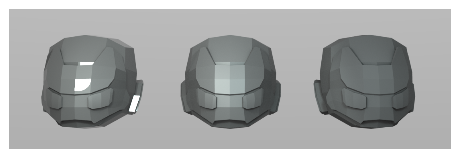
Clearcoat=1 and Clearcoat Roughness=0.0, 0.5 and 1 respectively
- Clearcoat Normal Map
- This map alters the clear coat appearance based on a normal map input.
- Sheen Color Map
-
This map drives the color of the sheen component of the material. Sheen simulates the back-scattering of velvet-like materials.
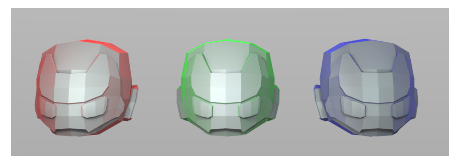
Sheen Roughness=0.1 and Sheen Color=red, green and blue respectively
- Sheen Roughness Map
-
This map determines how much back-scattering is present. A small roughness results in a sharp specular response around grazing angles while a large roughness results in a smooth specular response around grazing angles.
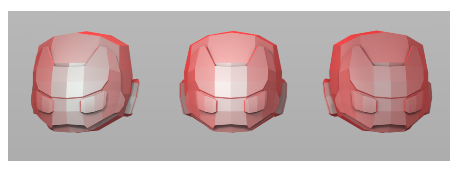
Sheen Color=red and Sheen Roughness=0.0, 0.5 and 1 respectively
- Specular Map
-
This map drives the strength of the specular reflection.
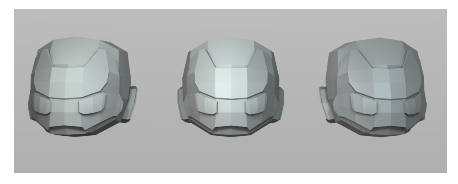
Specular Map=0.0, 0.5 and 1 respectively
- Specular Color Map
- This map drives the color of the specular reflection.
This map drives the color of the specular reflection.
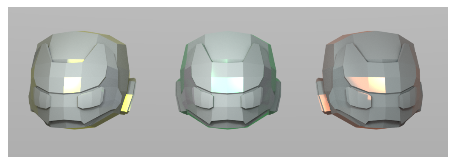
Specular Color Map=yellow, green, red respectively
- Transmission Map
-
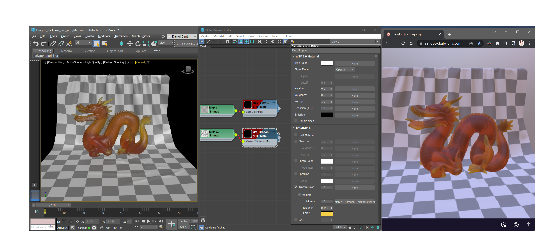 This map adjusts the amount of light that is transmitted by the surface rather than treated as diffuse. A value of 1.0 means that 100 percent of the light that penetrates the surface is transmitted through. The Volume attribute under the transmission tab determines if the material is treated as volume with absorption and refraction. The Roughness Map defines the transparency's clarity, where 0.0 is clear like window glass and higher values appear like frosted glass.
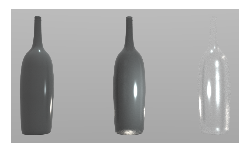
Roughness Map=0.2 and Transmission Map=0.0, 0.5 and 1 respectively
Note: ActiveShade is required to preview the transmission attribute.Note: Accurate preview requires a scene units in meters and objects that are not scaled. -
An increase in the Volume Thickness creates a thicker layer when light is refracted through the material.
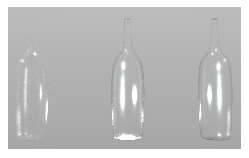
Roughness Map=0.2, Transmission Map=1, Volume Thickness=0.0, 0.5, 1 respectively
- IOR
- The index of refraction (IOR) controls the amount by which the material refracts transmitted light.
The default IOR value is 1.5. The following table lists common IOR values:

Thickness = 1, IOR = 1.5, 3, 50 respectively
Material IOR value Air
1.0003
Water
1.0003
Glass
1.5 to 1.7
Diamond
2.418
Note: IOR can only be defined as a constant value across the texture coordinates of a model in glTF. It is never defined with a texture map.Note: The Transmission parameter must be enabled before the IOR parameter can be modified.
Known Limitations
- The glTF material expects only RGB input (no alpha).
- Textures that get auto-packed generate their data from the Lightness of the bitmap if you think in terms of HSL (in MAXScript, this is the color.value or color.v ).
- Using a Multi/Sub-Object Material with empty material slots can cause incorrect materials on the exported faces.
- Textures that get packed must share same dimensions and texture transforms or else the results will not be as expected.
- The enabled/disabled state of some UI elements in the glTF Material do not properly update with Undo/Redo. Changing the current material in the material editor, then reselecting the material will fix that state.
- Although the Unlit preview will render emission/illumination in active shade, it does not illuminate in glTF viewers.
- Maps that get packed must share the same dimensions.
Sample Download
A downloadable sample folder containing a scene created in 3ds Max which makes use of the glTF Material node and attributes in texturing all assets present in the scene.
Click on the link below to download the sample folder (folder contains 3ds Max scene and all bitmap textures).