Here is an example of using maps to model wooden walls, using the Slate Material Editor.
- Start with a plain material.

Building with default materials

Node for a single Standard material
- Apply a bitmap to the material’s Diffuse component (the texture map).

Planks bitmap for the wall texture

A Bitmap node added to the active View
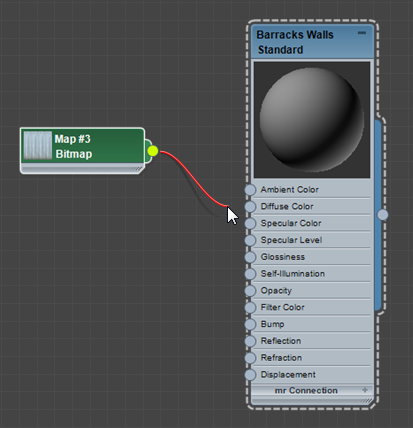
Dragging from the output socket of the Bitmap node creates a wire.
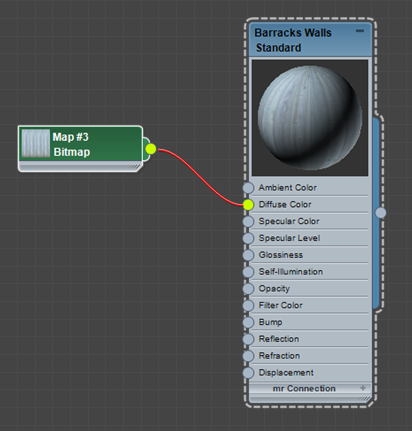
Dropping the wire on the Diffuse Color input socket applies that map to the material’s diffuse color component.
- Select the walls of the building, then
 apply the material to the walls.
Texture applied to the walls, but not aligned properly
- If the texture alignment needs adjusting, use a UVW Map modifier.
Texture map aligned to fit the geometry
- Apply a map to the material’s Bump component (the bump map).

Bitmap for adding bumps to the plank material
.(This is simply the same image saved as black-and-white.)

Bump map added to the material tree

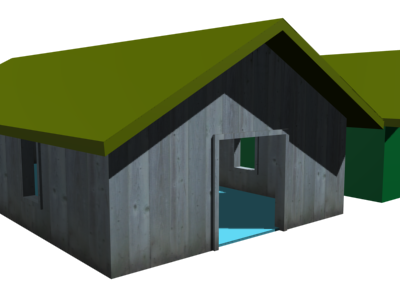
Building with both texture and bump maps applied to the walls
- Increase the Amount of the Bump map to increase the bump map effect.
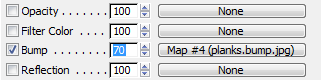
Use the Parameter Editor at the right of the window to increase the Bump amount.

Bump Amount increased to make the walls appear more weathered