
Material Switcher enables a simple control method to manage the display of multiple material variants.
Note: If your renderer is set to Arnold, Material Switcher may not appear in your material list. If that is the case, open the Material/Map Browser, click the arrow icon next to the Search by Name field, then click Show Incompatible. Material Switcher is not compatible with previous versions of 3ds Max.
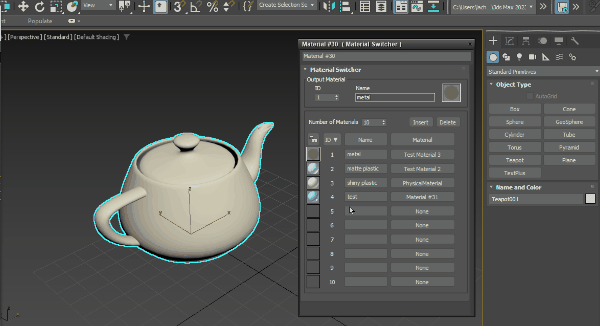
Adding Materials to Material Switcher
There are two ways to add materials to Material Switcher.
- You can add a new material to Material Switcher by selecting the None button from the list.
- Or, you can add existing materials by wiring your material nodes to the Material Switcher nodes in the graph editor.
Organizing Materials in Material Switcher
You can use the buttons above the list items to sort your materials. You can sort your materials by:
- Index (ID)
- Name
- Material type.
You may also use the lock icon to disable the ability to switch materials.
Assigning Material Switcher to an Object
Material Switcher can be assigned to any object in the viewport. You can view how to assign Material Switcher to an object here: Assign Material to Selection.
Interface
[material controls]
These buttons appear above the sort list controls. They are used to show information about the output material, control the amount of list items, and insert and delete materials.
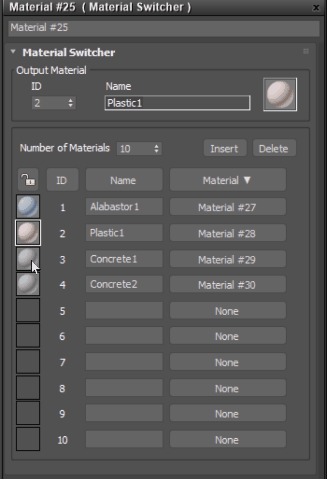
- Index Number (ID)
- Displays the index number of the selected material.
- Name Field
- This field displays the user-defined name of the selected output material.
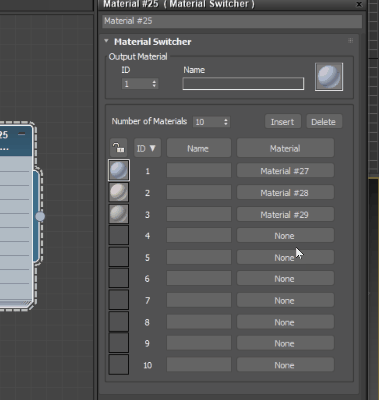
- Number of Materials
- Click to control the number of materials available in the list.
- Insert
- Click to insert a new entry into the list. The entry inserted will appear above the selected material in the material switcher, the entry will be empty until you select a material to occupy it. If the selection is locked, the inserted item will appear above where the secondary selection is made. The secondary selection is identified with the blue square.
- Delete
- Click to delete the selected entry from the list. Deleting a material from Material Switcher will delete it's connection to Material Switcher (it will not delete the material itself).
[sort list controls]
These buttons appear above four of the columns in the sub-materials list. They are used to organize materials.
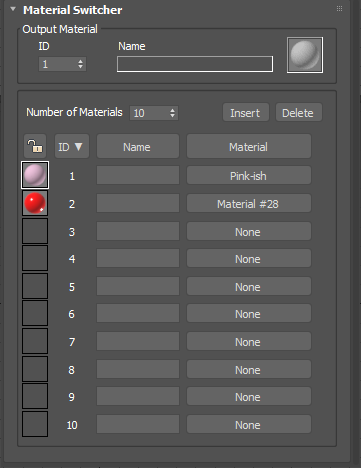
- Lock Header
- Click to toggle the ability to switch materials by selecting material icons.
- ID Header
- Click to set the output material to the index (ID) number shown (descending or ascending).
- Name Header
- Click to sort the materials by user-defined names.
- Material Header
- Click to sort the materials by material type.
[list of materials]
Each material has a single entry in this list. The rollout can display 9999 materials, you can scroll the list using the scrollbar at the right.
Each material in the list has the following controls:
- Small sample sphere
- The small sample sphere is a "mini-preview" of the material. Click it to select this material. You must select a material before you delete it.
- ID
- Shows the index number assigned to this material.
- Name
- Lets you enter a custom name for the material.
- Material/None button
-
By default, each list item will be set to None, indicating you can add a new material to the list from the Material/Map browser.
Once you have entered a material into the list, its name will appear here. Click the material to view or edit its attributes.