This material has the appearance of glazed ceramic, including porcelain.
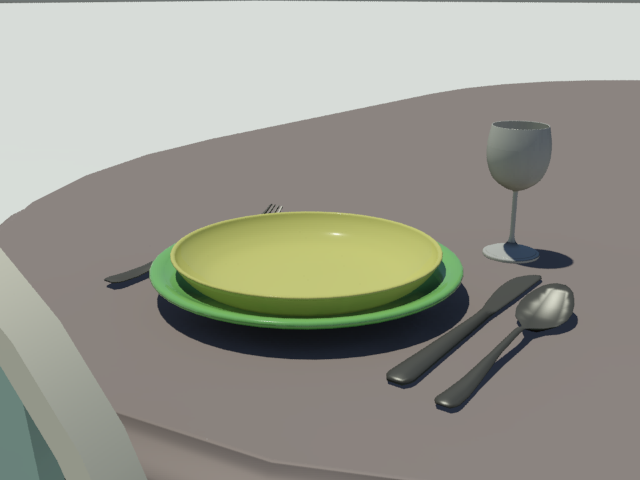
Autodesk Ceramic applied to the plate and bowl
Interface
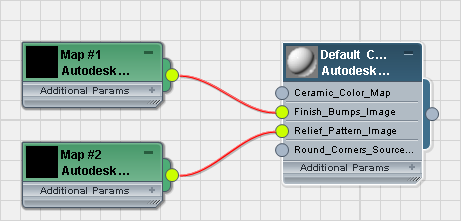
Ceramic rollout
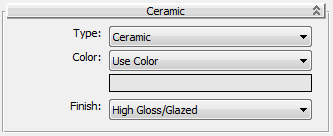
- Type
-
Sets the surface type.
- Ceramic Has the look of earthenware.
- Porcelain (The default.) Has the look of porcelain.
- Color drop-down list
- Lets you choose how to color the material.
- Use Color (The default.) Sets the color of the material.
Click the color swatch to change the color.
- Use Map Maps the color of the material.
Click the map button (or use Slate Material Editor node wiring) to assign a map to the material.
-
Color By Object Uses the object's
3ds Max wireframe color as the material color.
Important: When you use Color By Object, the color appears in renderings, but not in viewports or material previews. This is because the material might be applied to multiple objects that have different wireframe colors.
- Use Color (The default.) Sets the color of the material.
- Finish
-
Sets the surface finish (and reflectivity) of the material.
- High Gloss/Glazed(The default.)
- Color drop-down list
- Lets you choose how to color the material.
- Use Color (The default.) Sets the base color for the paint.
Click the color swatch to change the color.
- Use Map Maps the main color of the paint.
Click the map button (or use Slate Material Editor node wiring) to assign a map to the material.
-
Color By Object Uses the object's
3ds Max wireframe color as the paint color.
Important: When you use Color By Object, the color appears in renderings, but not in viewports or material previews. This is because the material might be applied to multiple objects that have different wireframe colors.
- Use Color (The default.) Sets the base color for the paint.
- Highlight Spread
-
This controls the specular highlights of the base coat: the blurry, secondary highlights beneath the sharp, primary highlights of the top coat. Range: 0.0 to 100.0. Default=50.0.
- Satin
- Matte
Finish Bumps rollout
Finish Bumps are meant to model patterns that appear in the glaze during firing.
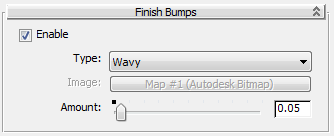
- Enable
-
When on, the material shows low-frequency waves or other patterns. Default=off.
- Type
-
Sets the type of finish pattern.
- Wavy (The default.) When chosen, the surface shows low-frequency waves.
- Stamped/Custom When chosen, the surface uses a map to specify the finish pattern. The Image button is available so you can choose the map.
- Amount
-
Controls the amount of the pattern to apply. Range: 0.0 to 1.0. Default=0.05.
Relief Pattern rollout
A relief pattern is meant to model a pattern stamped into the clay.
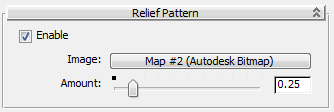
- Enable
-
When on, applies a relief pattern to the material. Default=on.
- Image
-
Click to specify a bitmap for the relief pattern.
- Amount
-
Controls the height of the relief. Range: 0.0 to 2.0. Default=0.25.