This material has the appearance of concrete.
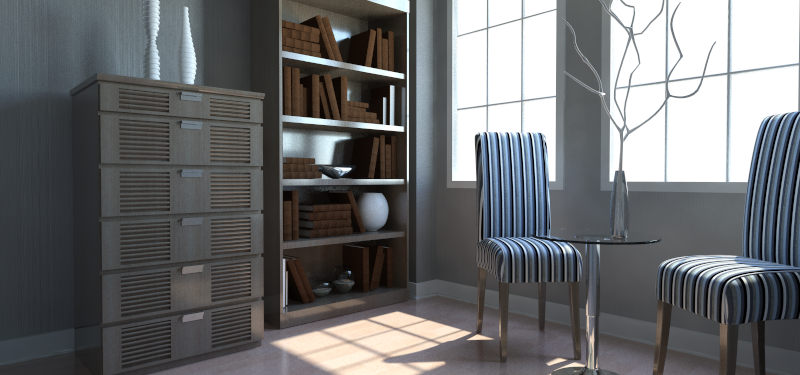
The walls use Autodesk Concrete with a default finish.
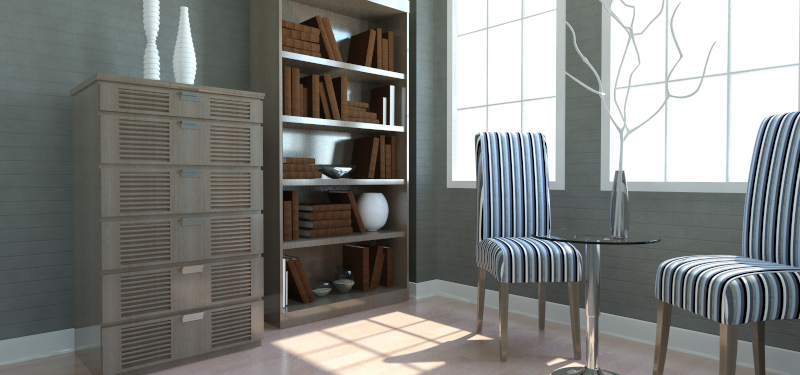
The walls use Autodesk Concrete with a wood-grain texture, as if cast in place.
Interface
Concrete rollout

- Color drop-down list
- Lets you choose how to color the material.
- Use Color (The default.) Sets the base color of the concrete.
Click the color swatch to change the color.
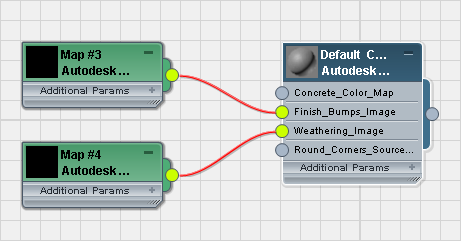
- Use Map Maps the main color of the concrete.
Click the map button (or use Slate Material Editor node wiring) to assign a map to the material.
-
Color By Object Uses the object's
3ds Max wireframe color as the material color.
Important: When you use Color By Object, the color appears in renderings, but not in viewports or material previews. This is because the material might be applied to multiple objects that have different wireframe colors.
- Use Color (The default.) Sets the base color of the concrete.
- Sealant
-
Controls the reflectiveness of the surface.
- None (The default.) Doesn’t alter the surface finish.
- Epoxy Adds a glossy reflective coating.
- Acrilyc Adds a matte reflective coating.
Finish Bumps rollout

- Finish Bumps
-
Controls the surface texture of the concrete.
- Broom Straight (The default.) Uses a straight broom pattern.
- Broom Curved Uses a curving broom pattern.
- Smooth Uses a smooth pattern with speckled irregularities.
- Polished Uses a completely smooth pattern.
-
Stamped/Custom Uses a custom bitmap.
When this option is active, the Image button lets you specify the bitmap, and the Amount slider controls the height of the finish bumps.
Weathering rollout
Weathering applies slight variations in brightness to the surface of the concrete.
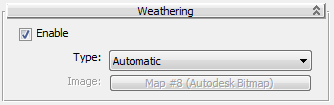
- Enable
-
When on, applies weathering to the surface. Default=off.
- Type
-
- Automatic (The default.) Applies weathering automatically.
-
Custom Uses a bitmap to specify the weathering pattern.
When this option is active, the Image button lets you choose the bitmap.