To make the revolving door spin, first you'll link the four doors to the hub. Then, using the time slider, you'll animate the rotation of the hub to spin the doors.
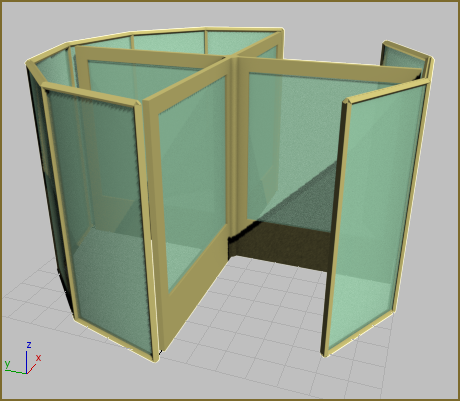
Set up the lesson:
- Continue from the previous lesson or go to the
\startup\revolving_door
folder and open
start_door_link.max.
Note: If you see the File Load: Units Mismatch dialog, choose the default option: Adopt The File's Unit Scale.
Link the doors to the hub:
- In the Perspective viewport,
 zoom so you have a close-up view of the hub and the four doors. It might help to
 pan and
 orbit the view, as well.
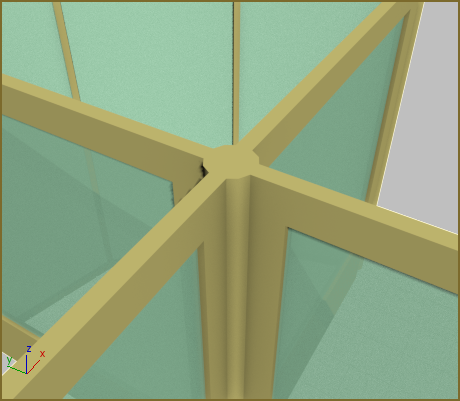
- Press
F4 to display edged faces. This makes the following steps easier to see.
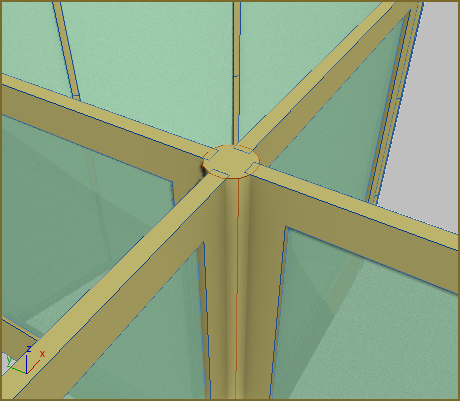
- On the toolbar, click to activate
 (Select And Link).
- In the viewport, drag from one of the pivot door objects to the hub. You will see a dotted line drawn between your cursor and the original door as you drag. Release the mouse over Cylinder01. Cylinder01 should highlight briefly to show it has been linked.
- Repeat step 3 for each of the other three doors.
As you perform the preceding steps, the hierarchy in the Scene Explorer panel updates to show that the doors are now children of Cylinder01. When you are done, the object list should look like this:
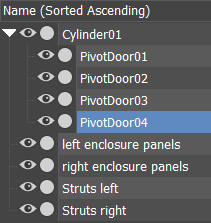
If the list doesn’t appear like this, link the doors that don't appear as children of Cylinder01 to the hub again.
- Click
 (Select Object) to deactivate Select And Link.
- Press F4 again to turn off edged face display.
- Zoom out and pan so you can see the entire model again.
Now you are ready to animate the revolving door.
Replace the rotation controller:
-
 Select the hub,
Cylinder01.
- Go to the
 Motion panel and expand the Assign Controller rollout.
- In the Assign Controller window, click to highlight the Rotation: Euler XYZ item.
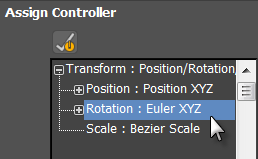
- Click
 (Assign Controller).
- On the Assign Controller dialog, click TCB Rotation, then click OK.
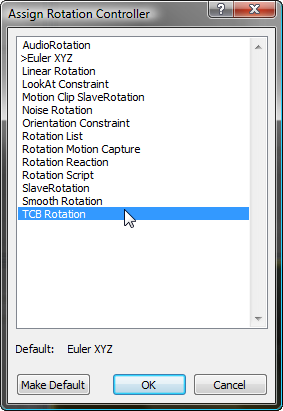
The rotation controller listed in the Assign Controller rollout changes to TCB Rotation.
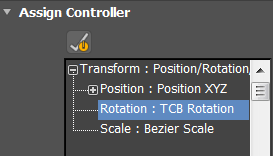
TCB stands for Tension, Continuity, Bias.
- Scroll down to the bottom of the Key Info rollout and turn on Rotation Windup. This will allow you to set rotation keys greater than 180 degrees.
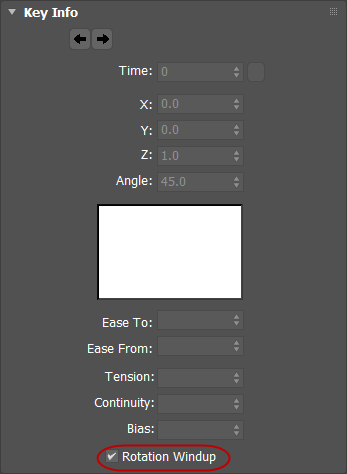 Important: You must turn on Rotation Windup, or the animation won't work correctly.
3ds Max performs animation by means of software devices called controllers that are assigned to individual objects. Typically an object has three types of controllers assigned: for position, rotation, and scale. The default rotation controller is good for character animation, but you'll replace it with a controller that is better for mechanical aimation.
Animate the hub:
- Turn on
 .
.
- Drag the time slider to frame 100.
- Click to activate
 (Select And Rotate).

- Rotate the hub
360 degrees about the Z axis. Watch the coordinate display to get the correct rotation.
Tip: To make setting rotations easier, turn on Angle Snap by pressing the A key.
The Time Slider now displays keyframes as small rectangles at the beginning and at the end of the time segment.
- Turn off
 .
.
- In the animation playback controls, rewind the animation by clicking
 (Go To Start), and then click
 (Play Animation).
Watch your revolving door rotate in the viewport.
- Click
 (Stop, in the same location as the Play button) when you are done watching the animation.
Slow down the animation:
- Click
 (Time Configuration).
3ds Max opens the Time Configuration dialog.
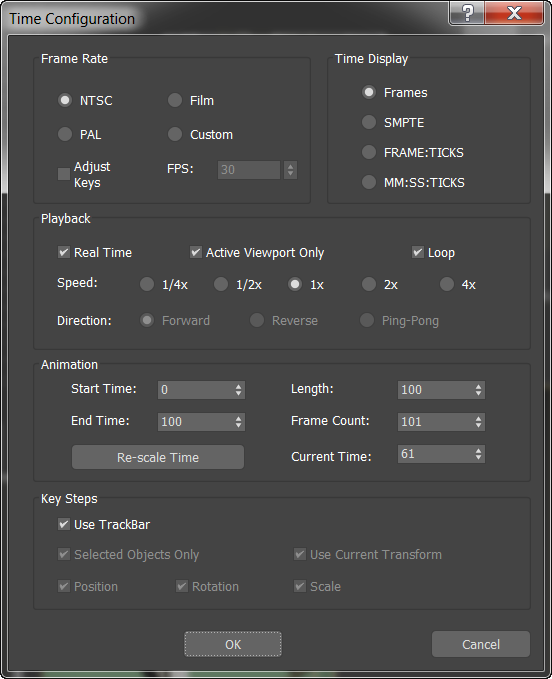
- In the Animation group, click Re-scale Time.

- On the Re-scale Time dialog, change End Time to
200, then click OK.
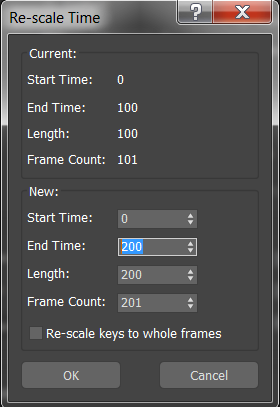
- Click OK to close the Time Configuration dialog.
The Time Slider now displays 200 frames, with a key at frame 0 and frame 200.
- Click
 (Play Animation) and watch the revolving door go around.
The animation plays more slowly than before.
-
 Stop the playback.
To slow down the rotation of the revolving door, do the following:
Save your work:
- Save the scene as as my_revolving_door_animated.max.