Cloud Fluids with the Physical Sky
This tutorial takes you through how to render a cloudy sky using a Maya Fluid container and the physical_sky. We will start with a cloud preset and fine-tune some of Maya Fluid's shading attributes to get the best looking results. We will finally cover animating the fluid to achieve an effect suitable for a timelapse or camera fly through.
The scene can be downloaded here.
Import Fluid from Visor
- For this example we will start off by using one of the cloud fluid presets in the CloudsandFog folder under Fluid Examples in the Content Browser window. Right-click on CloudsSun.ma and select Import.
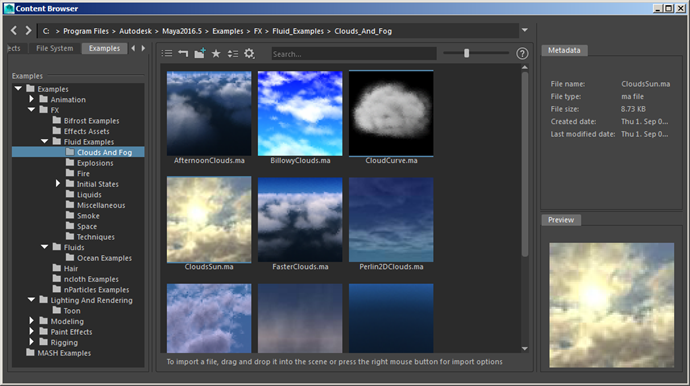
Import the fluid preset 'CloudsSun.ma'
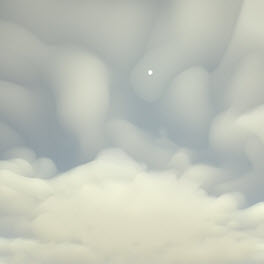
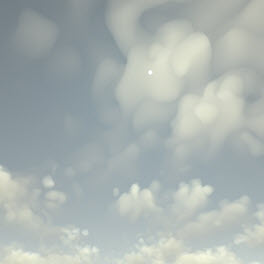
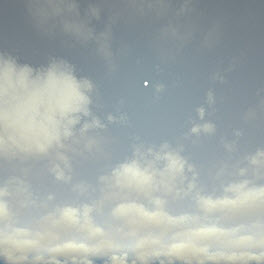
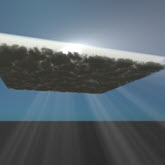
- Delete the point light - 'Sun'. You should be left with only the 'Clouds' fluid. Render the scene using the camera CloudsSunCamera. Without any scene lighting, your render should look like the image below:
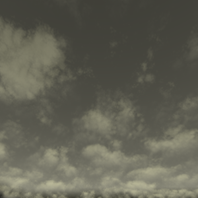
'CloudLayer' fluid render without scene lighting
Create a Physical Sky
- Create a skydome_light and connect a physical_sky to the skydome_light.color (you can middle drag the aiPhysicalSky from the textures tab in the Hypershade window).
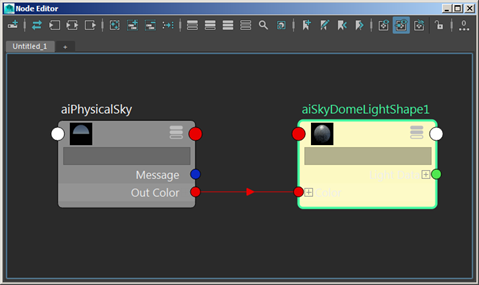
physical_sky -> skydome_light
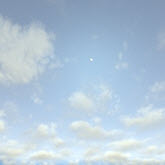
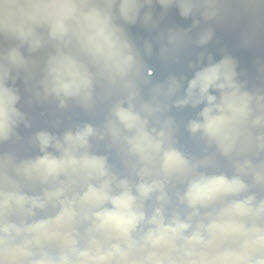
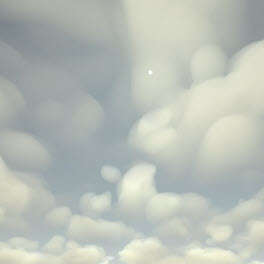
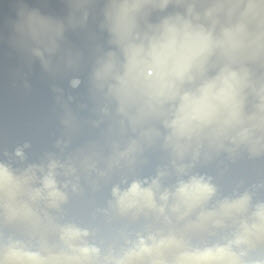
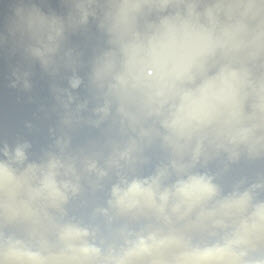
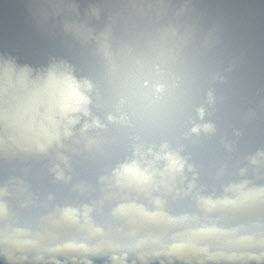
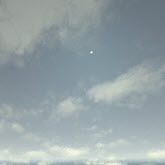
- Render the scene. It should look like the image below using the default settings. It looks quite good, but we can make it look better by adding a Physical Sky and tweaking some of the Maya Fluid's shading attributes.
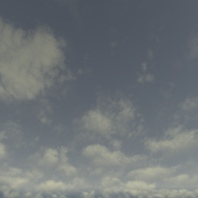
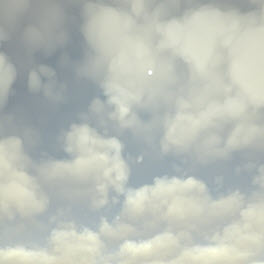
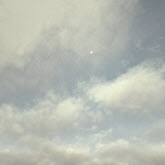
- The sky is looking a bit dull. We need to make it appear brighter and to also add some more blue to the sky. Select the physical_sky. Increase the intensity to 3 and change the Sky Tint to a light blue color.
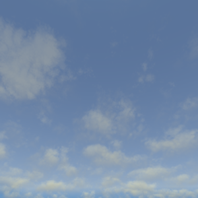
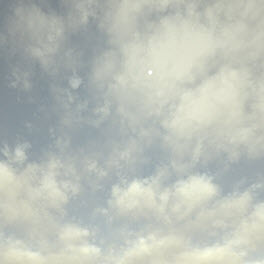
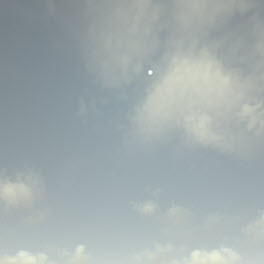
- Lastly, position the sun so that it is visible to the camera by adjusting the elevation and azimuth attributes of the physical_sky.
Shading the Fluid
A few notes about this particular fluid:
- It uses constant density only.
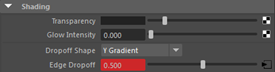
- Shading Y gradient has a heavy edge dropoff.
- Y gradient color, incandescence and opacity input make up the clouds' color and shape on a large scale, while texture opacity with Perlin noise gives details on the clouds.
Opacity
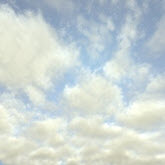
The clouds are looking a bit soft. We can make them appear denser by decreasing transparency and opacity. Transparency combined with opacity determines how much light can penetrate the fluid density. We will start off with the opacity. You can see the results of adjusting the Opacity 'Input Bias' below. You may want to experiment with this value. You could try a value of 0.3 which should give you some large dense clouds.
 |
 |
 |
 |
| Opacity 'Input Bias': 0.1 | Opacity 'Input Bias': 0.2 | Opacity 'Input Bias': 0.3 | Opacity 'Input Bias': 0.4 |
Transparency
The opacity of the clouds can be further refined using the transparency value. Simply increasing the Transparency value produces the following effect:
| 0.1 | 0.05 | 0.03 | 0.01 |
We can also adjust the color of the transparency value to allow for a colored opacity.
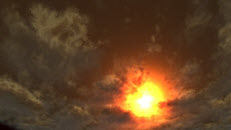
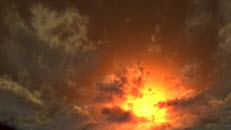
- Click on the color picker next to Transparency and increase the saturation value. In the example below, the following values have been used:
Hue: 1.042. Saturation: 0.243. Value: 0.067
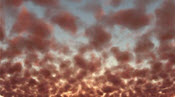
You should be able to achieve some interesting colored clouds by adjusting the HSV. You may want to experiment with this value in combination with the Azimuth of the Physical Sky to get some interesting looking skies.
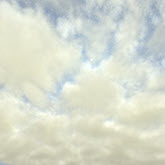
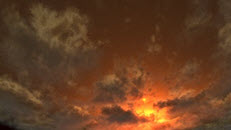
![]()
Changing the HSV of the Transparency can produce interesting colored cloudy skies
The following Maya Fluid Shading attribute values can be increased to improve the amount of detail and complexity within the fluid.
Note that increasing some of these values, such as Depth Max , will increase render times.
Frequency
 |
 |
 |
| 3 | 1.5 | 0.5 |
Frequency Ratio
 |
 |
 |
| 4 | 1.5 | 2 |
Depth Max
 |
 |
 |
| 3 | 4 | 2 |
Ratio
 |
 |
 |
| 0.25 | 0.5 | 0.75 |
Phase Function Anisotropy
We can change the way that the sunlight 'scatters' within the volume by adjusting the Phase Function Anisotropy This can be found within the Arnold attributes for the Maya Fluid.
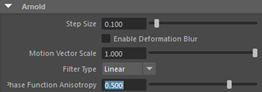
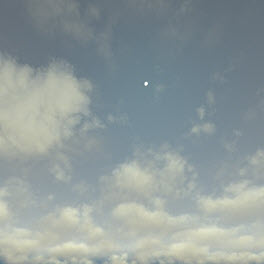
- Increase the Phase Function Anisotropy to around 0.5. Notice that the bloom effect becomes more apparent around the sun disc.
 |
 |
 |
| 0 | 0.5 | 0.75 |
Below is another example of a more 'extreme' use of 'Phase Function Anisotropy'.
 |
 |
 |
| 1 | 0.5 | -0.5 |
Animating the Clouds
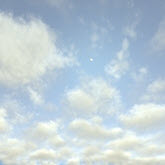
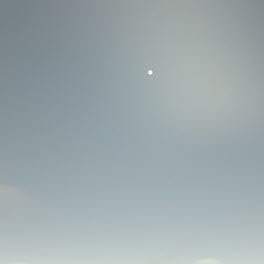
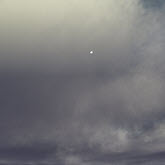
We can animate the movement of the clouds to create a time-lapse effect. We will start off with a blue sky and have the clouds build up using Shading>Edge Dropoff. We will then animate the Texture Origin Z to move the clouds through the Z-axis.
Edge Drop Off
By increasing the 'Edge Drop Off', we can make the appearance of the clouds look denser and 'stormy'. Increasing this value decreases the density drop off towards the edge of the clouds within the fluid. By animating this value, we can increase the formation of clouds.
 |
 |
 |
| 0.3 | 0.45 | 0.5 |
- In frame 1, keyframe the Edge Dropoff using a low value like 0.2. In the last frame of the animation (in this case 100) increase the value to 0.5 and keyframe it.
 |
 |
Increase the Edge Dropoff to see the fluid clouds form (0.2-0.5).
- Select the fluid and go to Textures. At frame 1, keyframe the Texture Origin Z to 0. Go to frame 100 and keyframe the Texture Origin Z to -2. This will animate the movement of the fluid texture through the negative Z direction.
 |
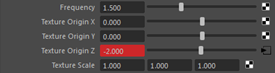 |
Animate the Texture Origin Z to see the clouds move along the Z axis.
Atmosphere_volume
Currently, atmosphere_volume does not compose well against fluid volumes. This is because atmosphere's return a single flat result that is opacity mapped on top of whatever is in the background of the pixel.
That concludes this tutorial on rendering clouds using Maya Fluids and the physica_sky. These settings can also be applied to other Maya Fluid presets. Have a go at using a different cloud preset or applying these techniques to your own Maya Fluid.
Example Renders