 Align to Surface
Aligns selected CVs and associated edges of a subdivision object to a NURBS surface. Use this tool to smooth or modify selected CVs using a NURBS surface.
You can use this tool to align selected CV's to a NURBS surface in the following ways:
- Automatically align the selected CVs
- Use an existing NURBS surface to drive CV alignment
- Have the Align to Surface tool generate a new NURBS surface to drive CV alignment.
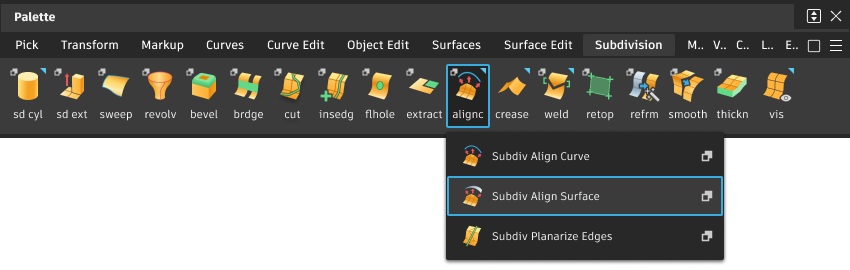
Access the tool from the Subdivision Palette:
Align to Curve settings
Approximation
Specifies the type of curve that drives alignment.
Linear - Degree-1 surface
Quadratic - Degree-2 surface
Cubic - Degree-3 surface
Projection Direction
Specifies the direction of the CV alignment.
Closest - Aligns CVs along the axis that is closets to the average CV location.
X Axis, Y Axis, Z Axis - Align CV's along the specified axes.
Create History
Turn on to maintain the construction history on the surface when you use an existing NURBS surface for alignment or select the Generate Surface method to align CVs. When off, you cannot use the Generate Surface method to align CVs.
Align to Surface workflows
Automatically align selected CVs
Shift-select the tool to open the control window
In the control window, select Approximation and Projection direction options.
Select the CVs you want to align.
Tip: Use +
+  to chain-select CVs.
Press Enter or click
 in the view.
The select CVs are now aligned.
Align CVs using a existing NURBS surface
Shift-select the tool to open the control window
In the control window, select Approximation and Projection direction options.
(optional) Turn on Create History.
Select the CVs you want to align.
Tip: Use + to chain-select CVs.In the view, click
 .
.Select the NURBS surface you want to drive the alignment.
The select CVs now align to the selected surface.
Align CVs using a generated surface
Shift-select the tool to open the control window
In the control window, select Approximation and Projection direction options.
Turn on Create History. When off, you cannot use the Generate Surface method to align CVs.
Select the CVs you want to align.
Tip: Use + to chain select CVs.In the view, click
 .
.The CVs now align to the generated surface.