 Stitch and Seam Surface
Automates the creation of seams and stitching.
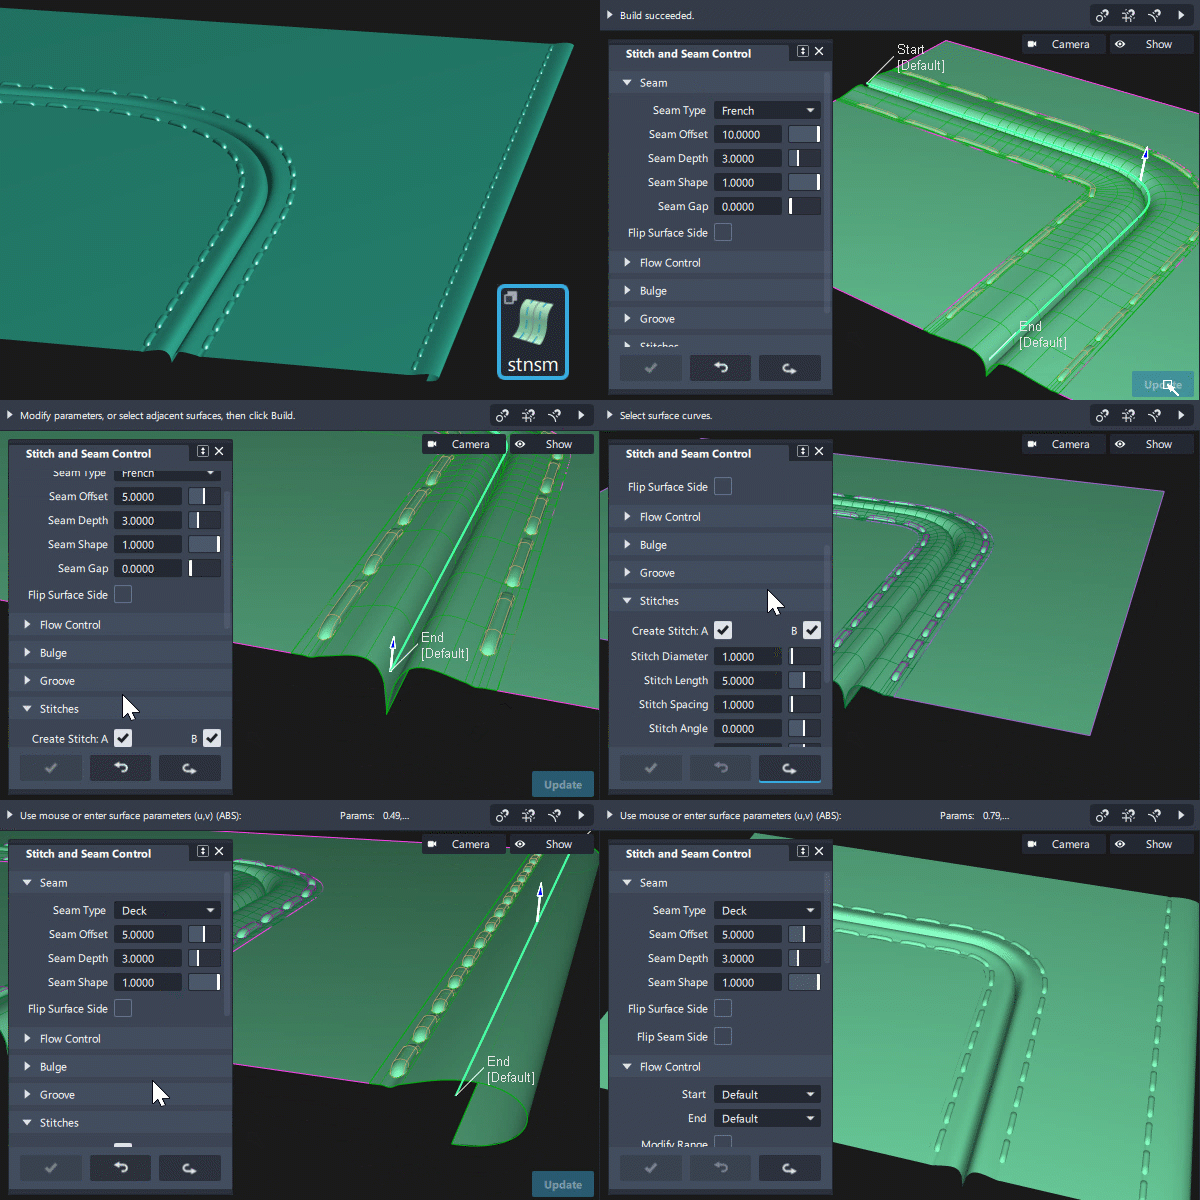
Access this tool from the Surfaces palette:

Stitch and Seam settings
Seam
Seam Type
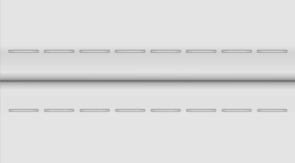
French
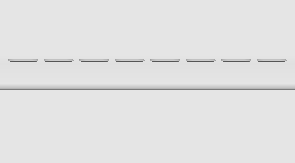
Deck (similar to a "flat fell" seam)
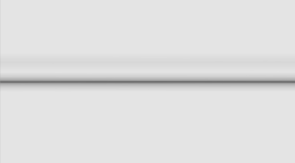
Join
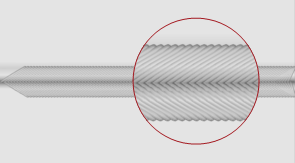
Baseball

None (stitch with no seam)
Seam Offset
The distance from the seam to the stitches.
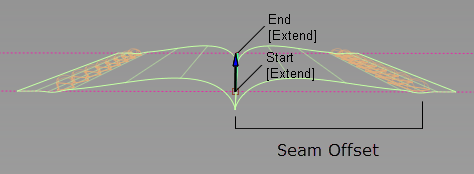
For Join type seams (which do not have top-stitching), the stitch surfaces do not extend past this offset distance.
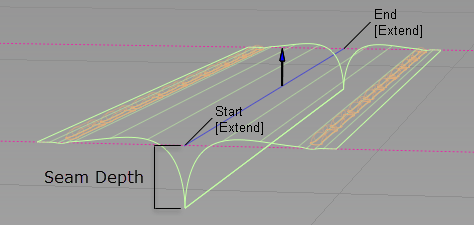
Seam Depth
The distance from the curve-on-surface to the seam.
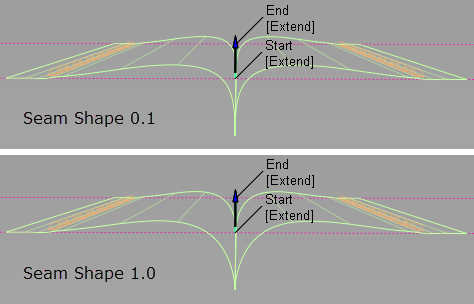
Seam Shape
The shape or curvature of the seam surface at the seam. Smaller values give a tighter seam, larger values a more open seam.
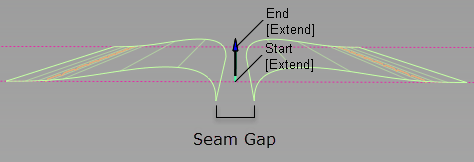
Seam Gap
The space between the surfaces at the seam.
Flip Surface Side
Flips the direction of the seam surfaces and stitches.

Flip Seam Side
For the Deck seam type, flips the side of the surface the seam is created on.
Flow Control
Start/End
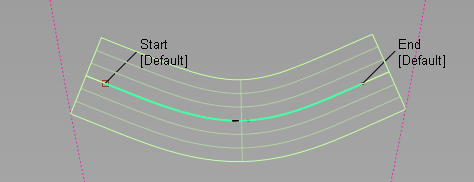
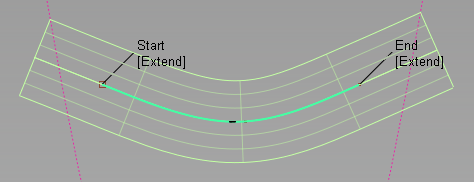
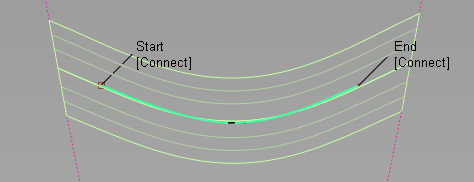
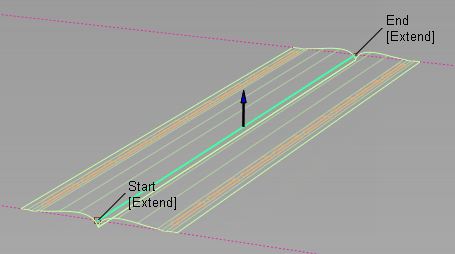
Controls how the edges of the seam surfaces meet the edges of the surfaces on which they are created.
Default – The end edges of the seam surfaces remain perpendicular to the curve-on-surface.
Extend – The seam surface end edges are extended so that they reach the surface edges while remaining perpendicular to the curve-on-surface.
Connect – The seam surface end edges meet the surface edges exactly.
Edge Align – The tool tries to align the seam surface end edges with the edges of the surface.
Modify Range
When this option is selected, Start and End sliders appear in the control window, and arrow manipulators appear on the selected curve-on-surface. Drag these arrows to modify the extent of the seam along the curve-on-surface.
Start/End
Use these sliders to modify the extent of seam along the curve-on-surface. Start and End values of 0.0 and 1.0 respectively, define the original extent.
Bulge
Create Bulge
Create a swelling or bump on one or both sides of the seam. If only one side is selected, the Bulge Size is applied to that side, and a Bulge Size of 0.0100 is applied to the other.

Groove
Create Groove
For French seams only. Create an indent along the stitching line of one or both sides of the seam. Increase the Groove Size for a wider indent along the stitch line.
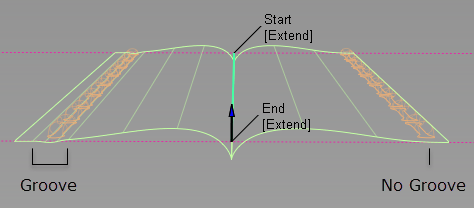
Decreasing the Groove Size may decrease the Stitch Diameter and could also result in a seam that appears to have no stitches. Increasing the Groove Size does not automatically increase the Stitch Diameter.
Stitches
Create Stitch
For French and Baseball seams only. Create stitches on one or both sides of the seam.
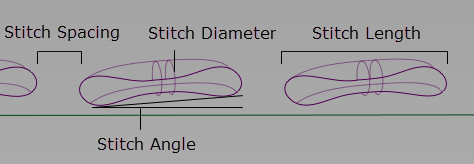
Stitch Tautness
Changes the shape of the geometry to represent stitches that are pulled tight. As tautness increases, the stitch profile becomes flatter and more elliptical.

Quick Stitch
Creates stitches with fewer spans to increase update speed.
Trim
Stitches – Trims the stich surfaces where they intersect the seam surfaces. Deselect this option to increase the update speed.
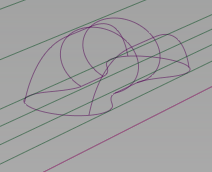
Trim: Stitches
Seams – Trims the seam surface where it intersects the stitch surfaces.
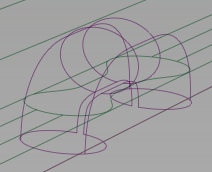
Trim: Seams
Add Jitter
Adds slight variations to the stitch angles for a more realistic look.

Add Jitter not selected

Add Jitter selected, Stich Jitter value of 1
Stitch Jitter
Sets how much variation in the stitch angles.
Stitch and Seam common parameters
Stitch and Seam has the following Surface Tool Common Parameters sections:
- Flow Control
- Control Options
Stitch and Seam workflow
Create a seam and stitch geometry
Automate the creation of seams and stitching for visualization. Using a curve-on-surface to define the seam line, use the Stitch and Seam tool to create seam and stitch geometry.
Create a seam and stitch geometry
Select the tool.
Select the curves-on-surface that define the seam and do one of the following:
- If the selected curve-on-surface geometry is sufficient to create the seam, click Accept.
- If the curve-on-surface is near the edge of its surface, then you may need to add neighboring surfaces to the primary selections. This ensures that the tool has enough geometry to properly generate the seam. To do this, click Add Primary, select the surfaces, and then click Accept.
Set options in the Stitch and Seam Control window and click Build.
Select the stich geometry in the Outliner and change their shader so you can differentiate them from the surfaces.