 Combine Surfaces
The Combine Surfaces tool allows you to combine several surfaces into one surface. Note that:
- The combined outer boundary of all the surfaces has to have exactly four sides.
- Combine Surface does not work on trimmed surfaces.
- The input surfaces are Templated if the combine surface is created. Use Object Edit > Template to restore them to active surfaces.
Access the tool from the Surfaces Palette:

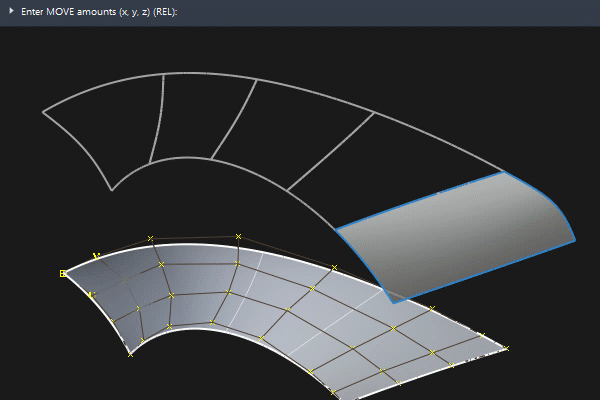
Combine Surfaces settings
Combine Surfaces Control options
Tolerance
Controls the fit distance of the combined surface to the original surfaces.
Angle Tolerance
Controls the fit angle of the surface normals at sample points.
Iterate to Tolerance
Increases samples and insert more isoparametric curves until the tolerances are reached.
Explicit Control Options
U Degree/ V Degree
Specifies the degree of the resulting surface in U and V directions.
U Max Spans/ V Max Spans
These sliders only appear when Iterate to Tolerance is off.
Does not create a combined surface with more than the given number of spans in the U and V direction, even if the tolerances are not reached.
Combine Surfaces workflow
How the tool works
- Combine Surfaces fits four curves to each of the four outer boundaries of the set of surfaces you selected.
- Then, it places a simple surface, of the degree you selected in the option box, within those four curves.
- The tool samples the interior of all the selected surfaces and modifies the surface to match those samples.
- If the surface doesn’t match well enough, Combine Surface inserts isoparametric curves into the simple surface to allow for finer adjustments to the shape.
- If you selected continuity with boundary surfaces, Combine Surface samples those surfaces as well, and increases the samples along the outer boundaries of the original surfaces.
Combine several surfaces into one new surface
Shift-select the Combine Surfaces
tool. - As you add surfaces, the surface boundaries change color. Green means the current group of surfaces has a four-sided boundary and can be combined. Yellow means they cannot be combined.
- When the surfaces can be combined, an arrow appears showing the normal of the new surface. Click the arrow to reverse the normal of the new surface.
When you have picked all the surfaces you want to combine and the boundary is green, click Go.
The system prompts you to click the edges that must be continuous with adjacent surfaces.
- Click a green boundary line to mark it for tangency with adjacent surfaces. A label appears on the boundary.
- Click the label to change the continuity type. Each click cycles through positional (pos), tangent (tan), and curvature (cur).
Click Go.
Tips and notes
Using very tight tolerances does not guarantee that the resulting surface will match the original surfaces with higher accuracy.
Combine Surface tries to achieve tighter tolerances by:
increasing sampling, and
inserting more isoparametric curves for finer control.
The result is often a surface with more complexity than you need.
This tool can often achieve good fits with relatively loose tolerances. If you relax the tolerances, it also reduces the time it takes to create the new surface.
Try using loose tolerances to begin with, and increase them if you are not achieving the accuracy you need.