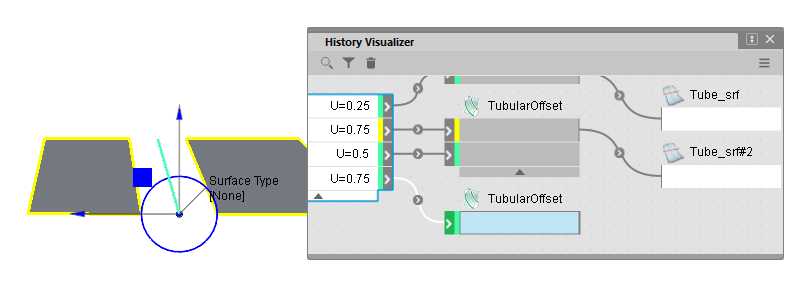
 Tubular Offset
Creates a tube surface along a surface curve(s) to create offset curves-on-surface for trimming a gap. This is typically used for quickly illustrating component split-lines.
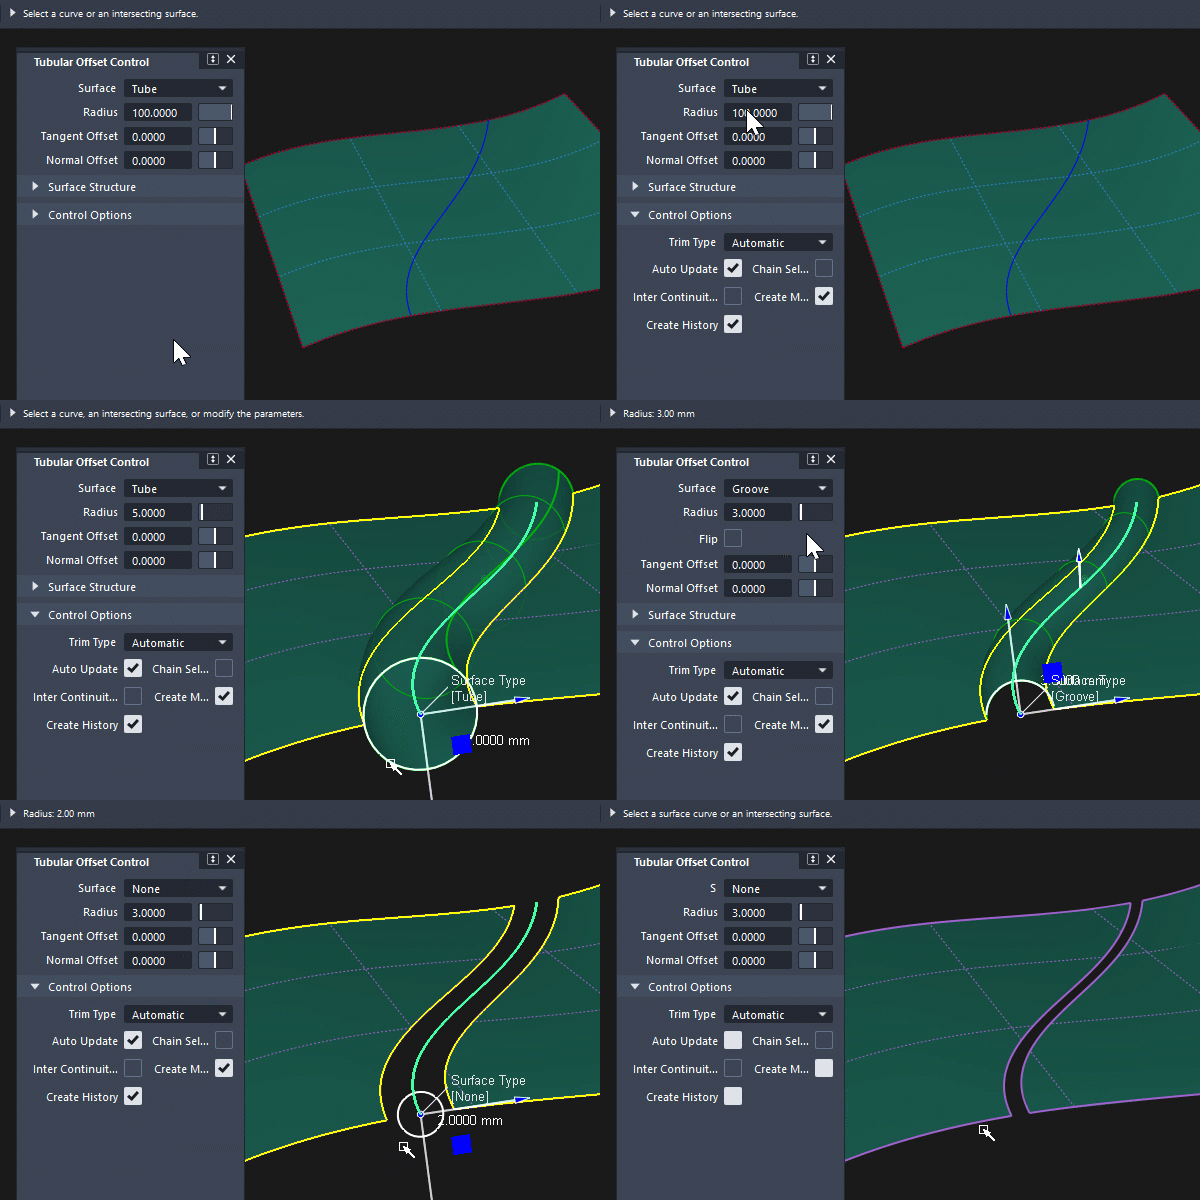
The tube surface can be a full circular tube, a half-tube creating a groove, or not built at all. For example, use the tool to create the offset curve-on-surface or trimmed gap.
Free curves can be also used to create a Tube surface.
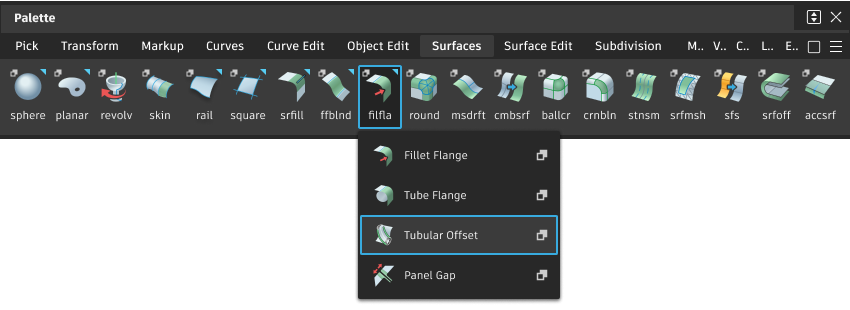
Access this tool from the Surfaces palette:
Tubular Offset settings
Surface
Specifies the type of surface built. Choose from Tube, Groove or None:
Tube - creates 360 degree profile swept along the input curve. Note that the profile is a single-span degree 7 (non-periodic) surface and so will not be accurately circular.
Groove - creates 180 degree profile swept along the input curve. Note that the profile is a single-span degree 5 surface and so will not be accurately circular.
None - no surface is created and the result is either curves-on-surface or trimmed input surfaces.
Radius
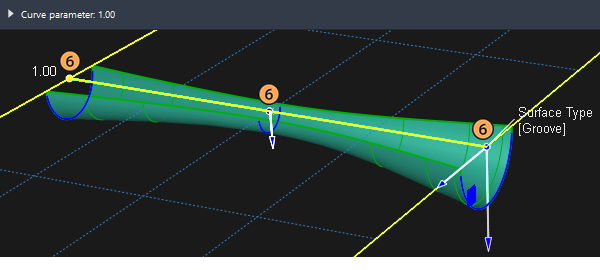
Defines the radius of the tube. Create a variable radius interactively by adding more radius manipulators along the curve (using Shift). Adjust the radius of the tube interactively by dragging its manipulator.
Flip
The Flip option (only available if you have chosen the Groove option) enables you to flip the groove onto the other side of the input surfaces to create a bump. On-screen manipulators indicate which side the tube will be built on.
Tangent Offset, Normal Offset
The tube can be offset from the original input data along the tangent from the input data, or normal to the surface from the input data. On-screen manipulators update interactively to show the position of the tube.
Control Options : Trim Type
The trim type choice is an essential part of the Tubular Offset operation, in particular when the surface type is set to None. Choose from:
Automatic - Trims the input surfaces at the intersection of the tube surface (even if the tube isn't built).
Curves On Surface - Creates curves-on-surface at the intersection of the tube surface (even if the tube isn't built).
Off - (Not available for Surface Type: None.)
Tubular Offset common parameters
Tubular Offset has the following Surface Tool Common Parameters sections:
- Surface Structure (with Tube or Groove selected)
- Control Options
Viewport manipulators
The following manipulators appear when you create a tubular offset surface or trim, or when you use Object Edit > Query Edit to re-engage the history.
Each manipulator corresponds to a setting in the Control Window:
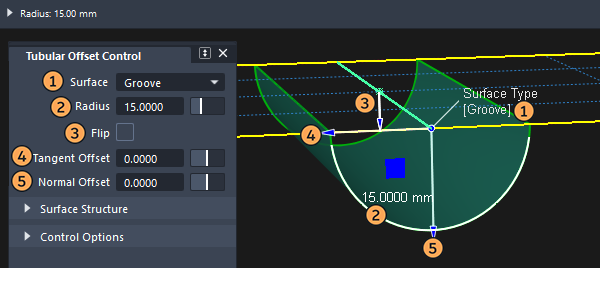
Click and drag any manipulator to change a value interactively.
Click to activate and use prompt line entry to change a value.
Click on the Surface Type setting to cycle through the three options: Tube, Grooove or None.
Clicking on the radius value on the manipulator will open a separate window to allow numerical entry in-scene.
Adding manipulators for variable radius
To add a new manipulator,
Shift- left click on the desired point on the rail.To delete a manipulator,
Shift- right click on it. Click and drag on the ball to move the manipulator position interactively, or click-release to highlight and use the prompt line to enter a value between 0 and 1.
Tubular Offset workflows
Work with adjacent surfaces
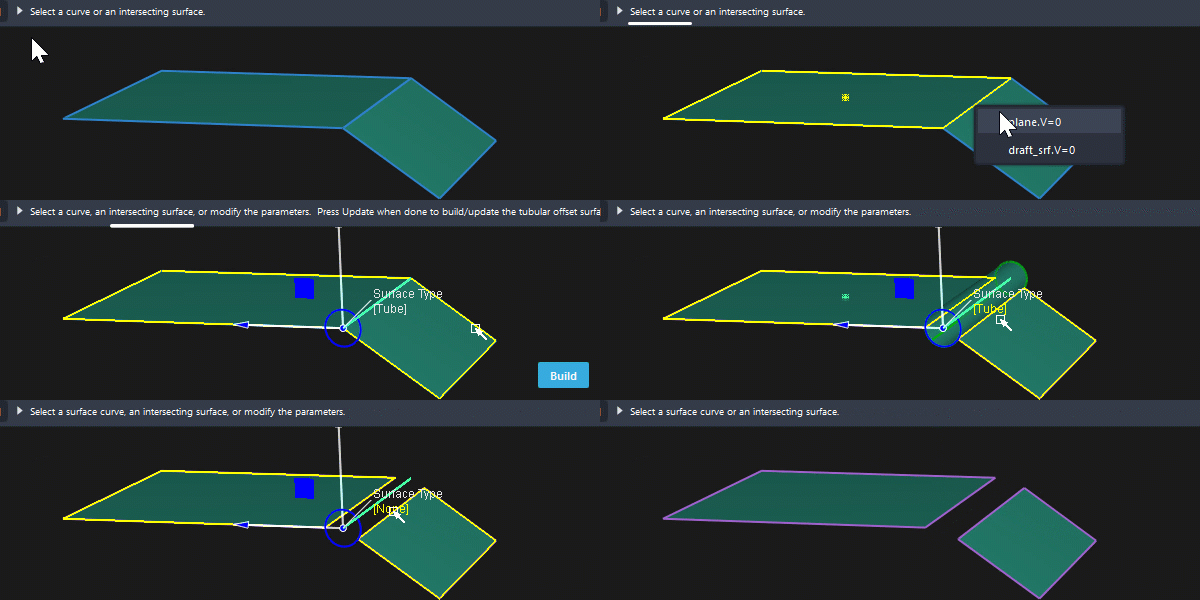
If there are two adjacent surfaces, and the tube radius built on the first extends over the second, then this second surface can be included and curves-on-surface built to allow for trimming.
- You are first prompted to select the surface curve to define the tube path
- Then you can select the 'intersection surface' to include it in the C-o-S and trimming operation:
Build a tube surface from free curves
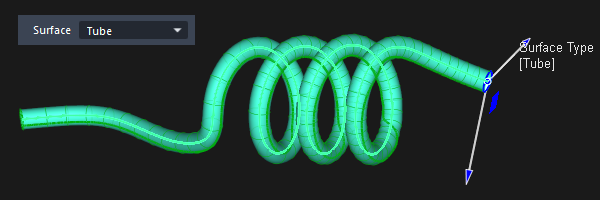
If Surface: Tube is selected, then a free curve can be used as input:
Activating Construction History for Surface: None
When Surface: None is selected with Trim Type: Automatic, there is no geometry to choose when using Object Edit > Query Edit to re-engage the history. Use one of the following techniques:
If the input surface has no history, and there is only one tubular offset trim, then select the surface and click once on the Tubular Offset tool icon and the Control Window will re-open.
Use the History Visualizer to re-engage the Control Window.
