 Profile Sweep
Creates a surface by sweeping one or more profiles along a rail path composed of one or more path curves that must be tangent continuous.
Additional control can be used to maintain the profiles relative to the coordinate system, the path normal, or defined vectors.
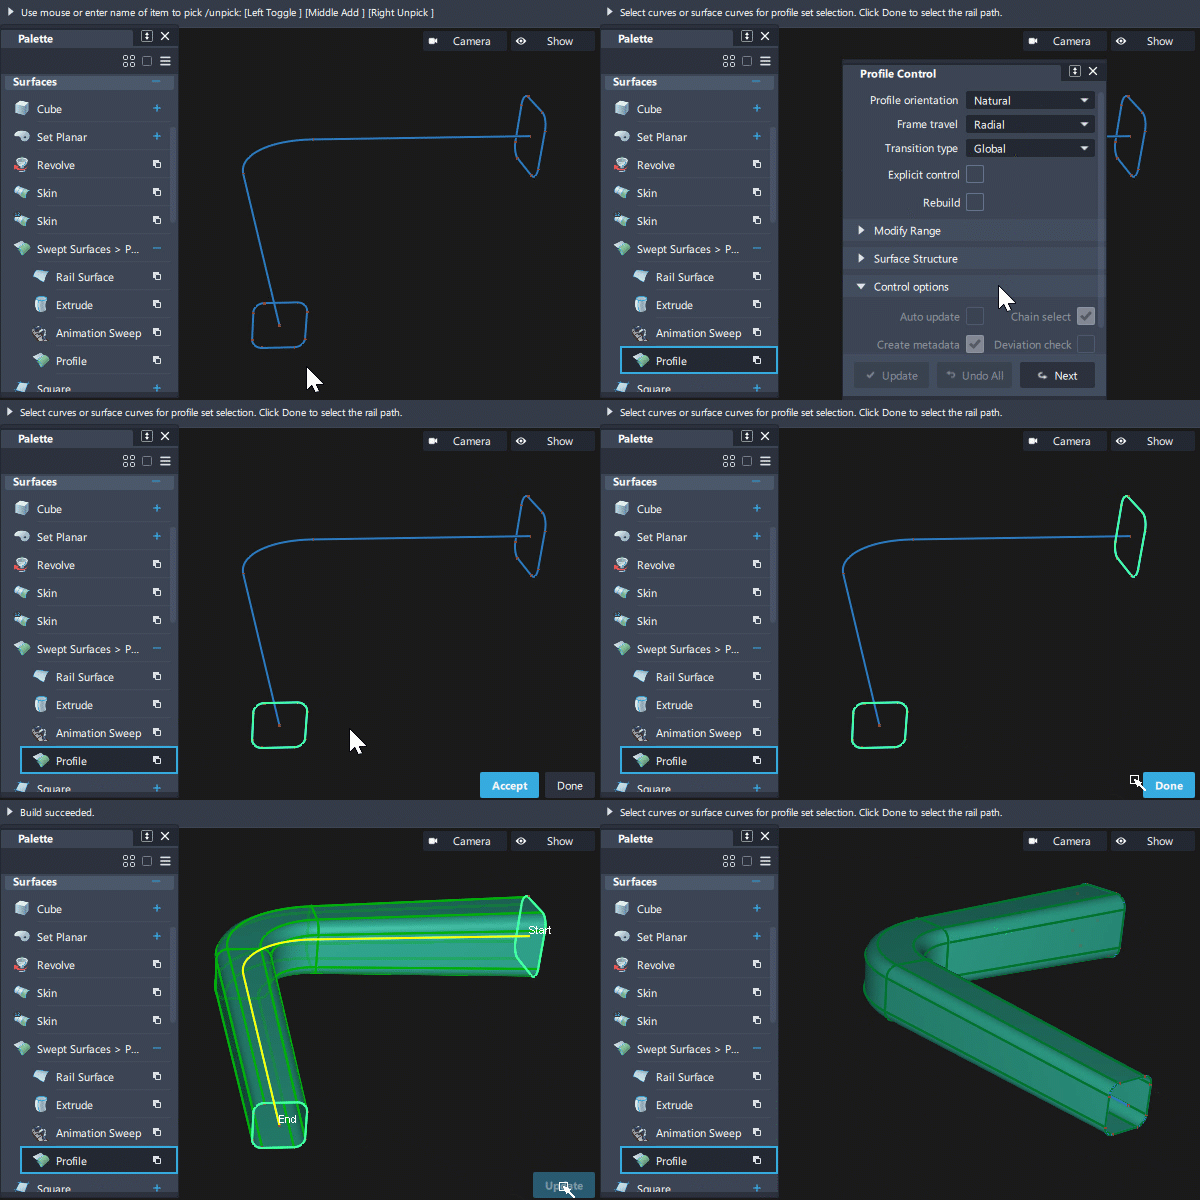
Profiles:
- Profiles can be composed of one or more planar curves.
- Profiles can have sharp bends and can be closed.
- If several profiles are used, they can have different shapes but must have a similar structure (segmentation between sharp bends or number of spans).
- Each profile can have an individual position and orientation relative to the rail curve.
- If the curves within a profile set are disconnected (not G0), it is best to create a separate profile surface for each element of the set.
Rail paths :
- Rail paths can include curves and surface curves.
- Rail paths must be position and tangent continuous. use multiple tangent continuous rail curves with chain select or by making additional selections before accepting the rail input.
- Rail paths can be closed.
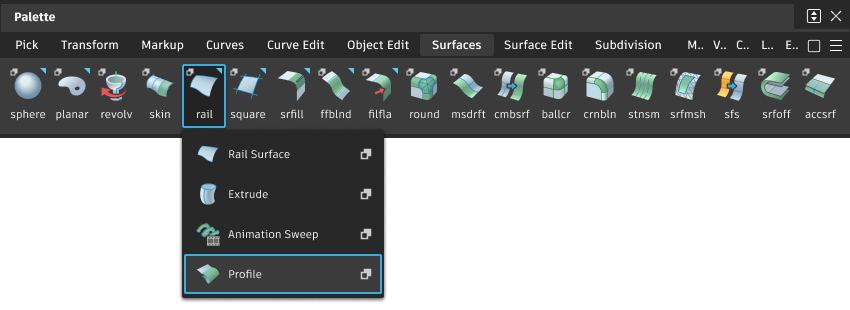
Access the tool from the Surfaces tool palette:
Profile Sweep settings
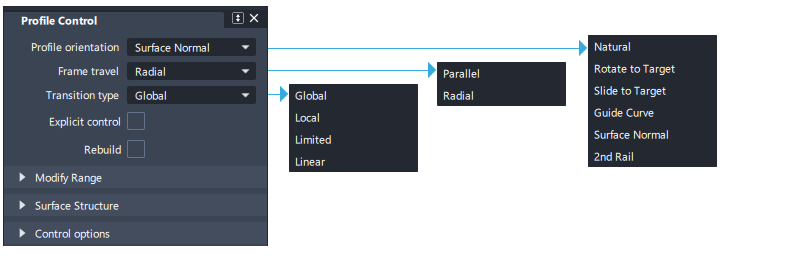
Profile Orientation
Natural – The orientation of the profile frame is determined only by the Frame Travel.
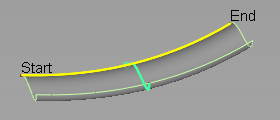
Natural Orientation, Parallel Frame Travel
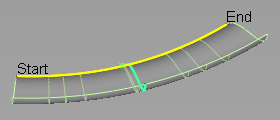
Natural Orientation, Radial Frame Travel
Rotate to Target – The profile rotates about the rail curve until it touches a selected Profile Target.
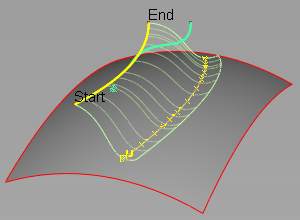
Rotate to Target Orientation, Surface Target, Radial Frame Travel
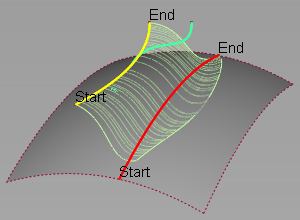
Rotate to Target Orientation, Curve Target, Radial Frame Travel
Slide to Target – The profile slides along an attached surface until it touches the selected Profile Target. The profile rotates so that the profile frame remains tangent to the sliding surface.
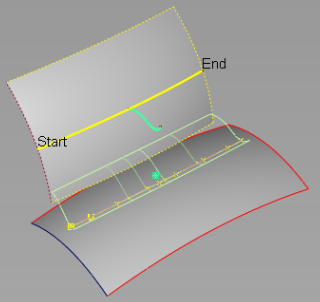
Slide to Target Orientation, Surface Target, Radial Travel
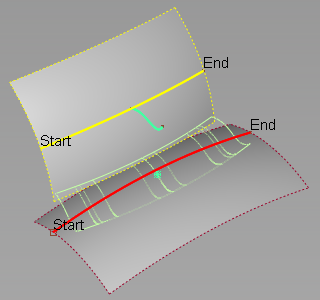
Slide to Target Orientation, Curve Target, Radial Travel
Guide Curve – The orientation of the profile frame is determined by the normal direction of an adjacent curve.
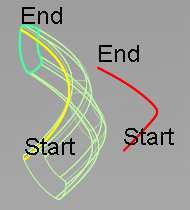
Guide Curve Orientation, 2D Scaling, Parallel Travel
Surface Normal – The orientation of the profile frame is determined by the normal direction of an adjacent surface at the closest point between the rail curve and the surface.
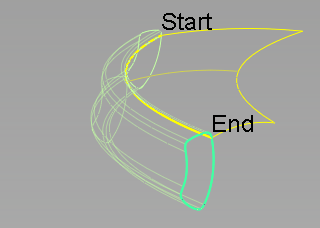
2nd Rail – The orientation of the profile is determined by connecting the profile curve to two rail curves.
Profile Target
Surface Target – If Rotate to Target is selected, the profile rotates around the rail curve until it touches the target surface . If Slide to Target is selected, the profile "slides" along an attached surface until it touches the target surface.
If Use Profile Point is also selected, the profile rotates or slides until the selected point on the profile touches the surface.
Curve Target – If Rotate to Target is selected, the profile rotates around the rail curve until it touches a selected curve. If Slide to Target is selected, the profile "slides" along an attached surface until it touches the target curve.
If Use Profile Point is also selected, the profile rotates or slides until the selected point on the profile touches the curve.
Use Profile Point
If Use Profile Point is also selected, the profile rotates or slides until the selected point on the profile touches the surface or curve.
If Rotate to Target or Slide to Target are selected, enables you to select the point on the profile that will touch the target.
Profile Scaling
Scales the profile with the influence of the target curve.
No Scaling – Does not scale the profile.
Non-proportional Scaling – Scales the profile non-proportionally in one direction.
Proportional Scaling – Scales the profile proportionally in two dimensions of the local coordinate system.
Frame Travel
The profile frame is the coordinate system used to define the profile section orientation and transformations along the path.
Select how the profile frame travels or sweeps along the path.
Parallel – The profile frame is set to travel parallel to profile plane.
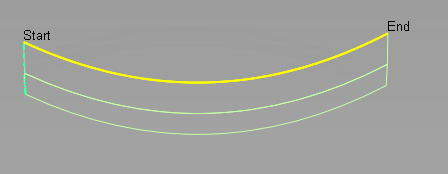
Radial – The profile frame pivots to maintain the same angle relative to the rail curve normal.
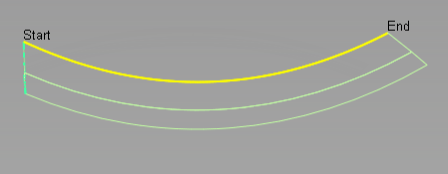
Transition type
This option specifies the type of blend between multiple profiles (either from input curves, or manipulators). It determines the shape of the surface isoparms that run in the direction of the rail curve.
Global – Provides a smoother overall shape, but sometimes leads to excessive undulations.
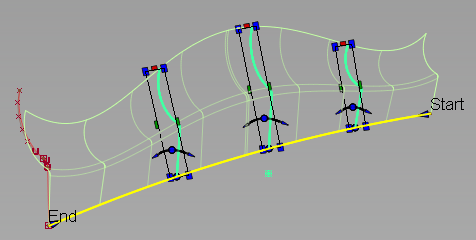
Local – Provides smooth transitions around the locations of the profiles.
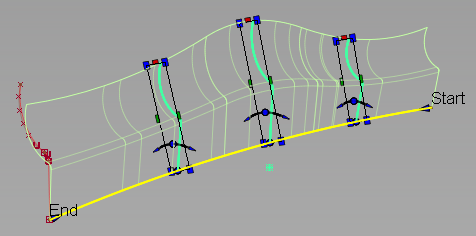
Limited – Attempts to control the shape of the surface so that it stays within the range of the profile scales. This setting avoids the over and under shooting that sometimes occur with Global or Local transition type.
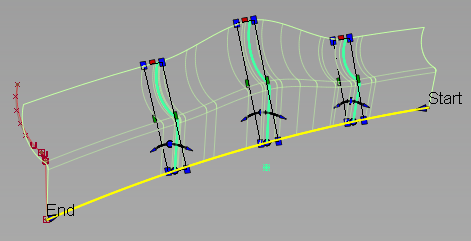
Linear – Joins the profiles with straight lines.
Profile Sweep common parameters
The Profile Sweep control window has the following Common Parameters :
- Explicit Control
- Modify Range
- Surface Structure
- Control Options
Profile Sweep workflows
Create a surface from one profile

Shift-select the Profile tool
 icon.
icon.The Profile Control window opens.
Select the curves or surface curves that make up the profile, and click Accept, then Done.
The profile can have sharp bends and can be closed.
Click the curves or surface curves that define the rail, and click Build.
Rails can include curves and surface curves. Rails must be position and tangent continuous. They can be closed. You can use multiple tangent continuous rail curves with chain select or by making additional selections before accepting the rail input.
Note: If Profile orientation is set to Surface normal, you must click Accept (instead of Build) then select the surface used to orient the profile.
Create a surface from multiple profiles
The profile curve sets can have different shapes but should have a similar structure (segmentation between sharp bends or number of spans). Each profile set can have an individual position and orientation relative to the rail curve. If the curves within a profile set are disconnected (not G0), it is best to create a separate profile surface for each element of the set.
Shift-select the Profile tool
 icon.
icon.The Profile Control window opens.
Select all the curves for the first profile, then click the Accept button. (If Chain select is on, all curves that are tangent continuous with the first curve are also picked).
Select the curves for the second profile, click Accept, and so on.
After the last profile has been selected, click Done.
Select the rail curves and click the Build button.
The profile surfaces are built.
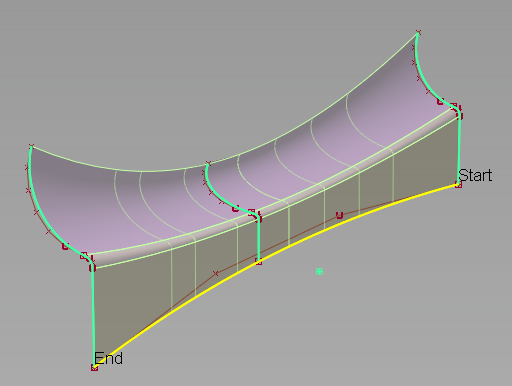
Profile surface built from three profiles (each made up of three planar curves).
Set option Transition type to specify the type of blend between the multiple profiles. This option affects the shape of the surface isoparms that run in the direction of the rail curve (U direction).
Use manipulators to vary the profile shape along the rail
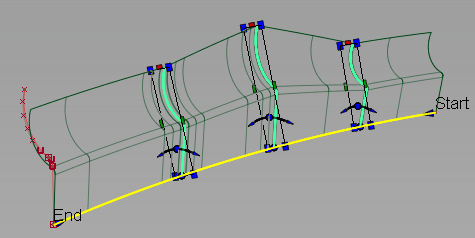
If you use only one profile, you can click the rail curve to position any number of profile manipulators. These manipulators look like copies of the original profile. You can rotate and scale the manipulators to create a profile surface with a variable section that interpolates the manipulators but not the original profile. Any modification to the shape of the original profile curve also updates the shape of the manipulators.
Shift-select the Profile tool
 icon.
icon.The Profile Control window opens.
Select all the curves for the profile, then click the Accept button. (If Chain select is on, all curves that are tangent continuous with the first curve are also picked).
Click Done.
Select the rail curves and click the Build button.
The profile surfaces are built.
Click on the rail curve to add one or more manipulators.
Green manipulators in the shape of the profile curve appear.
Use the handles to scale, rotate, or move the manipulator along the rail. Hold the
 key and click the dot handle at the base of a manipulator to delete it.
Click Update (or turn on Auto Update in the option window).
The surfaces update to interpolate the manipulators.
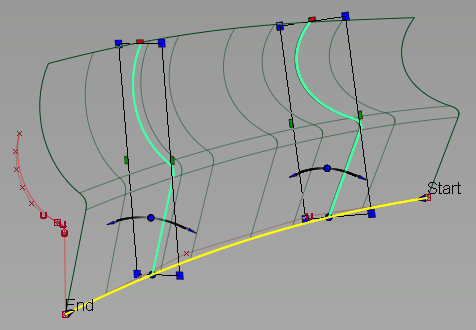
Set option Transition type to specify the type of blend between the manipulator profiles. This option affects the shape of the surface isoparms that run in the direction of the rail curve (U direction).
Anatomy of a Profile manipulator
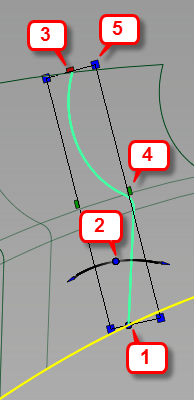
- Dot: moves the manipulator along the rail. Also acts as the pivot for rotation and scaling. Clicking anywhere on the rectangular frame and dragging has the same effect. Holding
 and clicking the dot deletes the manipulator.
 - Blue arc: rotates the manipulator around the rail (click the center circle or end arrows).
- Red square: scales the manipulator along the direction of the curvature vector of the rail curve.
- Green square: scales the manipulator along a direction perpendicular to both the tangent and curvature vector of the rail curve.
- Blue squares: scale the manipulator proportionally in both directions.