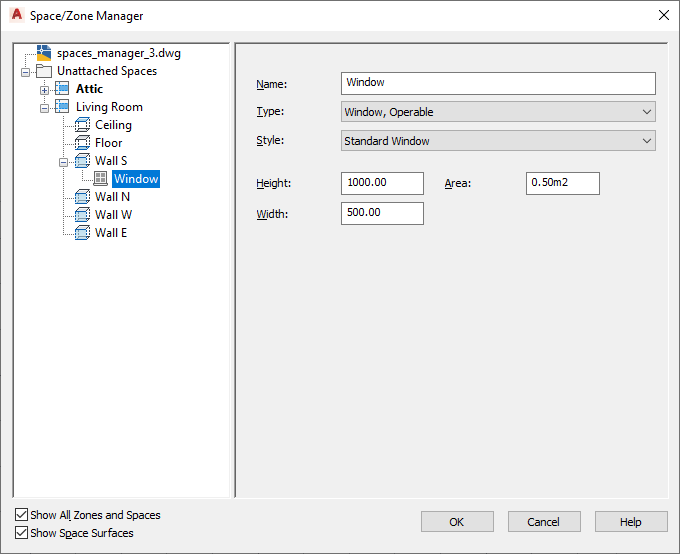
Use this procedure to edit surface openings.
- Open the Space/Zone Manager.
- Verify that Show Space Surfaces is selected.
- If necessary expand the tree view to display the surface and the opening you want to edit.

- To add a new opening to a surface, select the surface in the tree view, right-click, and click Add Opening.
The new opening is inserted with default properties.
- To change the properties of an opening, select the opening in the tree view, and make the desired changes on the right:
If you want to… Then… change the opening name enter a new value for Name. change the opening type for Type, select a new type from the drop-down list. Depending on whether the opening is a door or window opening, different types are available: - Fixed Window
- Operable Window
- Fixed Skylight
- Operable Skylight
- Non sliding Door
- Sliding Door
- Air
change the assigned window or door/window assembly style of the opening select a window style, door style, or door/window assembly style from the list. The list contains all styles available in the drawing. change the area of a surface opening enter values for Area, Height, or Width of the opening. Note: For a 3D freeform space opening, you cannot edit the height or width on this worksheet. You can change the width and height of a 3D freeform surface opening using grips.For openings in 3D freeform spaces, the reported area is displayed alongside the overall area. The reported area can differ from the overall area in cases where an opening is only partly on the surface, and the rest is either on a different surface or outside the space. In this case, the reported area displays the part of the opening that is on the surface. The value for reported area is read-only.
- To remove an opening from a surface, select the opening, right-click, and click Remove Opening.
- Click OK.