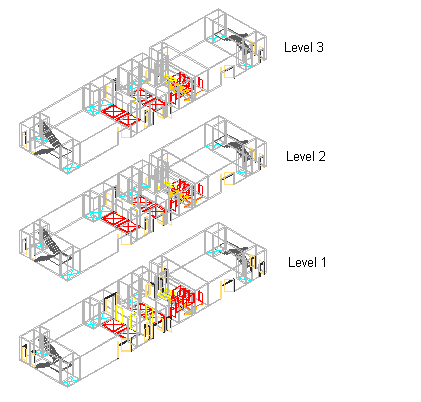
Use this procedure to copy an existing level and all its assigned constructs within the building.

3D view of copied levels with assigned constructs
When you create a new level, it is empty and has no constructs assigned. After you have assigned constructs to the level, you can copy that level and its constructs within the building. For example, perhaps you have created a first-floor level and assigned 3 apartment constructs to it. To create a second-floor level with exactly the same layout, you can copy and paste the first level with its apartment constructs and rename it “Second Floor.”
- Create a level and assign constructs to it.
- On the Quick Access toolbar, click Project Navigator
 .
. - Click the Project tab, and under Levels, click
 .
. - Select the name of the level you want to copy, right-click, and click Copy Level and Contents.
- Click the level above or below the one on which you want to place the copied level, right-click, and click Paste Level Above or Paste Level Below.
- Rename the pasted level accordingly: for example, Second Level.
- If necessary, edit the description and the ID.
- Click OK.
- Click Yes in the subsequent dialog box to update the changed level information throughout the project.
- Click the Constructs tab.
- Locate the Constructs category.
The constructs that were created by copying the level and constructs are below the original construct. For example, if you copied the first-floor-level with a construct named First Floor—Left Apartment, you now have 2 constructs: First Floor—Left Apartment and First Floor—Left Apartment (2).
- If necessary, rename the copied construct with an appropriate name: for example, Second Floor—Left Apartment.
- To update the Drawing Explorer, click
 .
.